July 21 - July 25
Engineering Tasks:
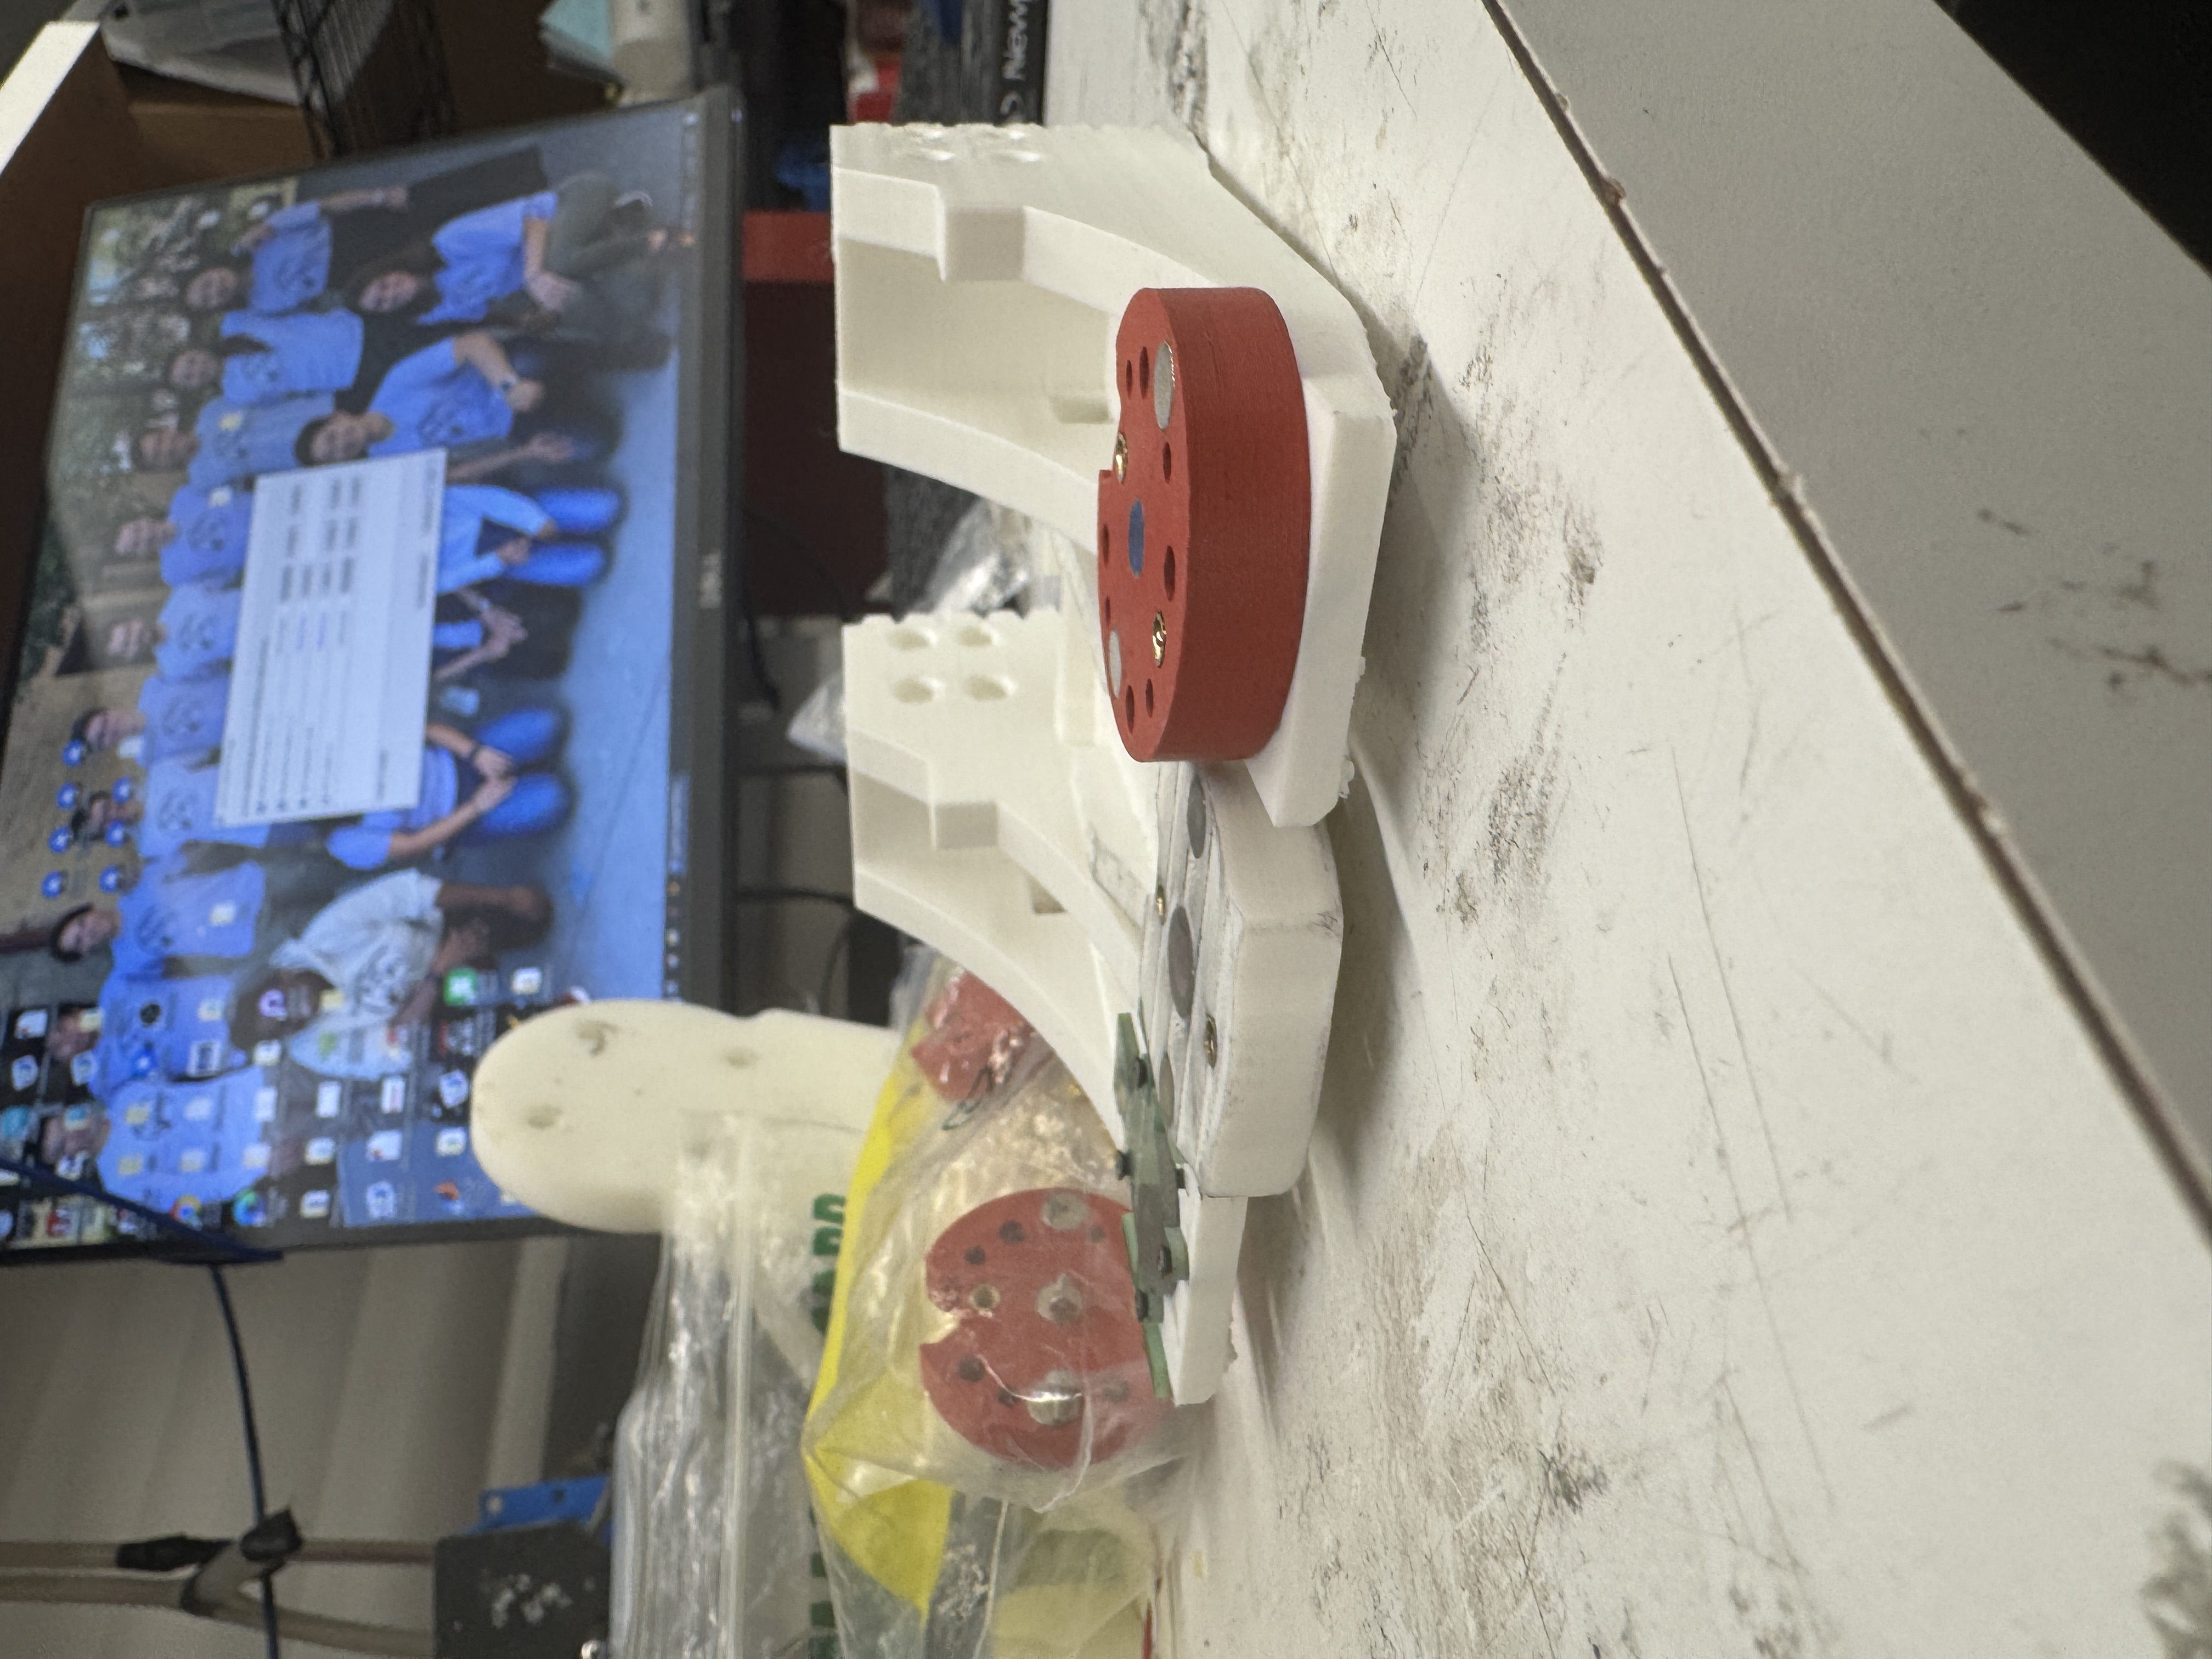
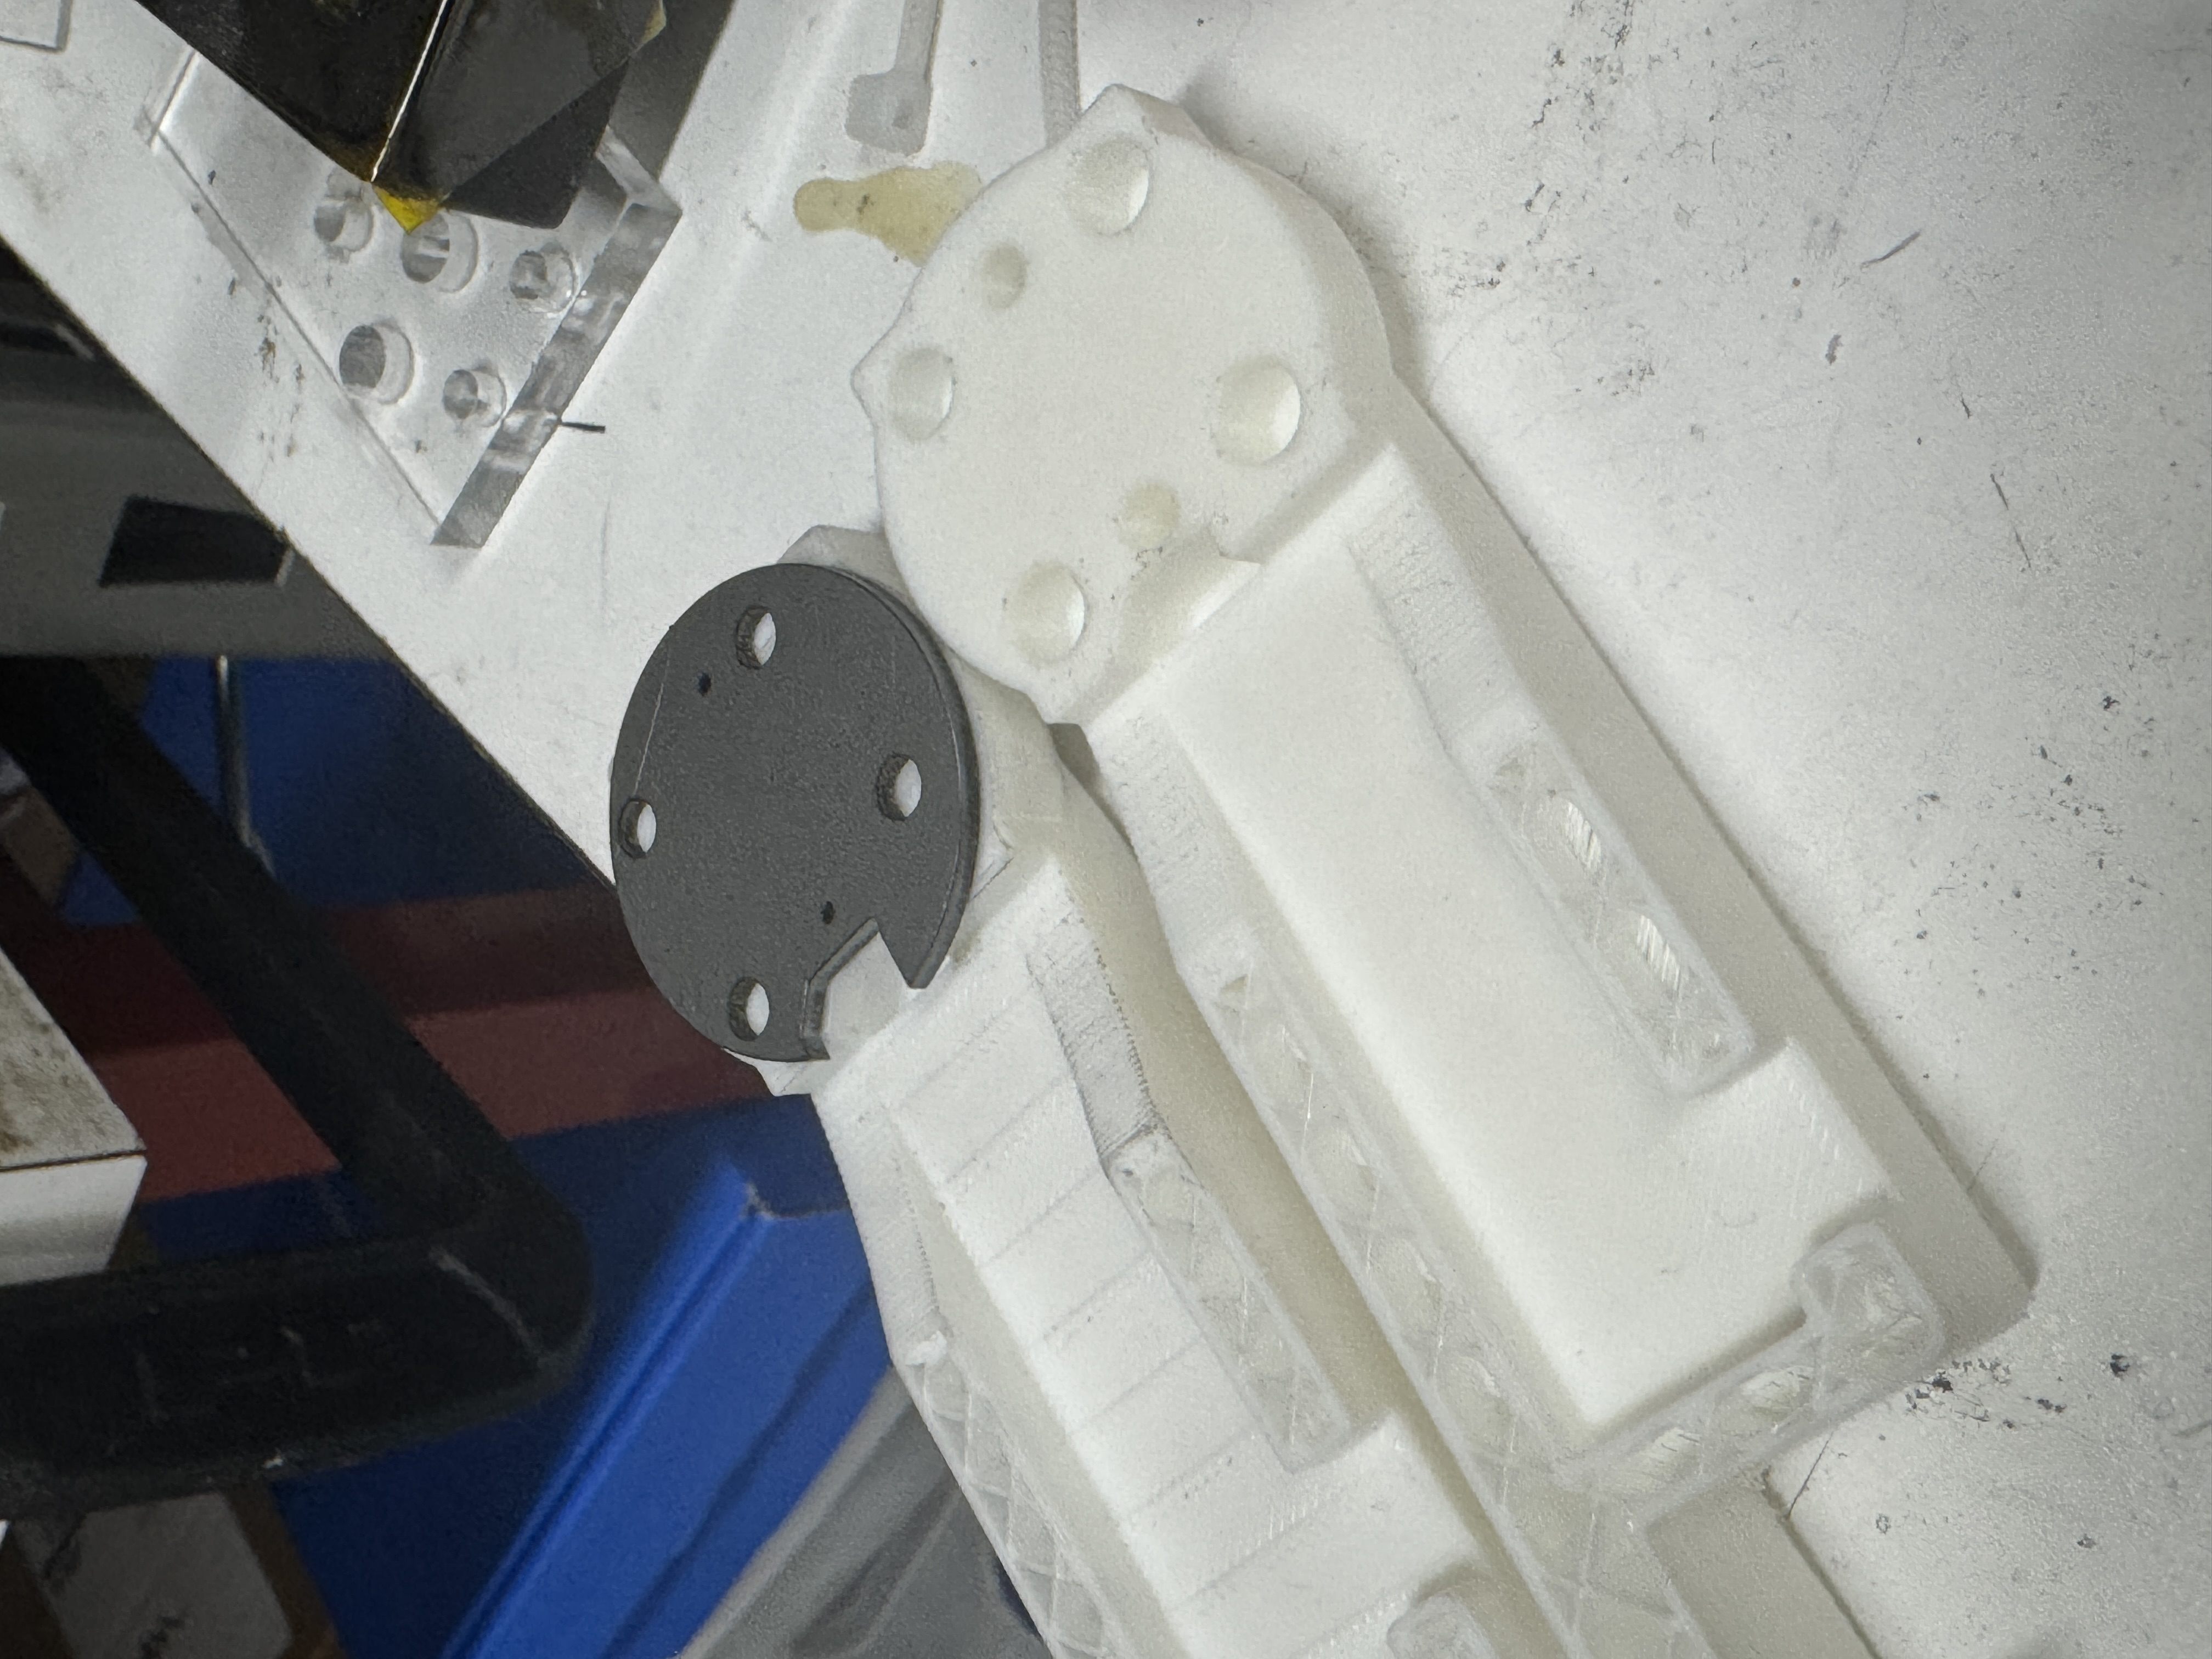
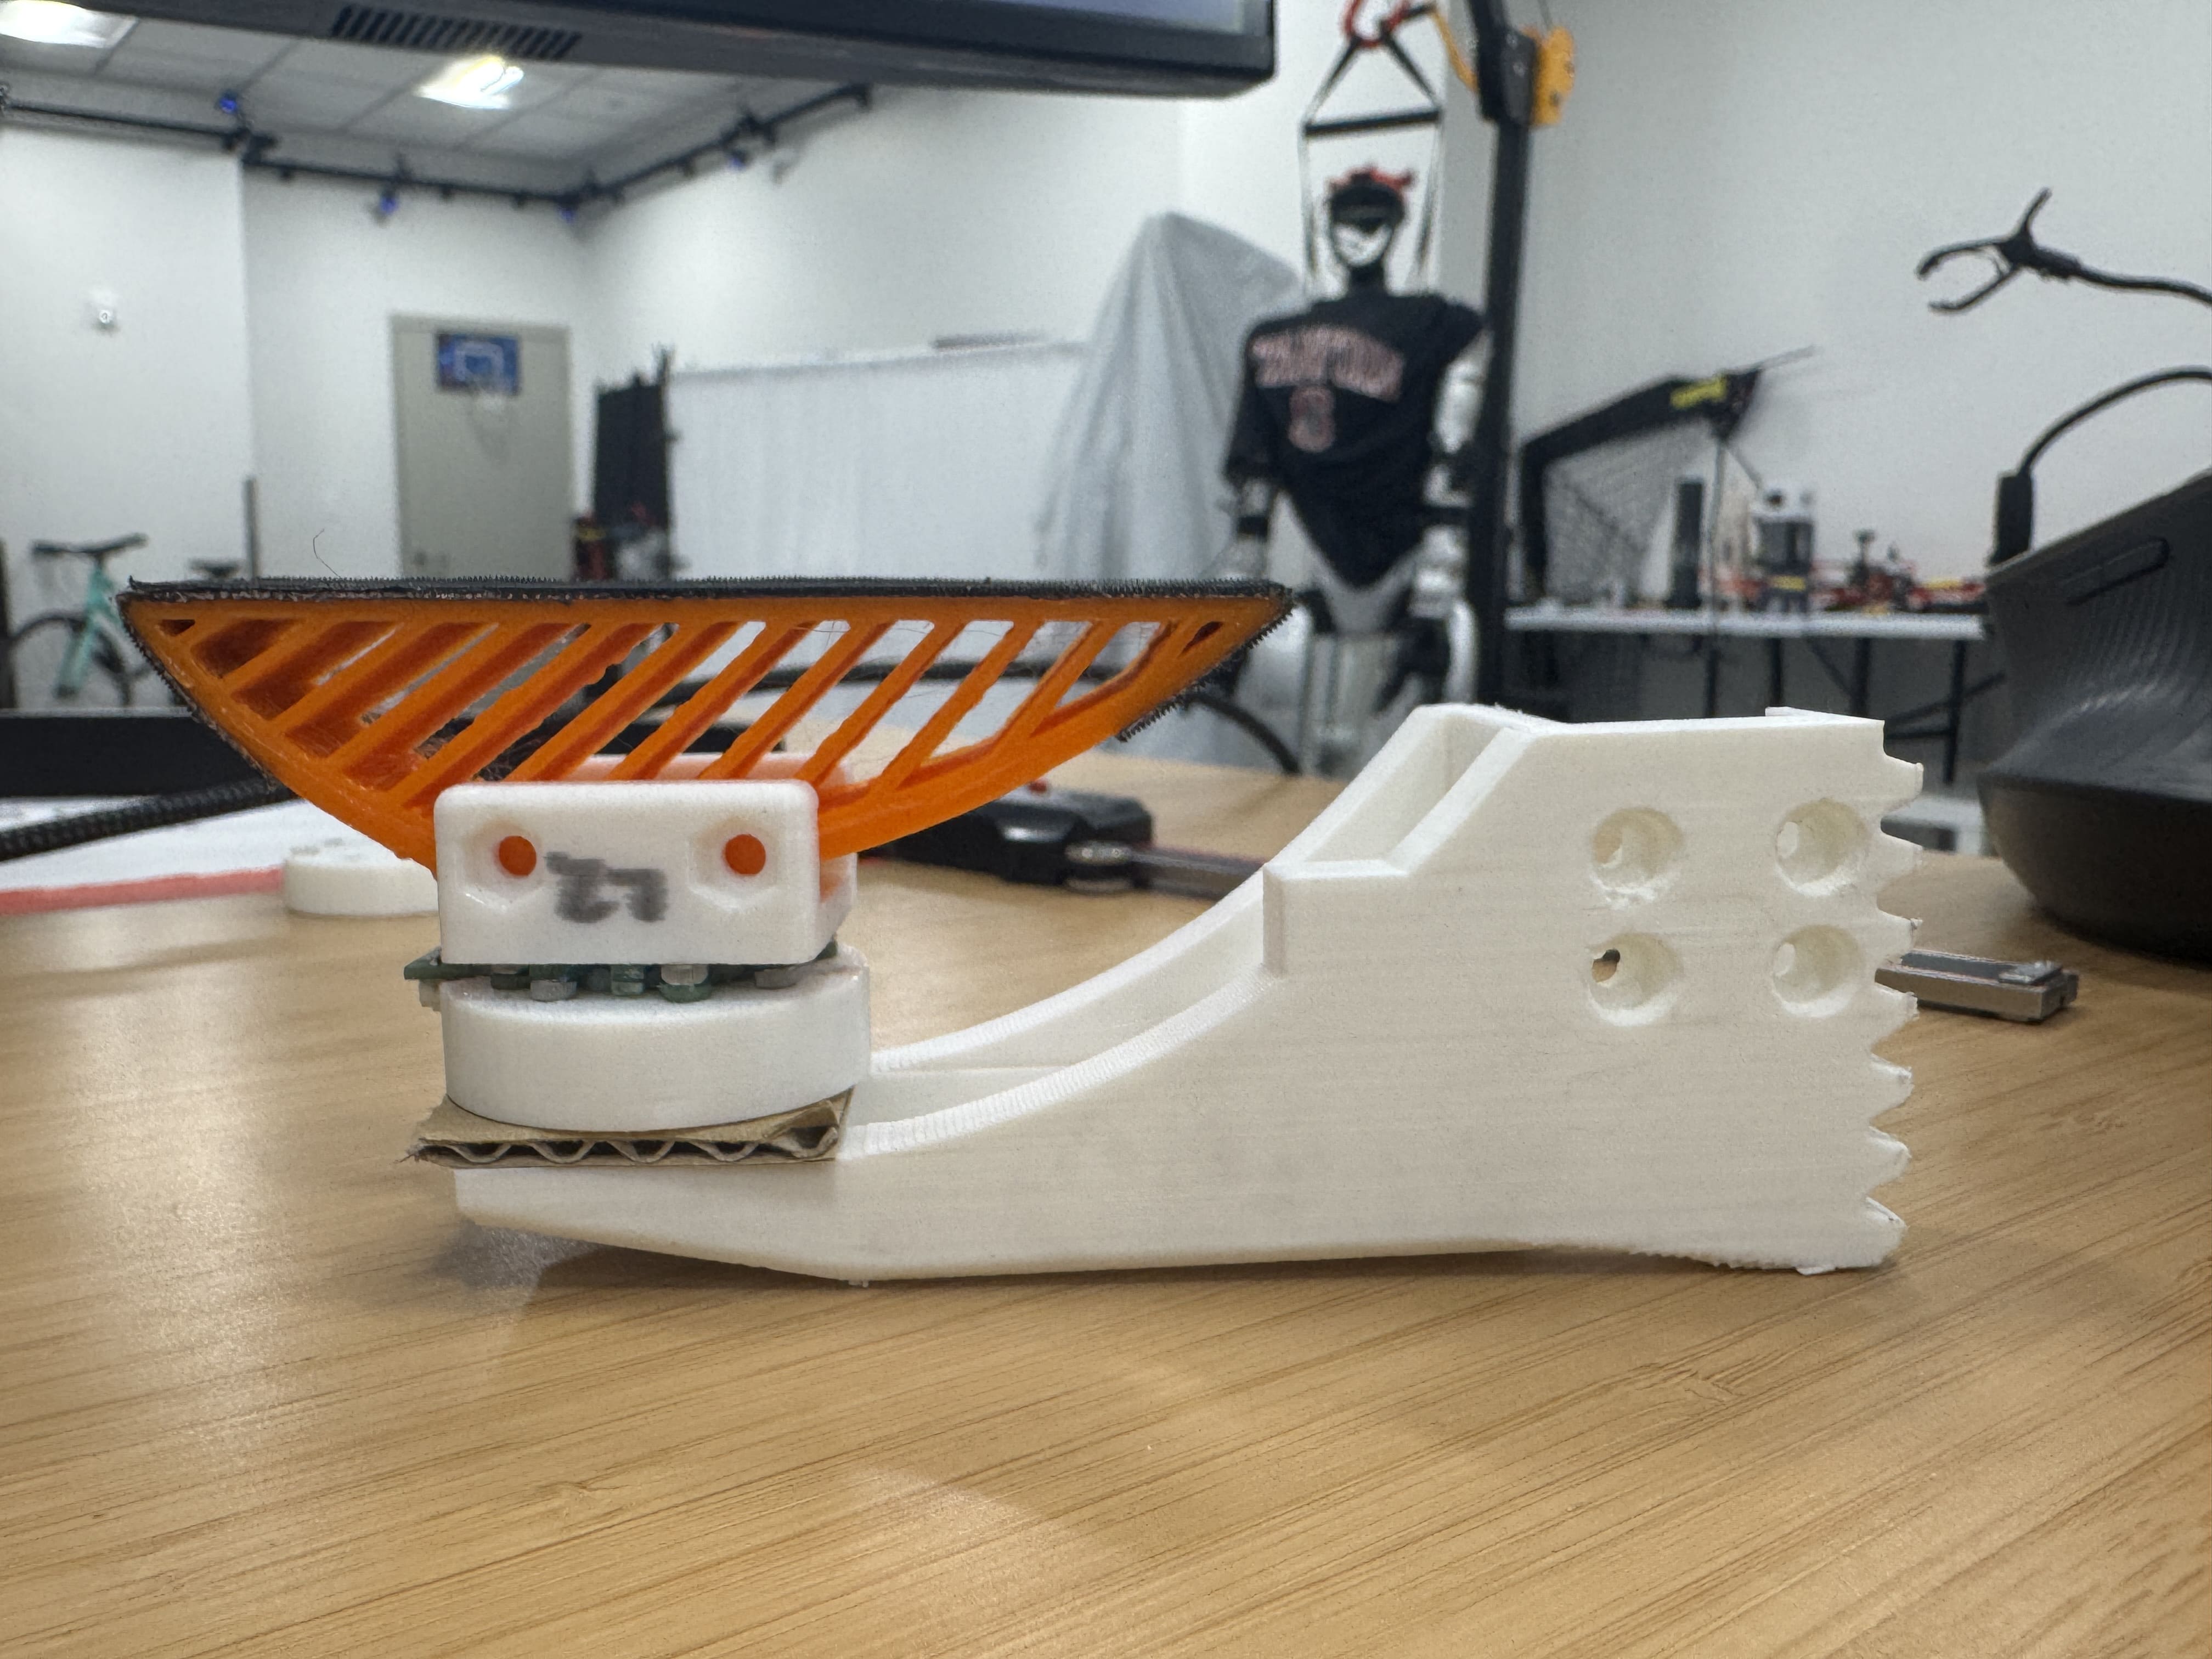
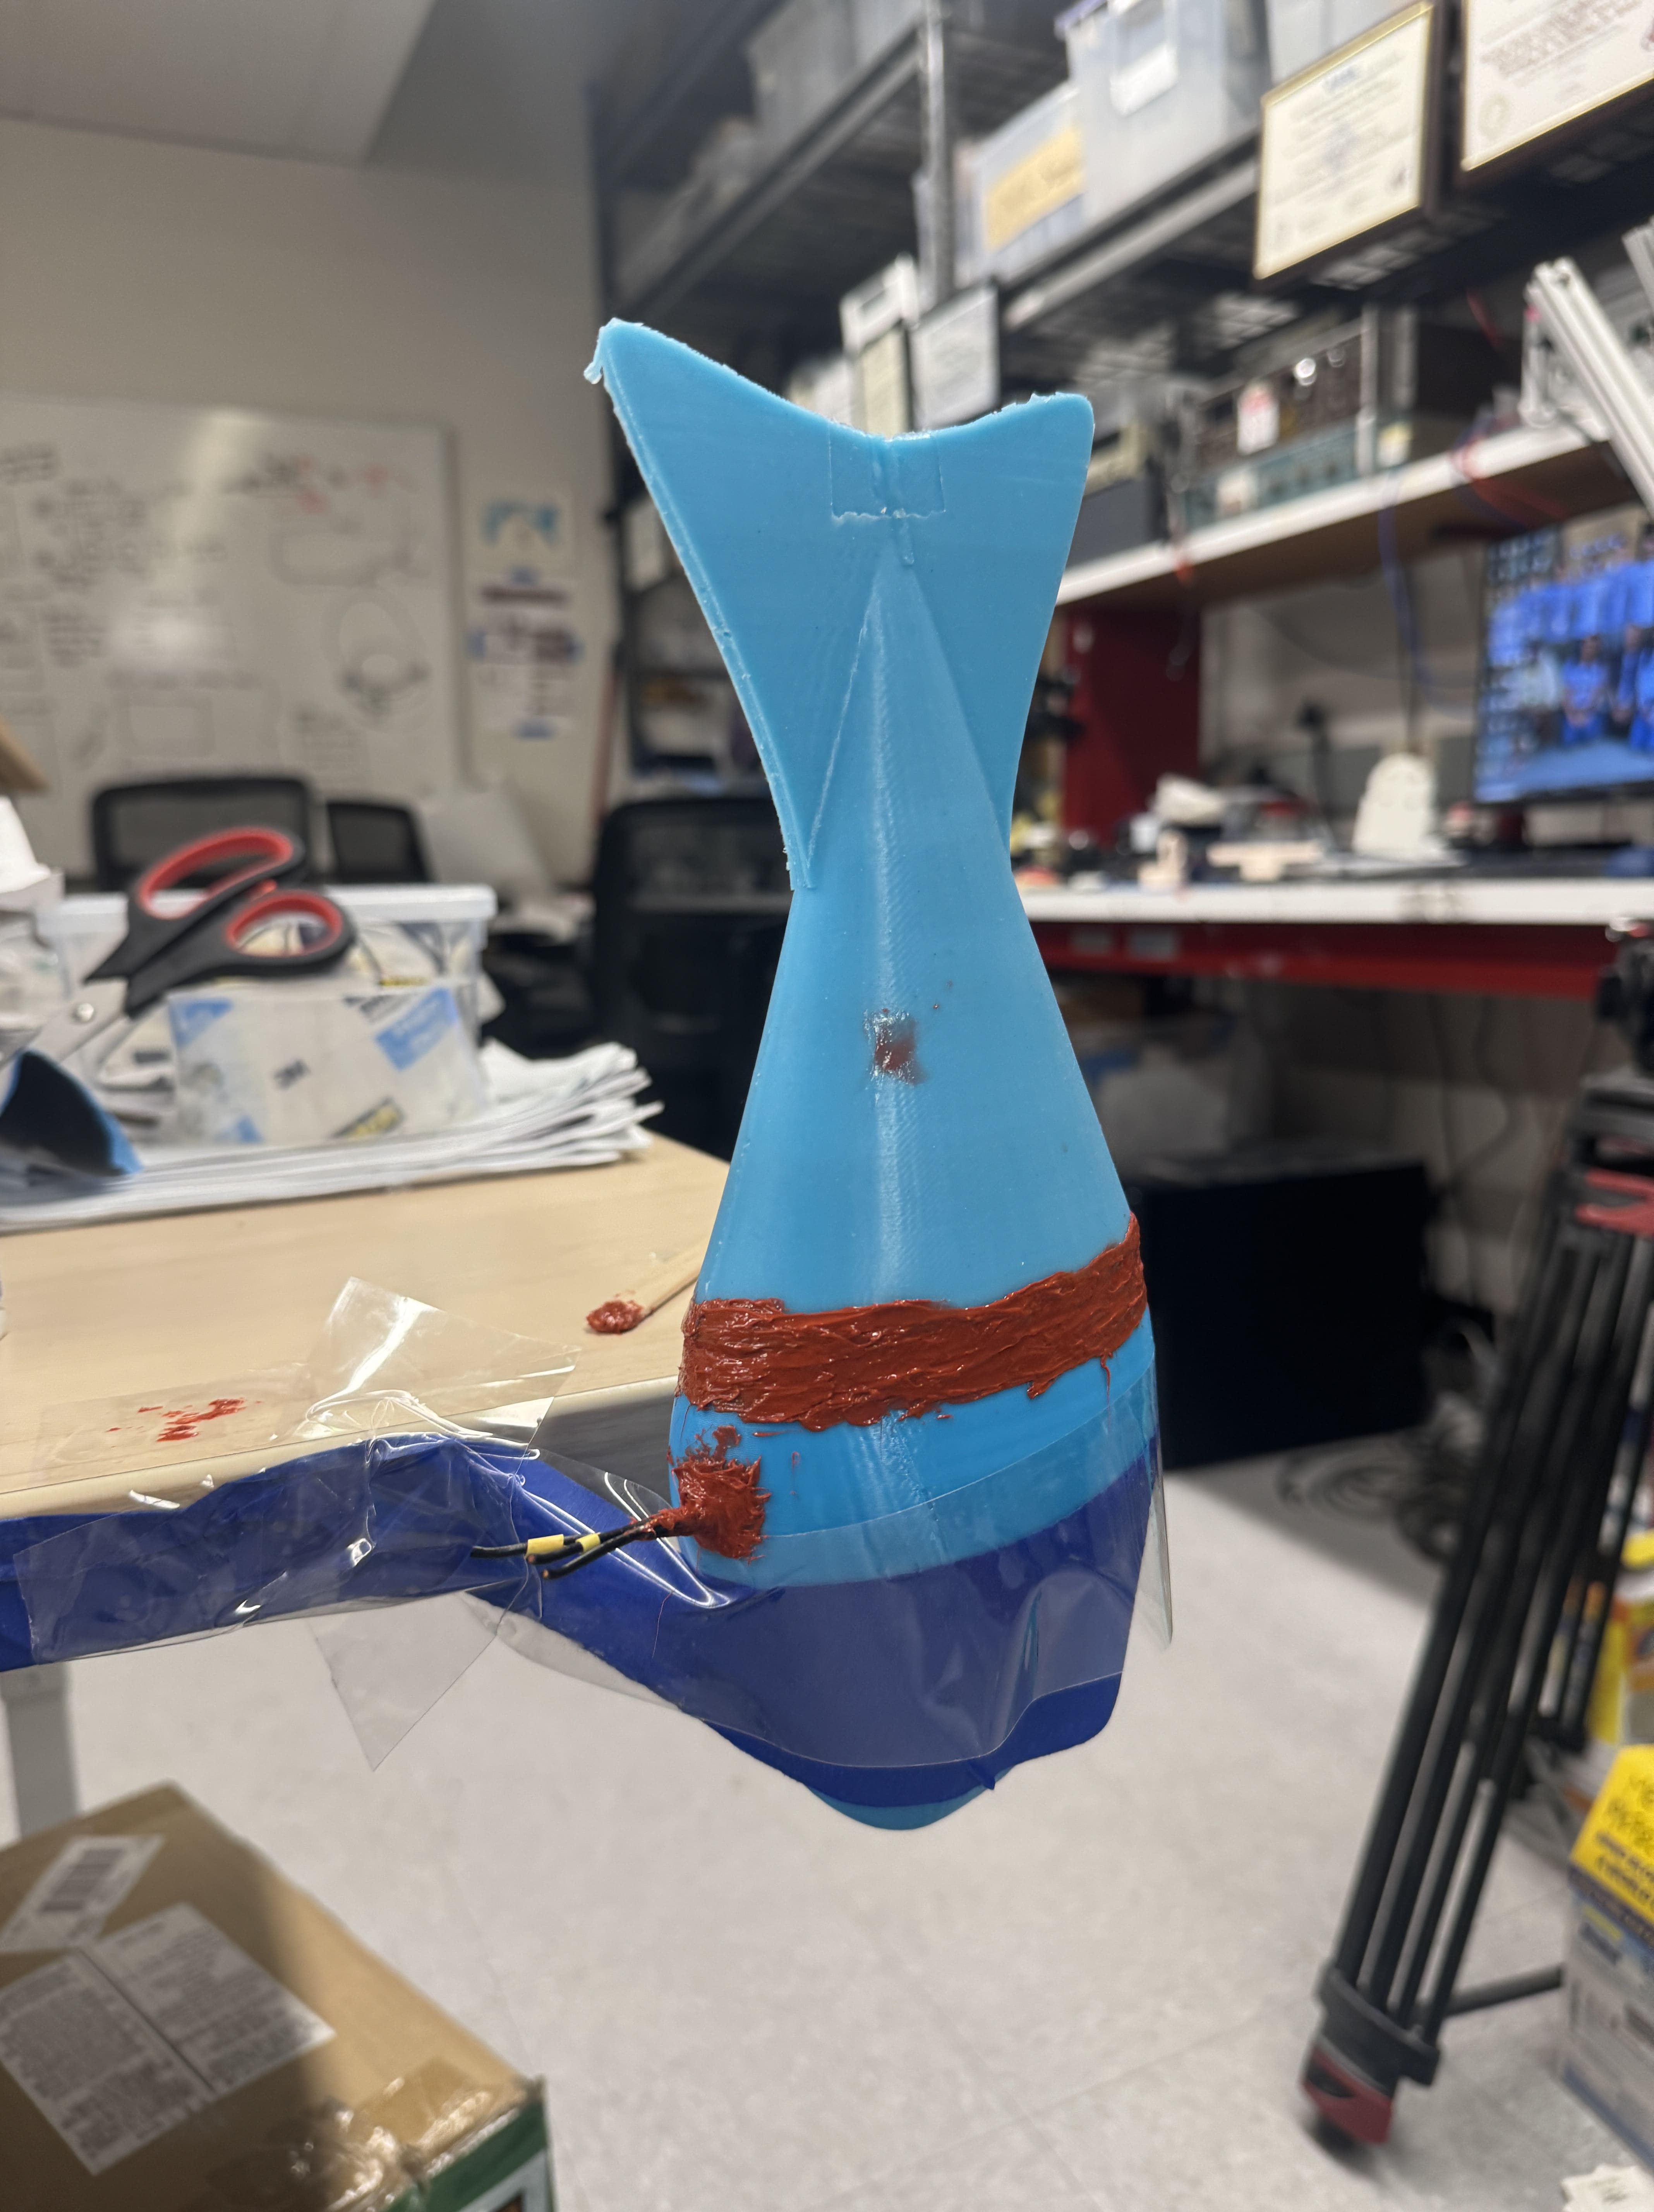
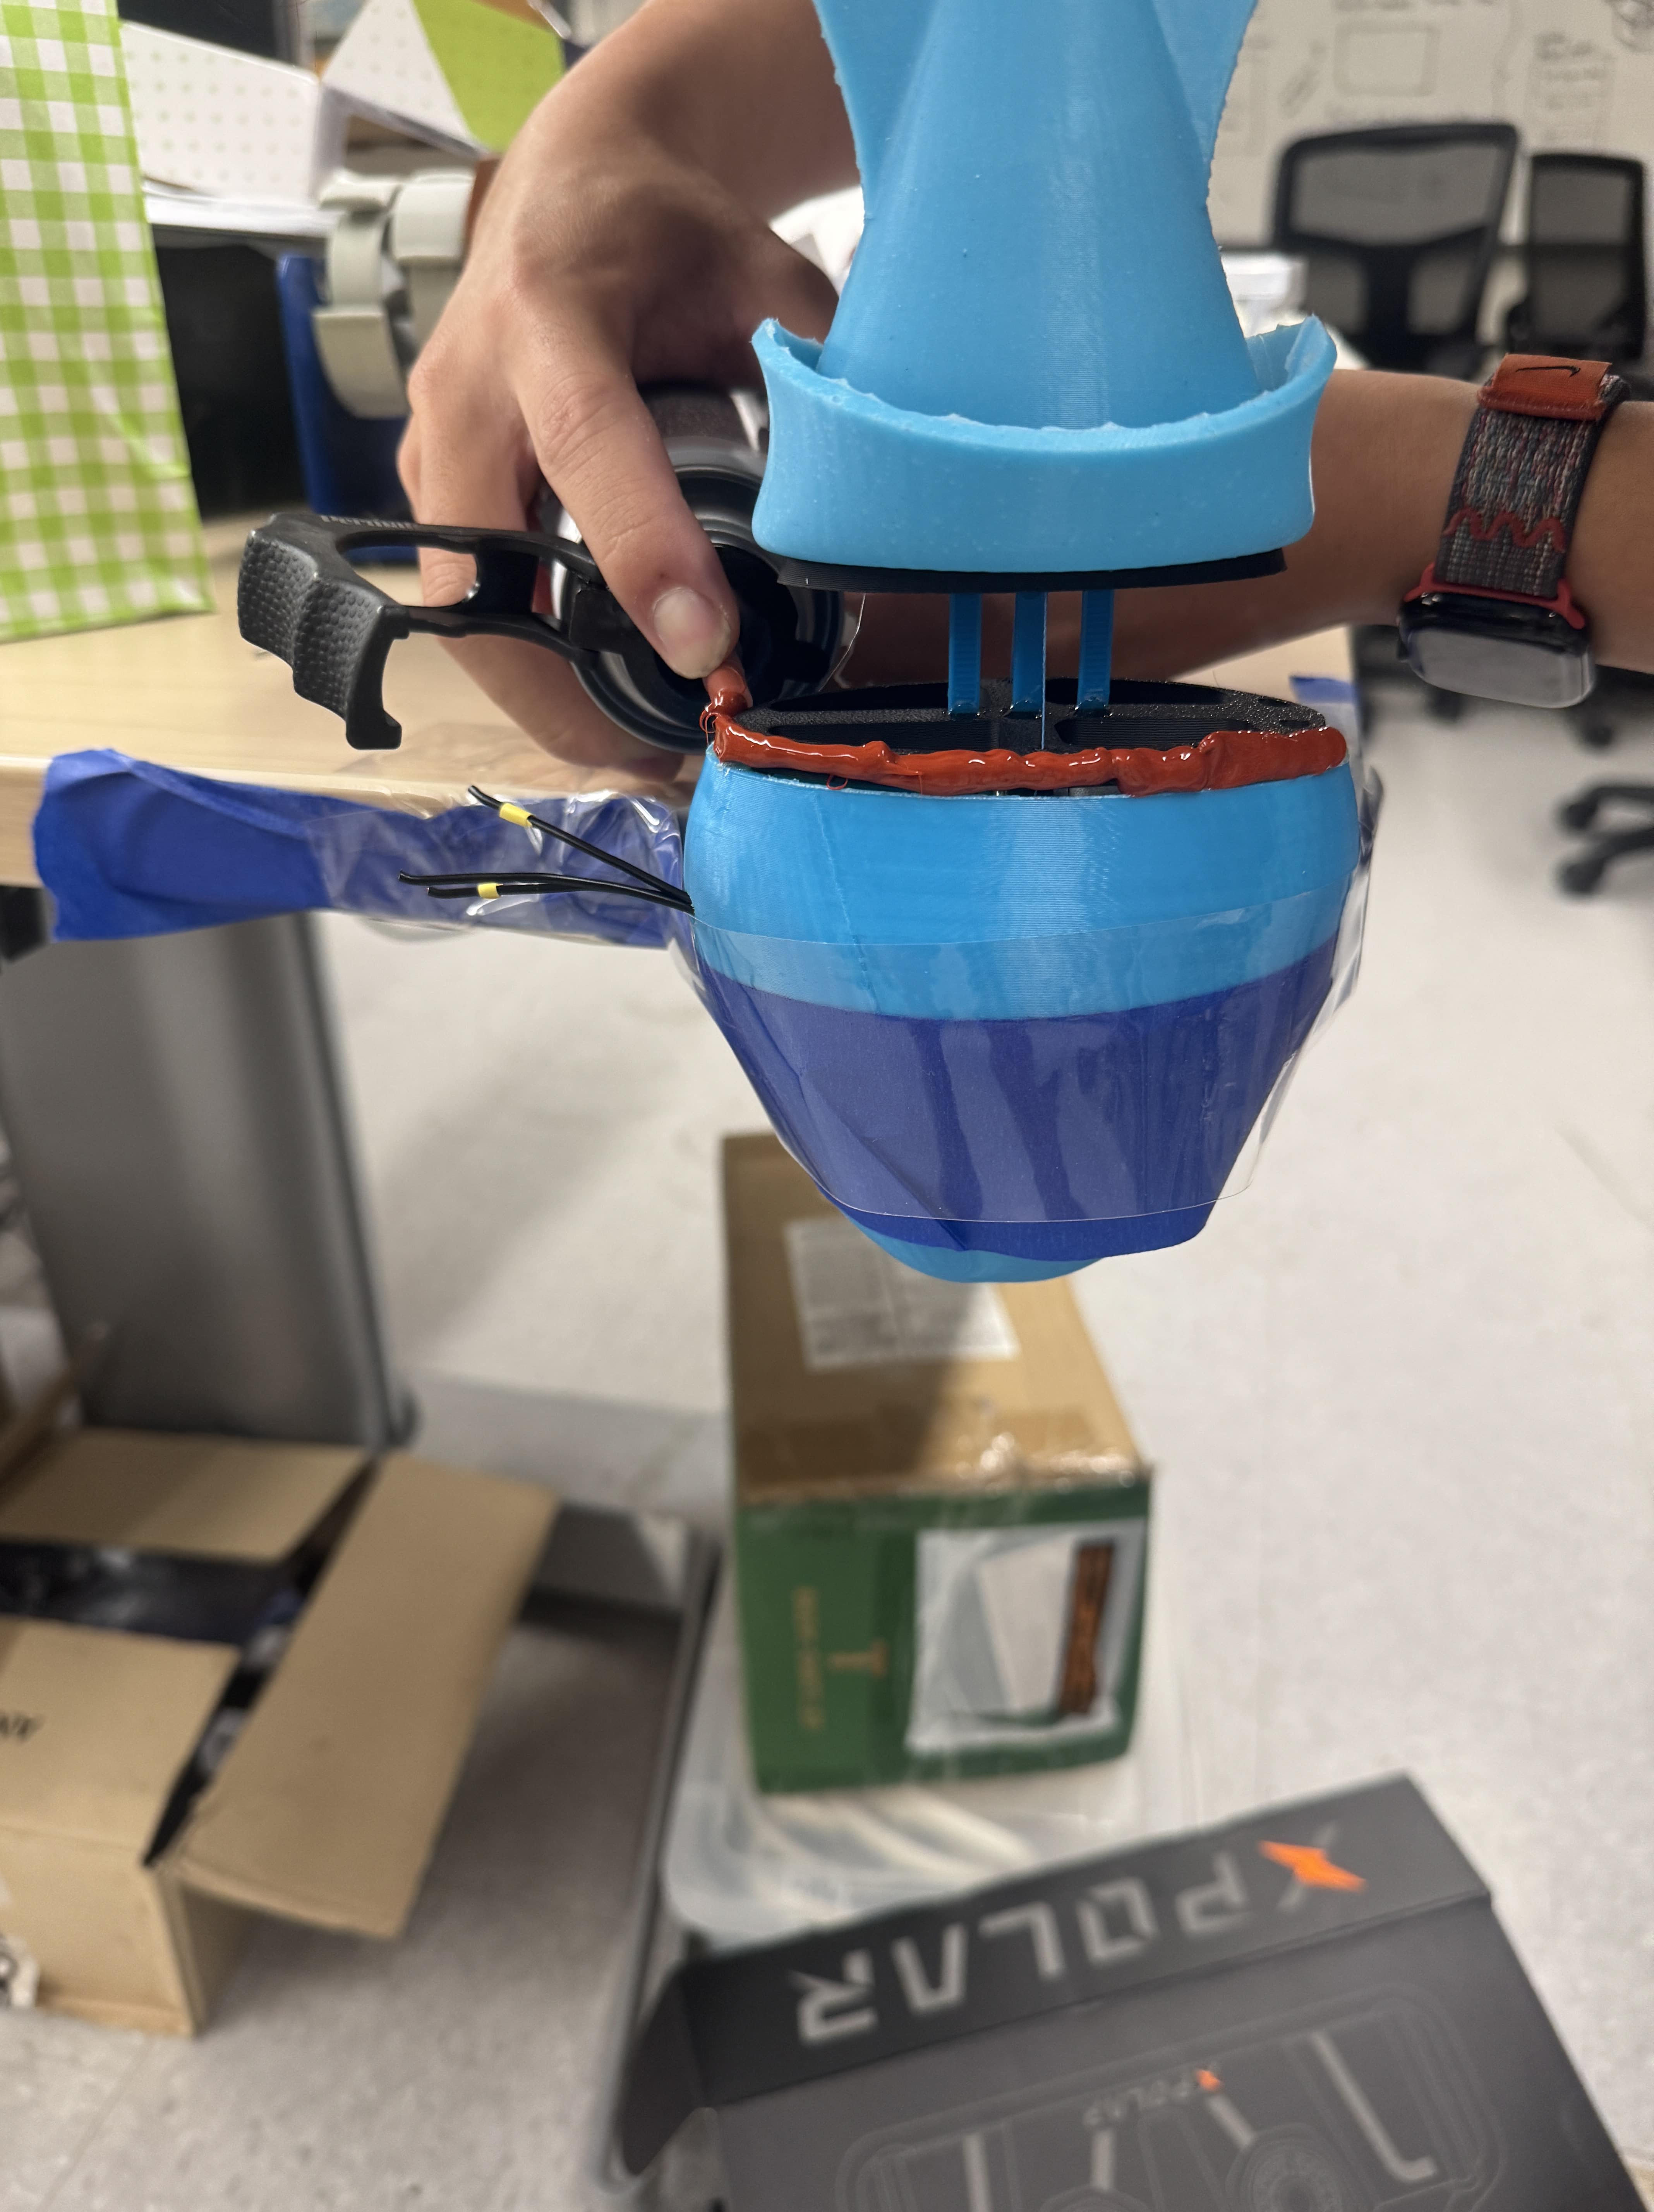
- Changed the design of the fuse to be directly incorporated inside the finger mount, saving a lot of space
- Flipped order of the "stack", being the finger mount, steel plate, CoinFT, and finger mount with finger attached.
- New orientation also helps with warping of CoinFT during assembly. (Steel plate is now epoxied onto CoinFT)
July 14 - July 18
General:
- Seongheon taught me the basics of strain gauges/sensors and Wheatstone bridges. He also showed me how to use the ATI sensors inside the lab to collect and plot data. (Using MATLAB)
Engineering Tasks:
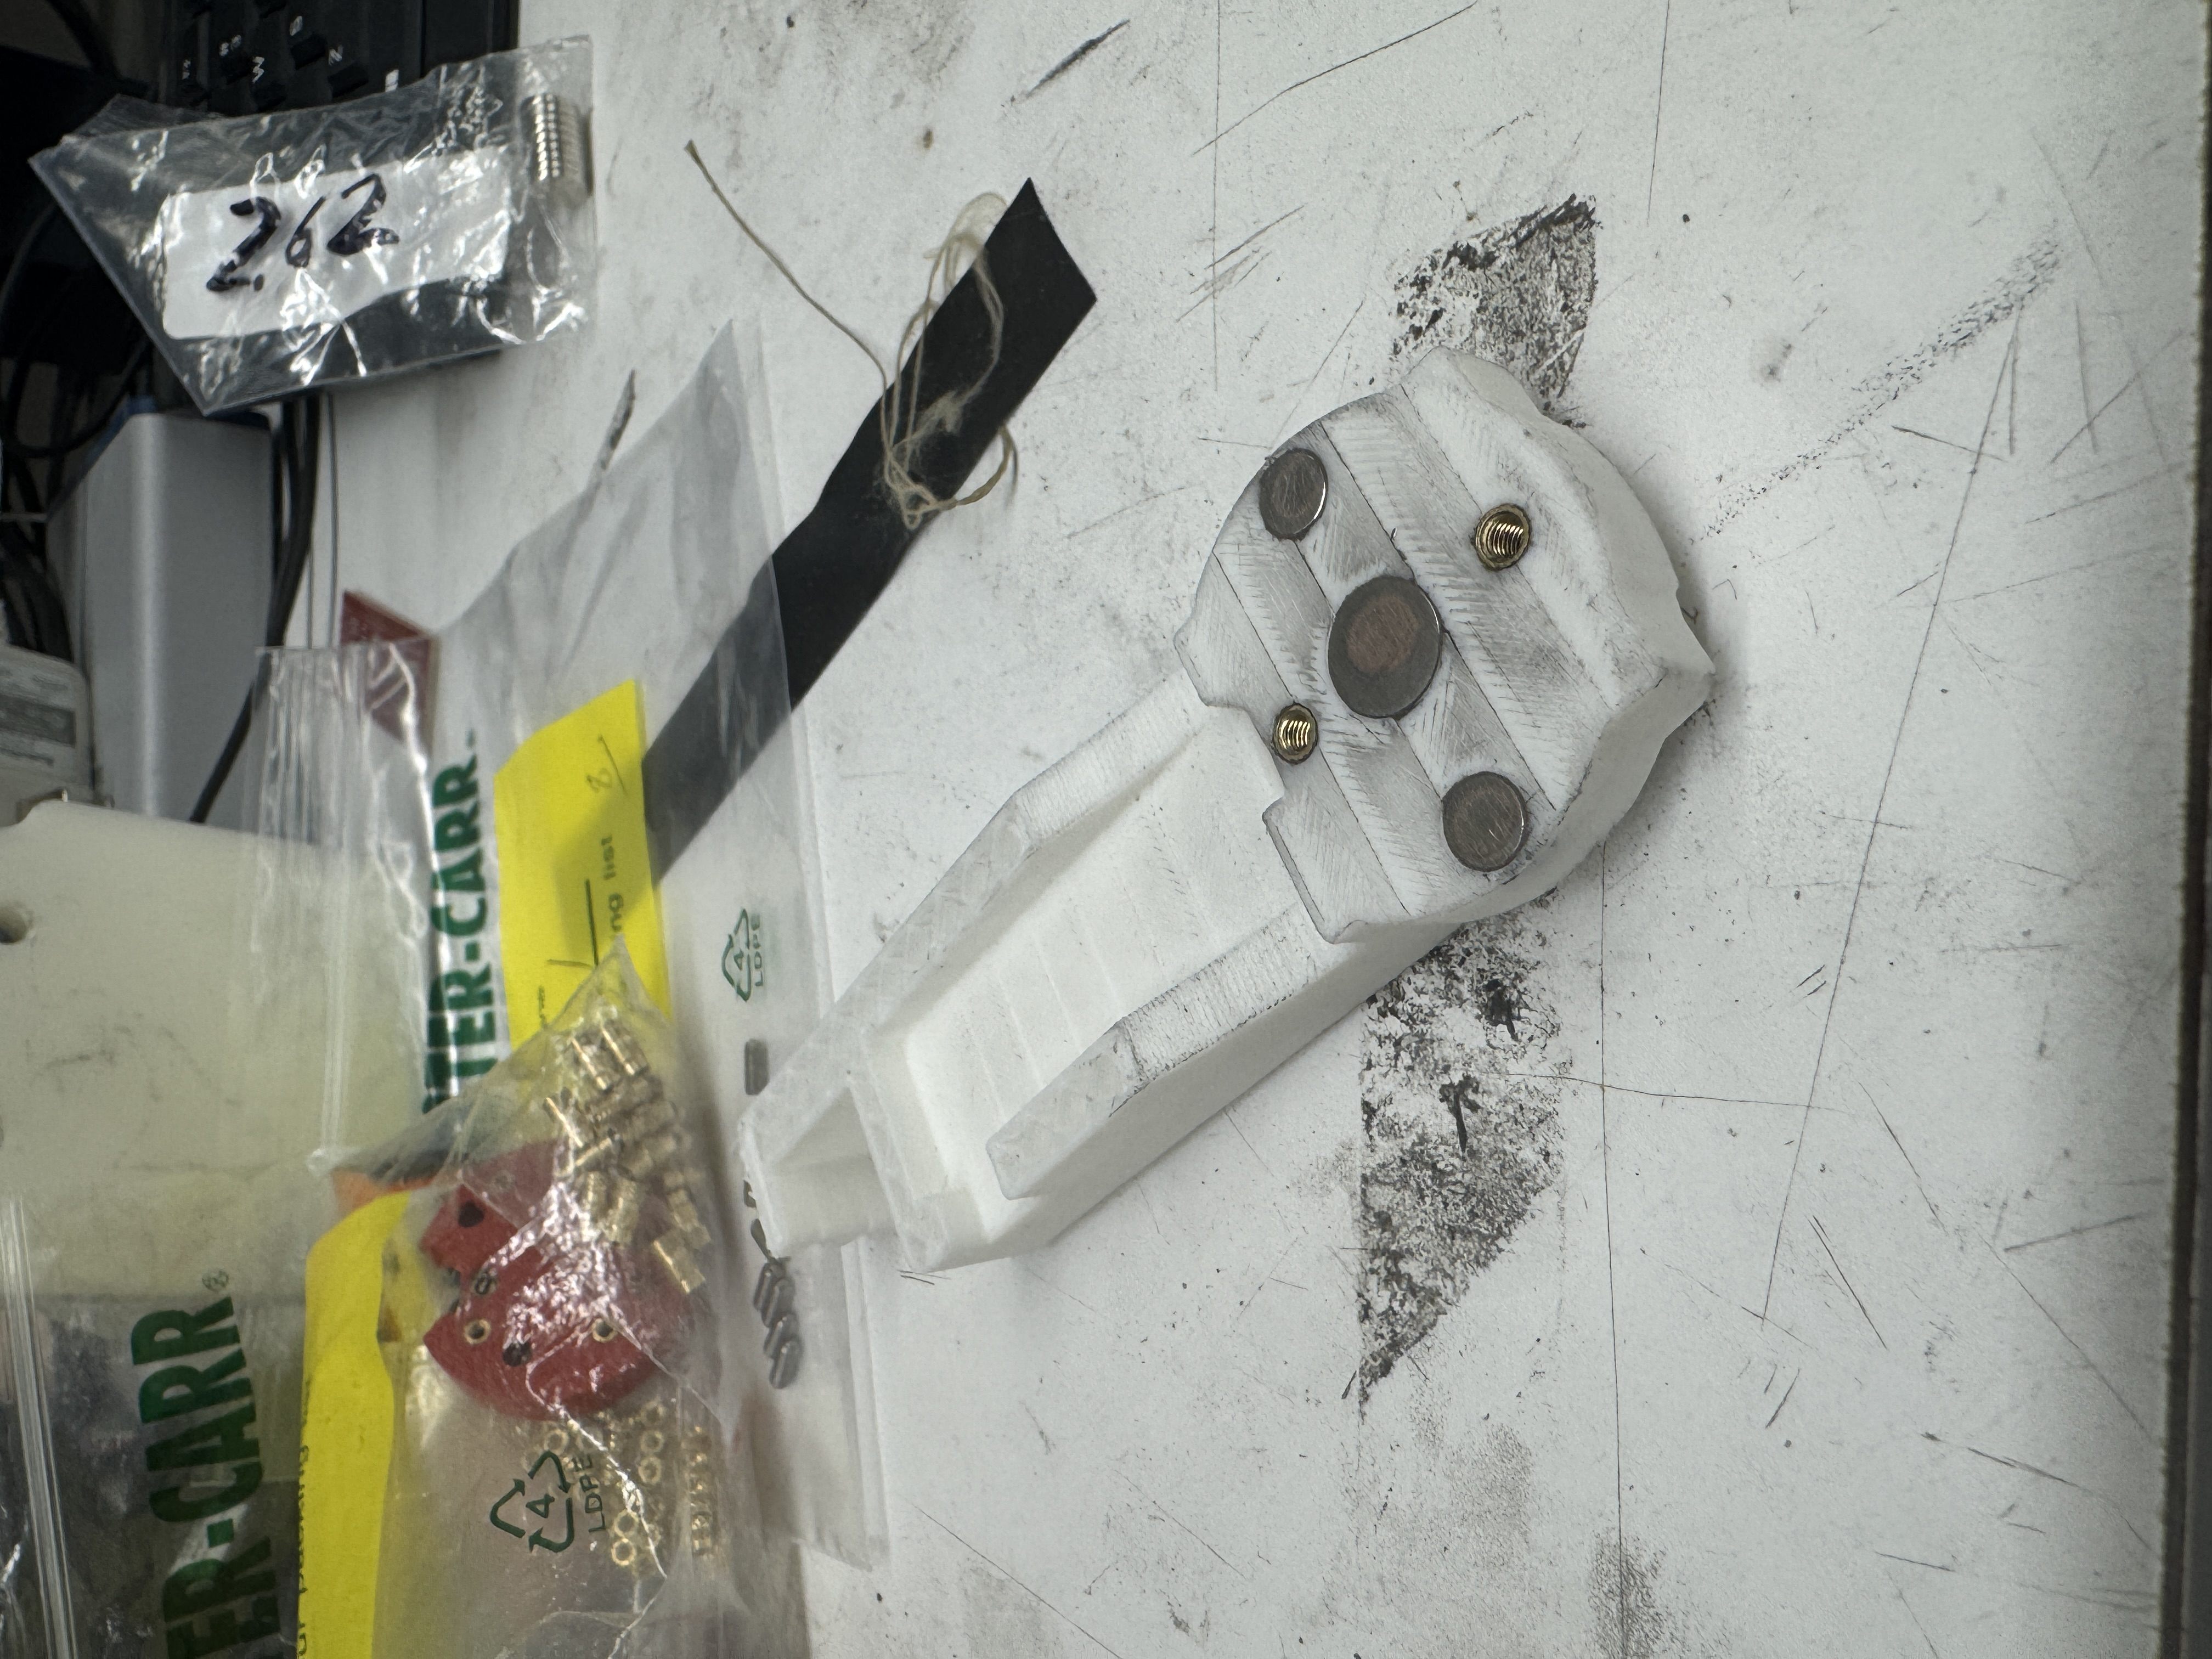
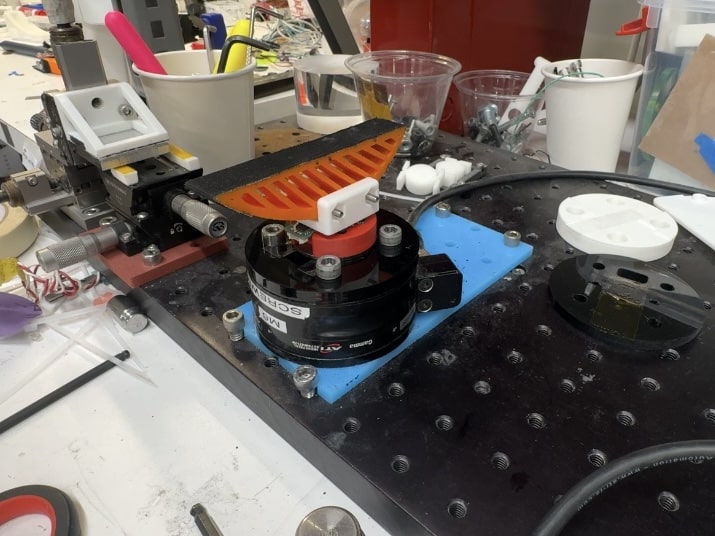
- Received all parts for prototypes of mechanical fuse: neodymium magnets, spring plungers, assembly hardware.
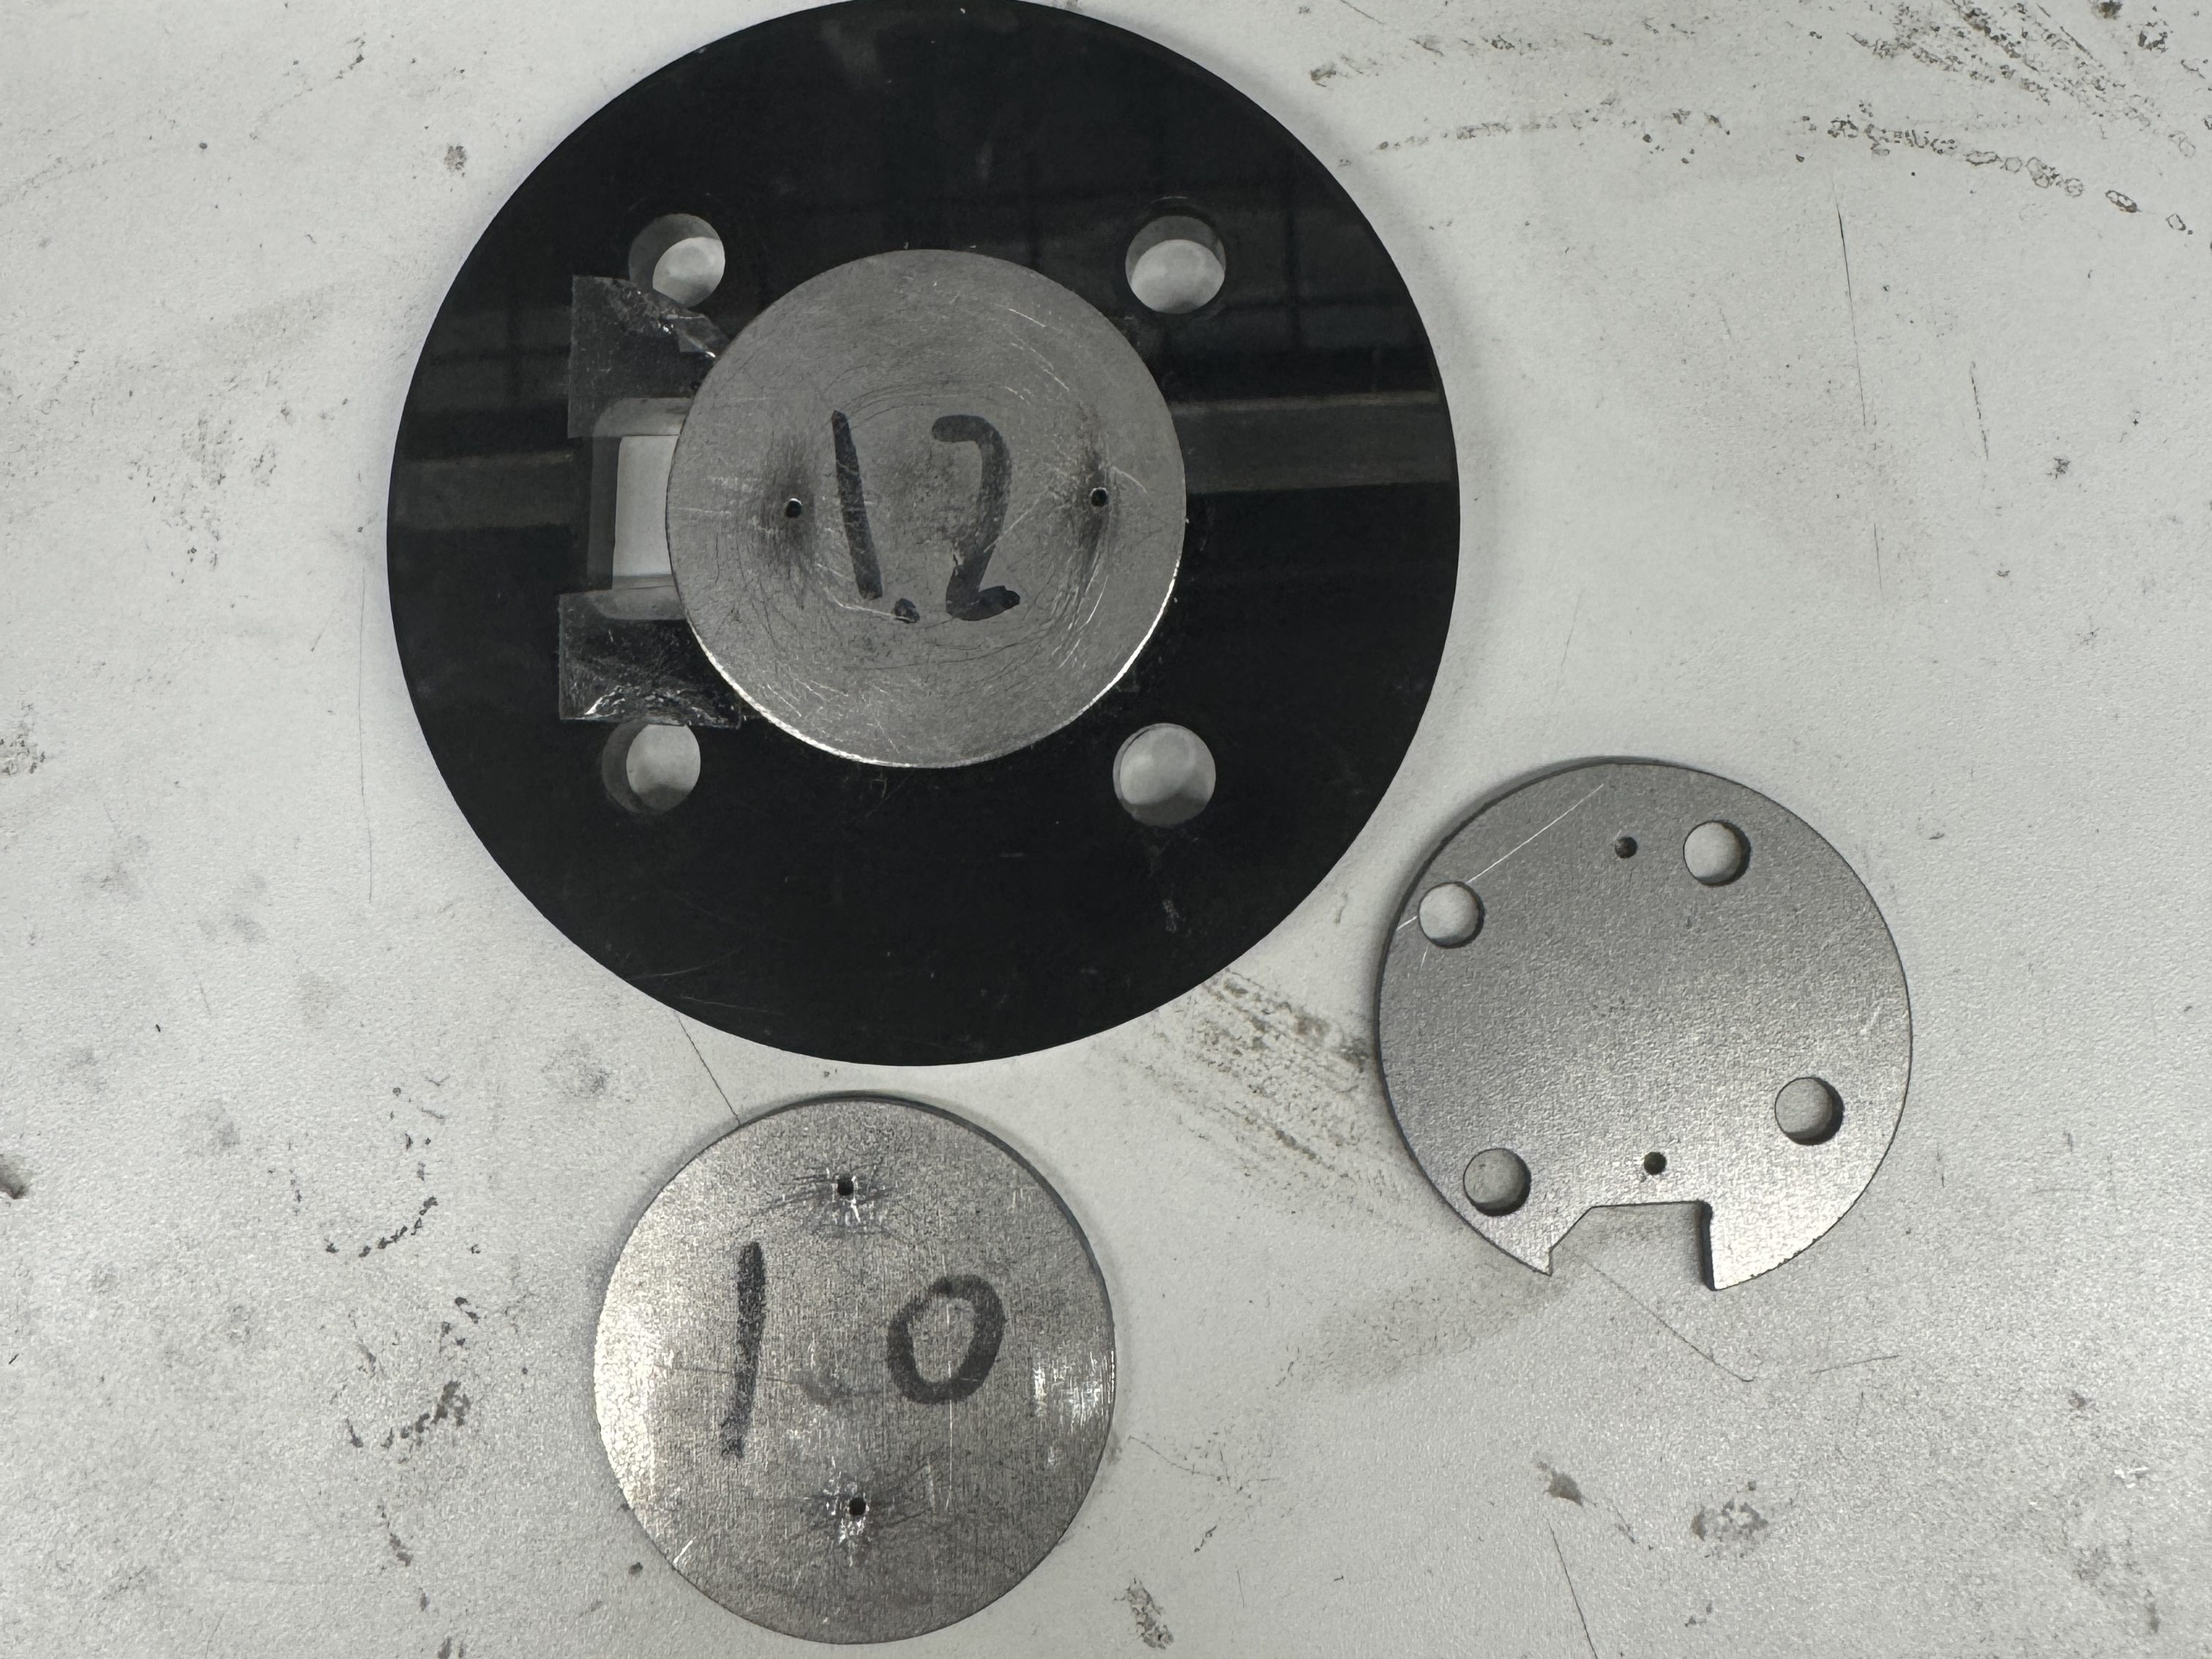
- Laser-cut steel plates (1mm, 2mm) to seat the spring plunger balls inside. Settled on 1.2mm size for security and ease of fitment.
- Made prototypes with magnets of different sizes and strengths, tested shear and normal strengths on the ATI sensor.
Prototypes:
Testing:
July 7 - July 11
General:
- Attended UmiFT meeting with the CS department. It was really interesting to see what topics are brought up and how everyone bounces ideas off of each other. Watching the skewer demonstration was also quite fun, as the team was trying to figure out good food products to use to test the UmiFT gripper with. (Zucchini currently reigns supreme due to its outer rigidity and soft texture inside)
Engineering Tasks:
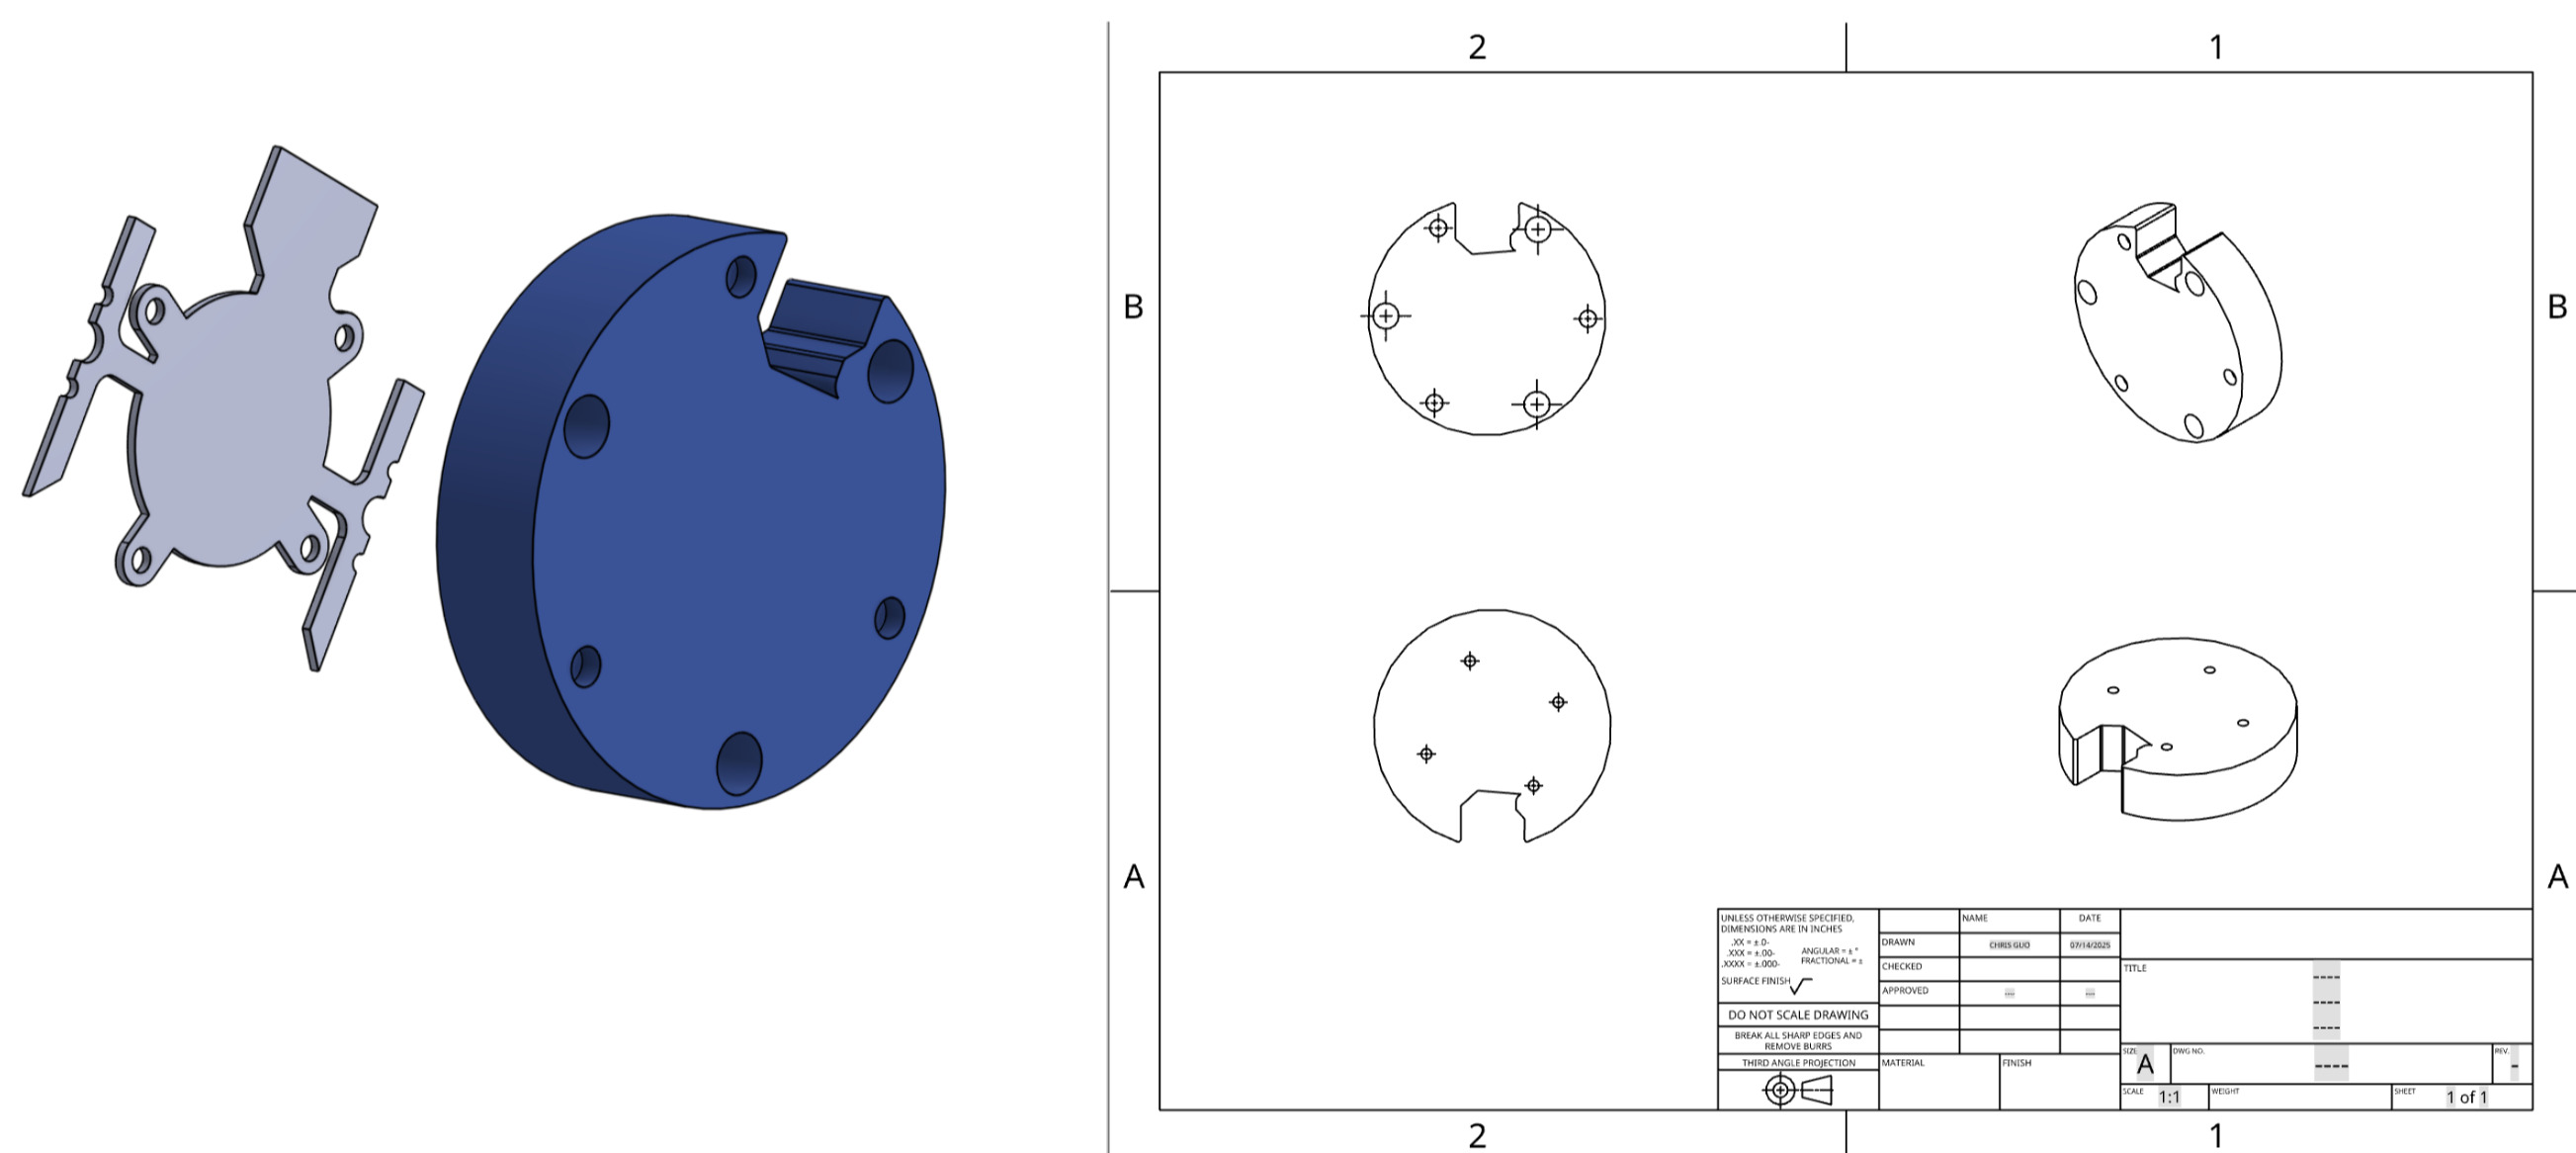
- Figured out the basic needs for the mechanical fuse for the UmiFT finger
- Discussed with SeongHeon and Mark about using magnets and spring plungers for secure seating
- CADed versions of the fuse for revision
- Figured out general magnet strength needed to maintain finger connection to the UmiFT but also "breakability" to save CoinFT sensor.
- Ordered parts for updated design
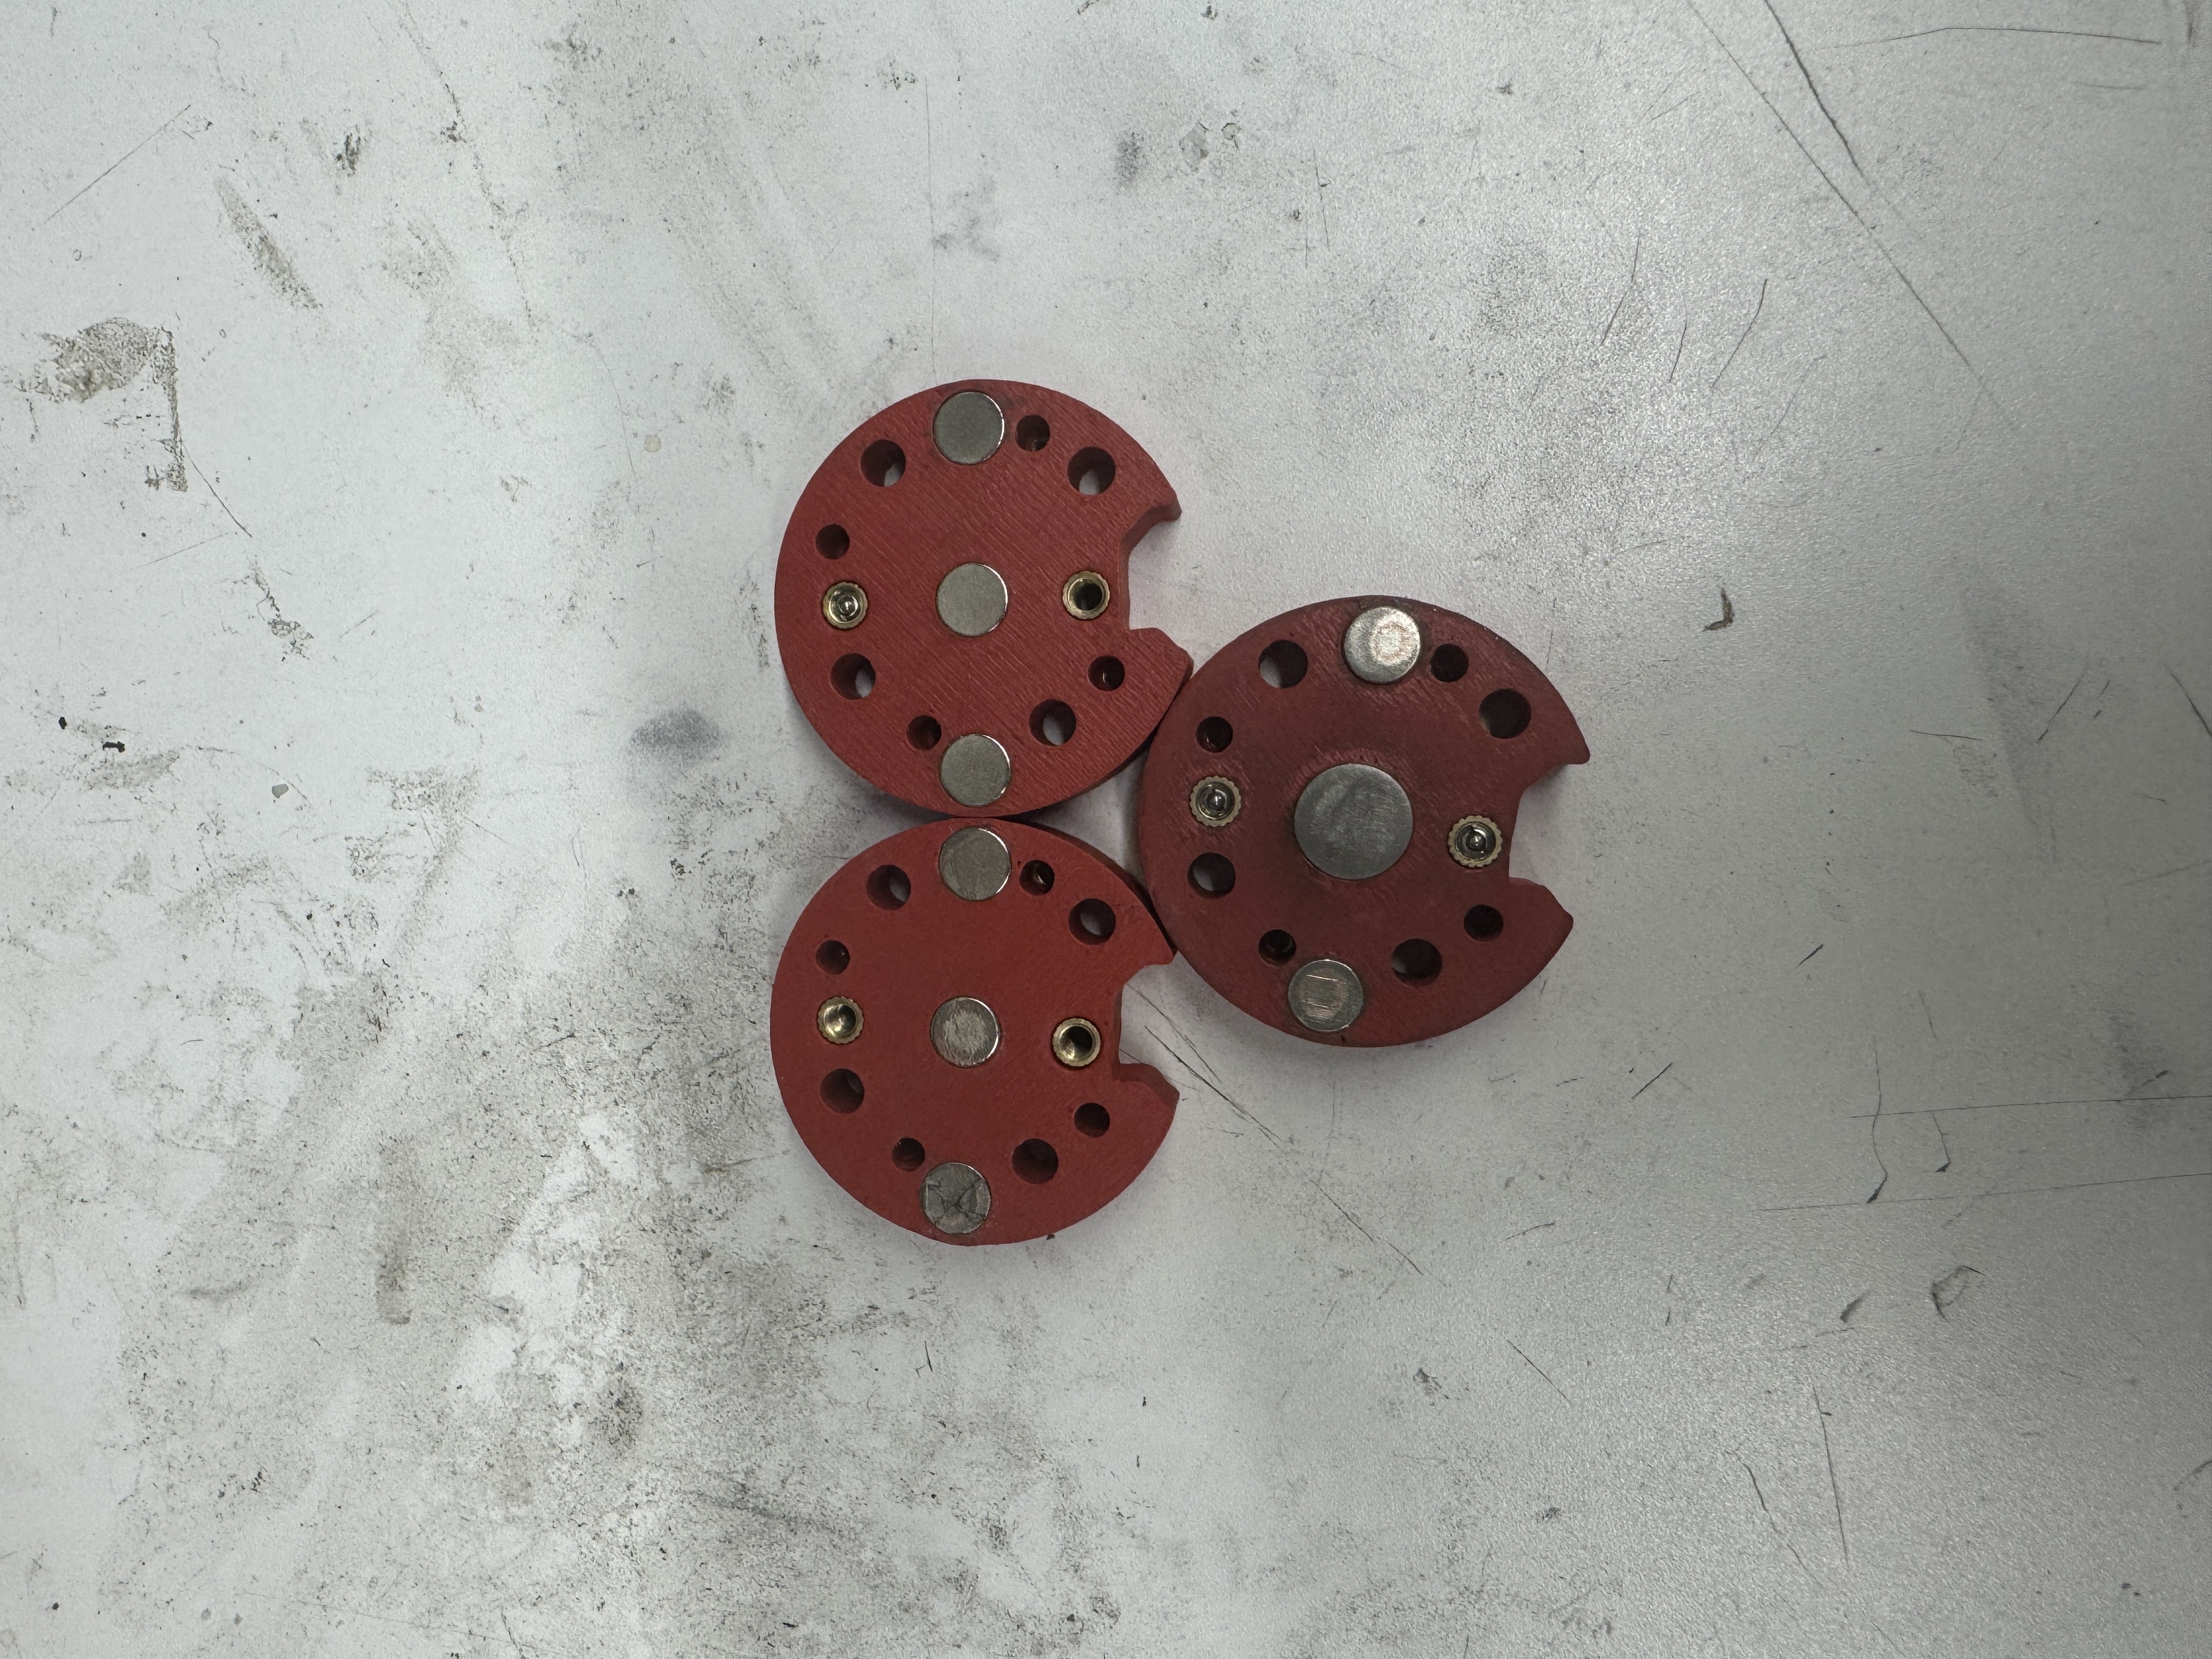
Prototype 1:
This version includes M4 inserts for M4-sized spring plungers. I used circumscribed triangles to extrude 6 holes (3 for spring plungers, 3 for magnets)
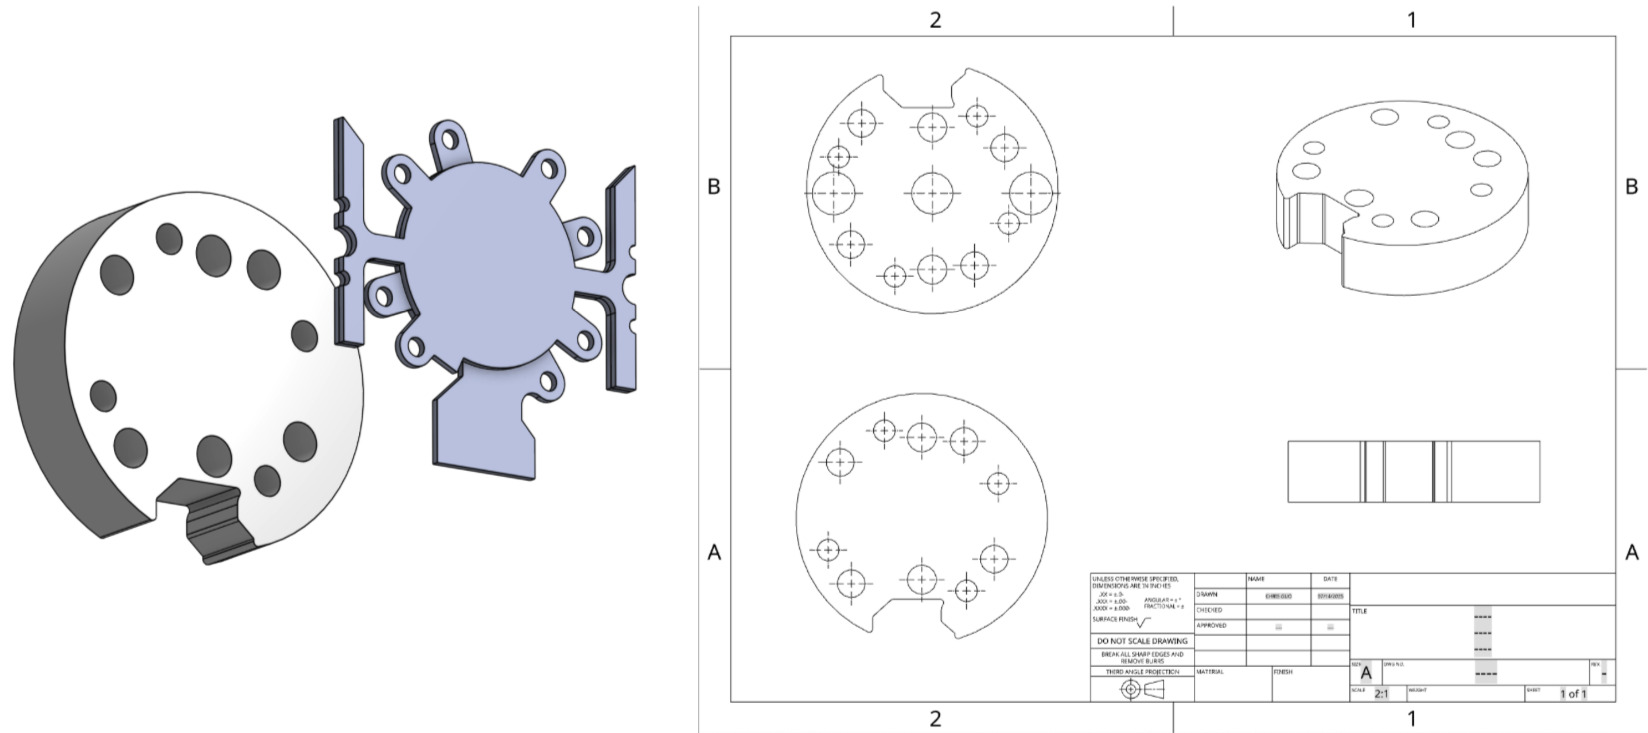
Prototypes 2 - 5:
These versions iterated on V1, changing things like heat insert diameters (M4 to M3), adding holes for assembly, and changing the number of spring plungers and magnets that will be used in the final design. I decided on 3 magnets and 2 spring plungers for V5, as there was limited space due to the smaller design and less space due to the extra holes.
June 30 - July 4
General:
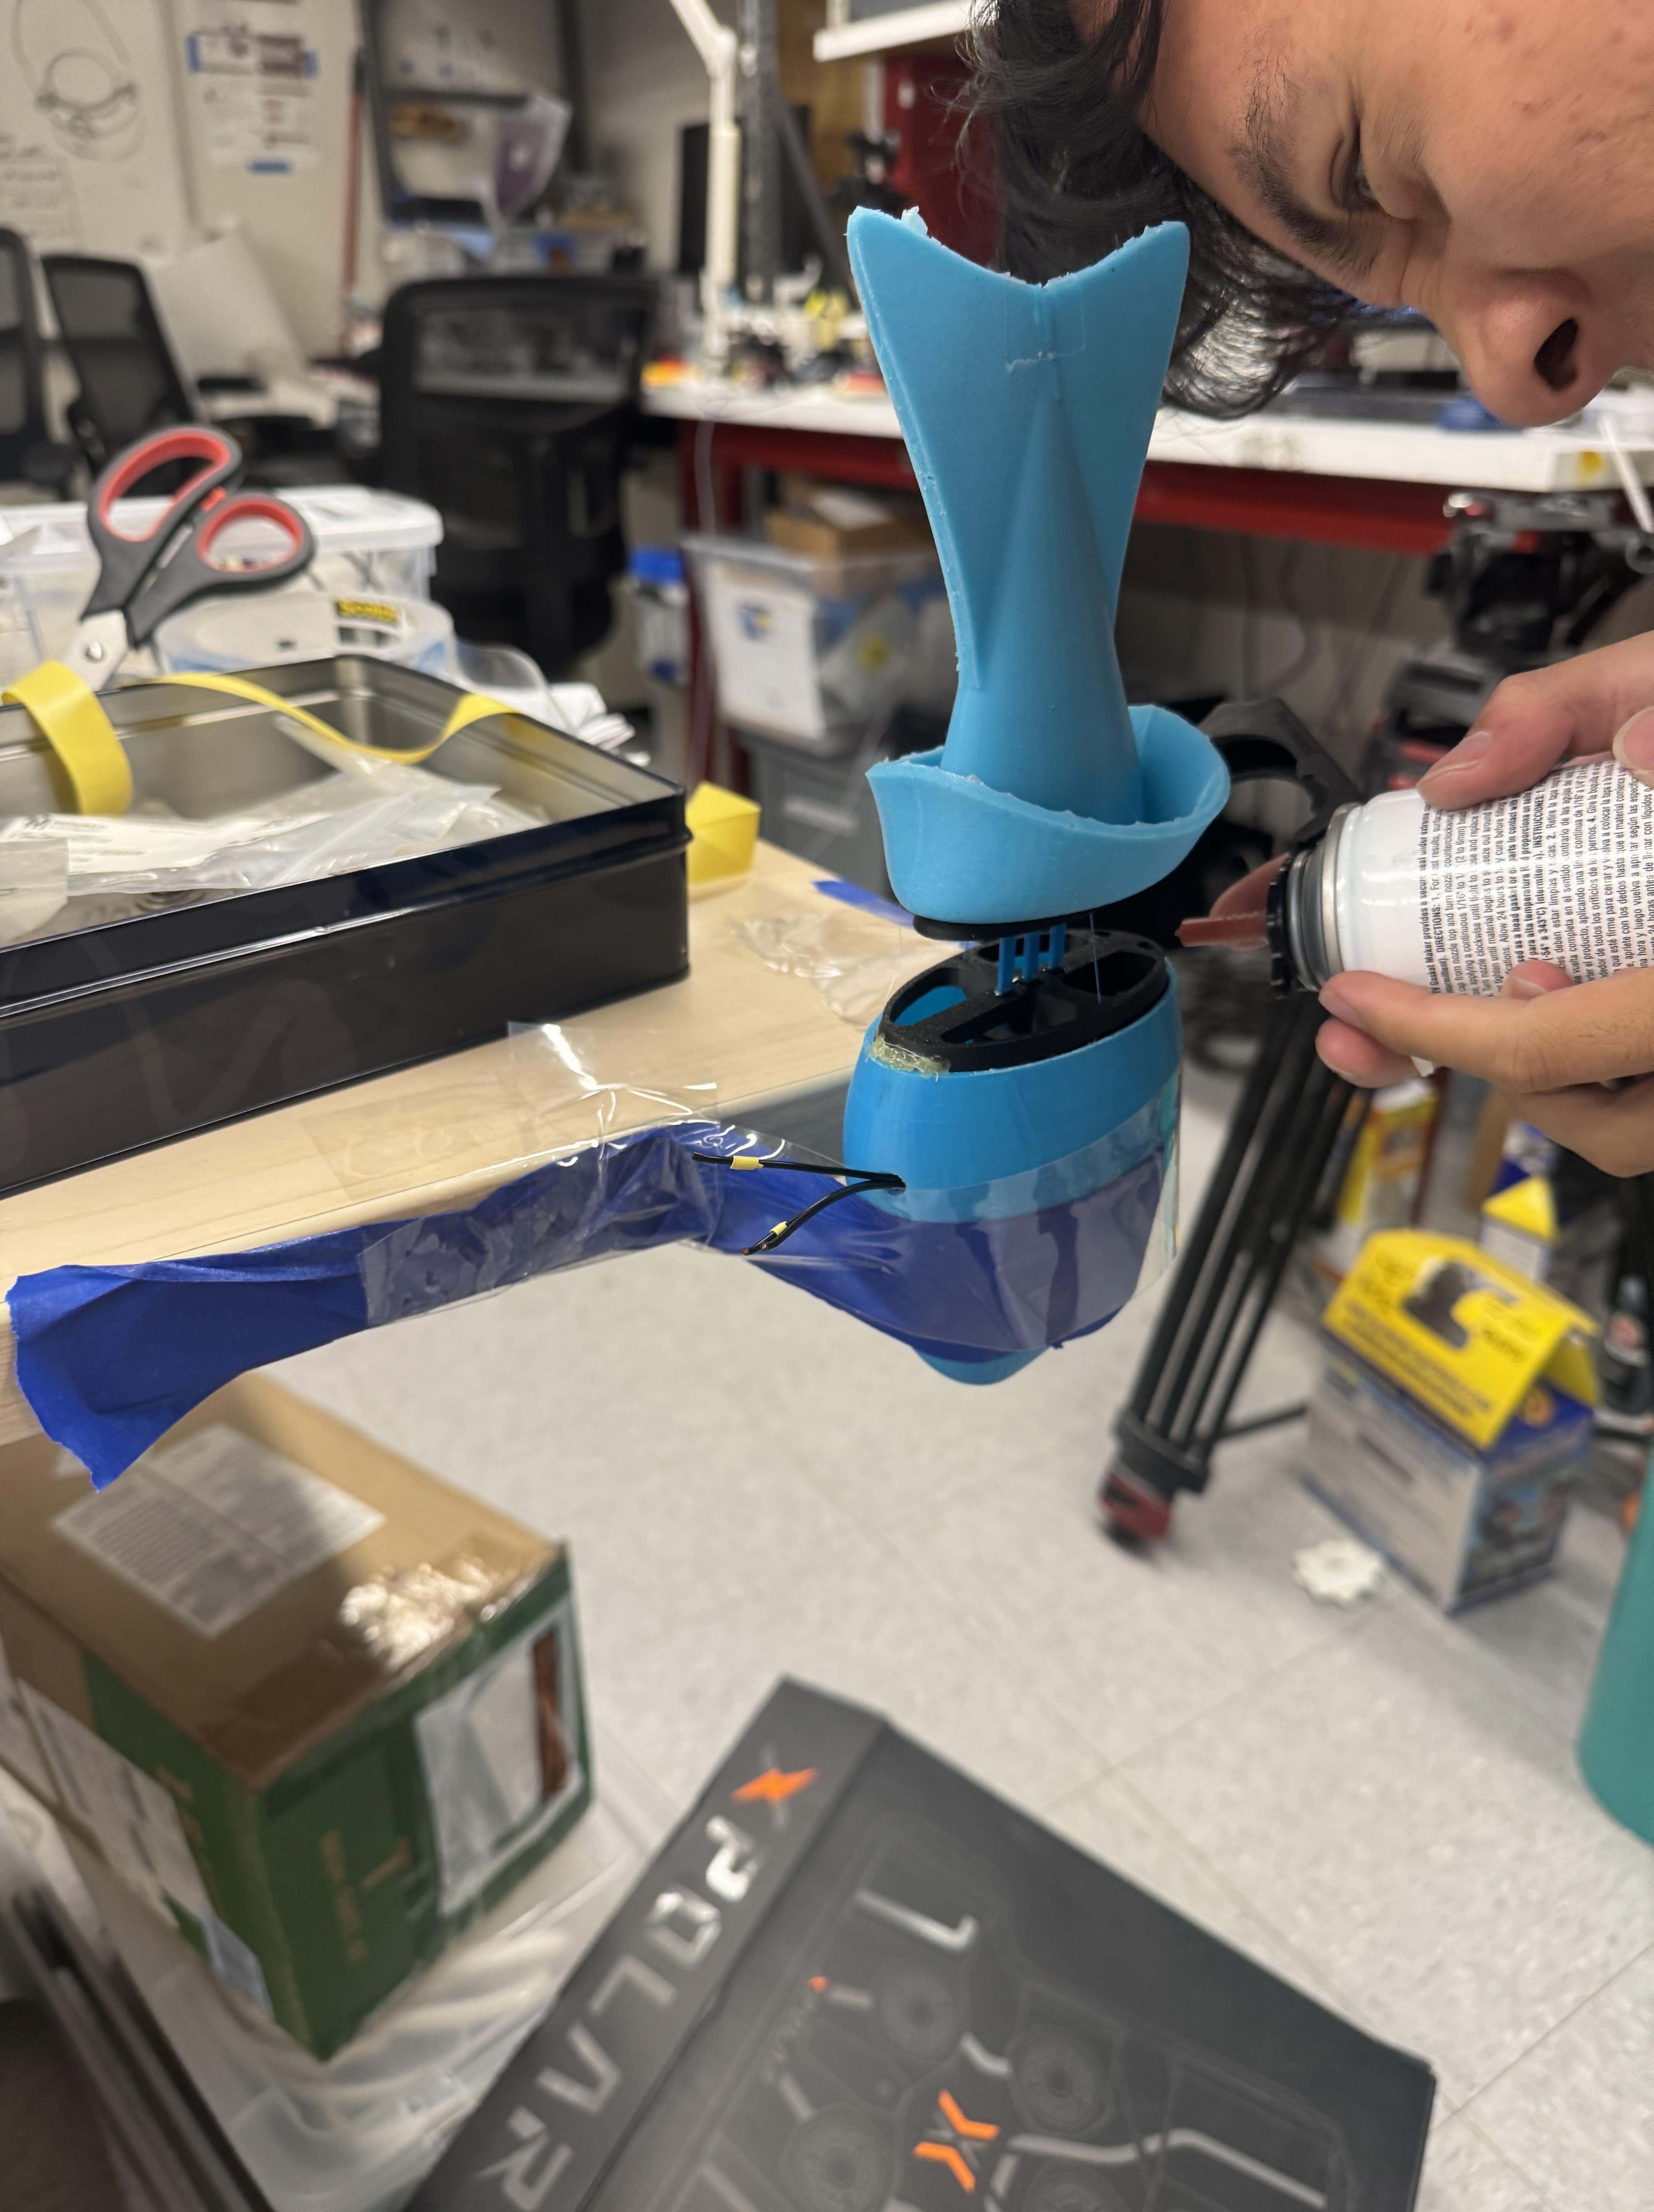
- Worked with Stanley on his Fish Bot, using some questionable assembly procedures... (It swam though!)
Research Tasks:
- Read paper about CoinFt sensor: https://arxiv.org/pdf/2503.19225

- Learned about how the sensor works, its strengths in the normal direction and weaknesses in the shear direction (because of the silicone pillar layer between the sensing PCBs)
- Met with Seongheon about UmiFt
- Discussed current progress and next steps in the project
- Decided to join the team until early August to design the mechanical fuse for CoinFt
Engineering Tasks:
- Attended Venny's workshop about 2D kinematics for robots with revolute and prismatic joints.
- Learned about forward vs inverse kinematics
- Derived basic formulas for 2D forward + inverse kinematics
June 23 - June 27
General:
- Met amazing new lab members
- Went through lab safety training
- Reorganized lab
- Ate delicious BDML burgers and hotdogs
Research Tasks:
- Read and discussed a paper about agricultural robotic harvesting systems: https://www.mdpi.com/2077 0472/12/8/1240
- Think about possible research topics for the rest of the summer (ReachBot, Gecko Gripper, Tactile Sensor)
Engineering Tasks:
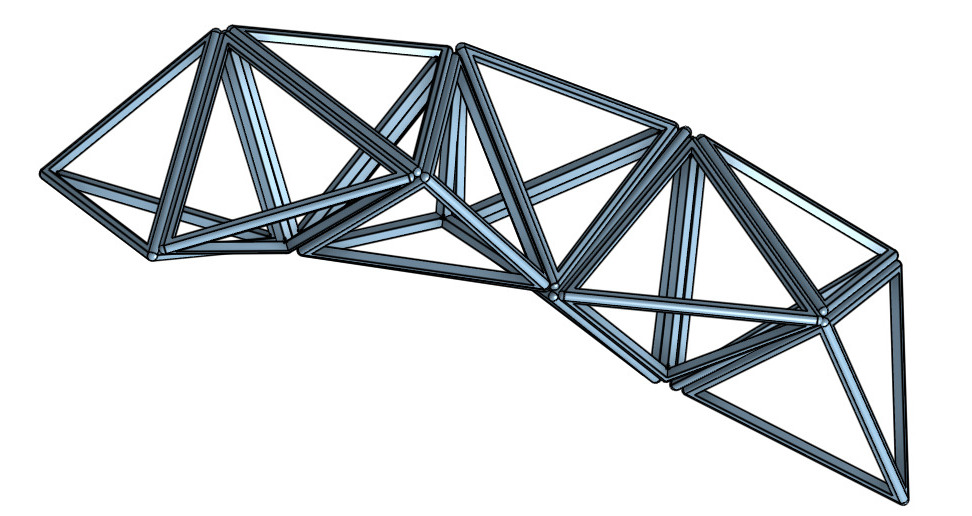
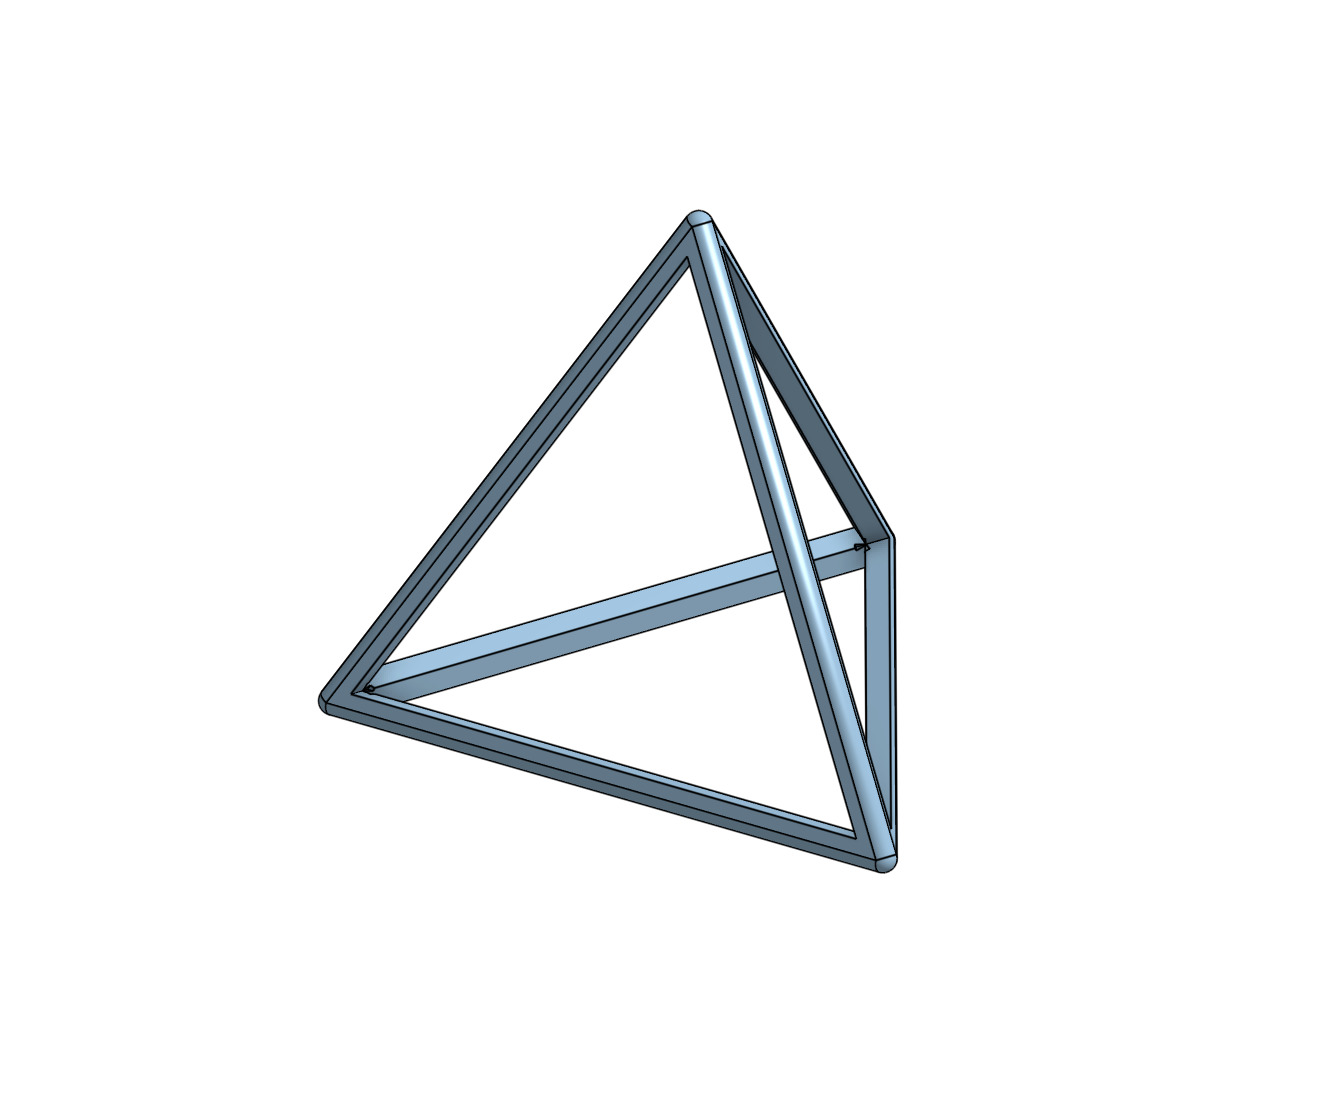
- Designed a helical tetrahedral in OnShape
- Learned about Dynamixel XL430-W250-T Actuators and their applications
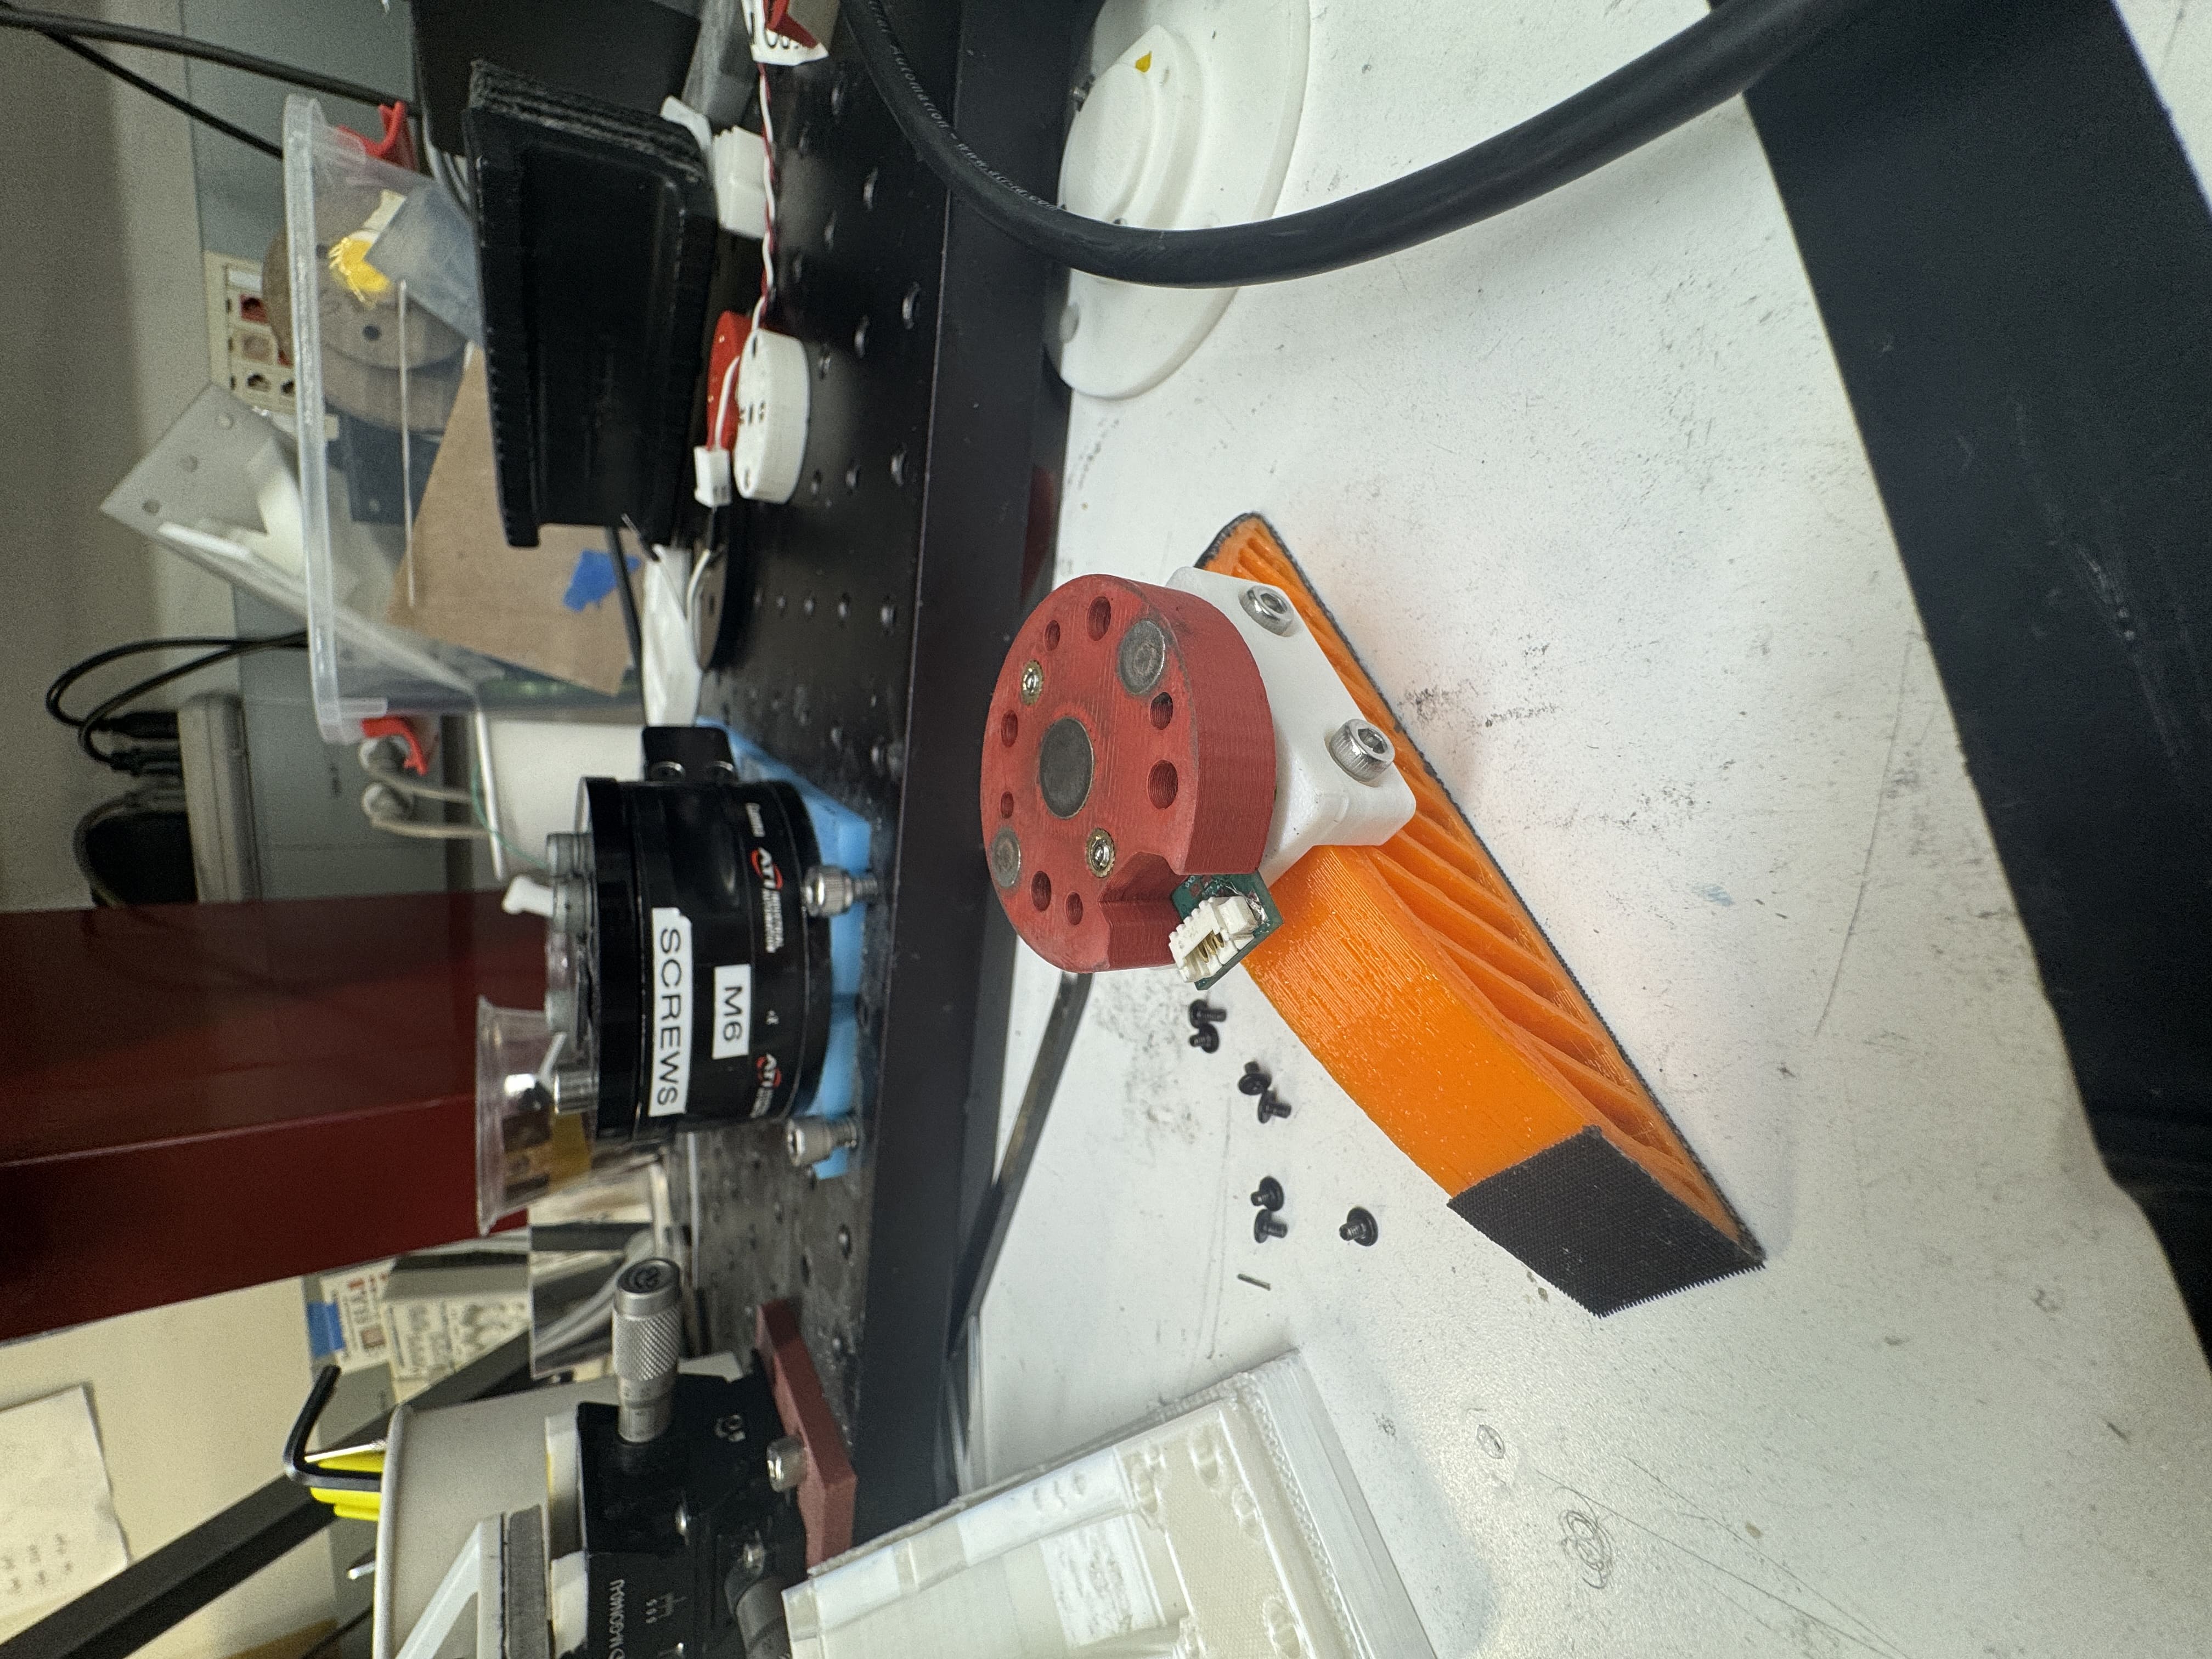
- Assembled ReachBot end effector
- Lessons Learned for designing end effectors in the future:
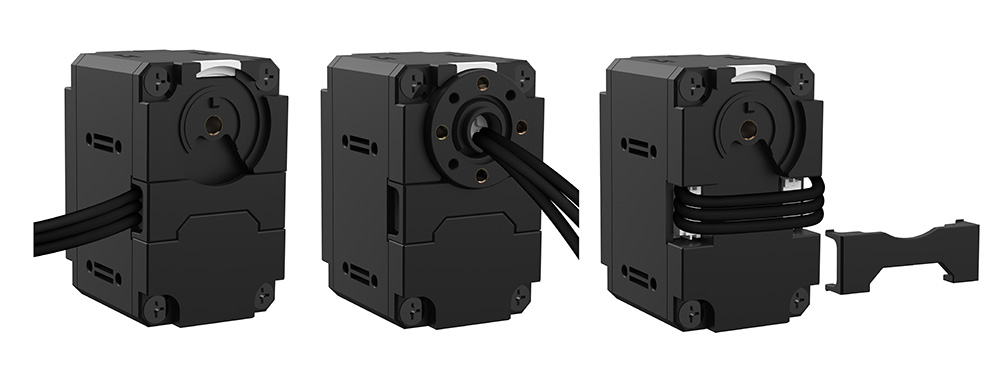
- Always be aware of wiring and where wires need to go (Impacts on the mobility of effector, etc.)
- Have ease of access to fasteners in mind (Assembling effectors can be made much easier with easy access to all screw holes)
- Lessons Learned for designing end effectors in the future:
Page last modified on July 29, 2025, at 01:19 pm