new web: http://bdml.stanford.edu/pmwiki
TWiki > Rise Web>TWikiUsers > GregKatz > GregsSummerBlog>WeekSix (25 Aug 2008, GregKatz? )
-- GregKatz? - 12 Aug 2008
Monday, July 28
- The first ultrasonically vibrated sylgard solution never cured even after waiting over the weekend.
- Thinking about putting electroadhesive test frame on the force sensor test platform. Found the dielectric strength of acrylic is 17kV/mm so we would need only 0.7mm of the acrylic to protect against shorting through the force sensor. The problem is that double stick tape is not easily removed and fasteners are conductive. Perhaps nylon screws are the best option. Nylon has a dielectric strength of 14kV/mm.
- Tried two more ultrasonically vibrated sylgard solutions and they only cured after 2 hours in the oven at 85 C. They also still had bubbles and striations.
- In order to narrow down why I am still getting bubbles, striations, and having trouble with curing I tried a mixture of just sylgard and hexane, no carbon. It had some bubbles, smaller than usual, but had no problem curing after 11 minutes in the oven. It was totally smooth besides the bubbles. I have done mixtures before with just carbon and sylgard, no hexanes. That mixture had bigger bubbles and worse roughness because it is very viscous and spinning it doesn't do much to smooth it out. The next thing I will try is ultrasonically vibrating just carbon and hexane together and then adding that mixture to sylgard instead of ultrasonically vibrating the sylgard with the carbon in it.
- Tested out new materials for making daughter molds so that we can make polyurethane microwedges and have tougher, long-lasting molds.
Tuesday, July 29
- Spent most of the day working on figuring out the carbon doped sylgard formula. Learned that too much hexane inhibits curing, but if you don't use too much it is fine. It is ok to use the vacuum but it doesn't help much. Spreading with a stick is better at flattening than the spinner. Carbon causes bubbles. The ultrasonic vibration doesn't help with bubbles. There is no noticeable difference between the vibrated solution and no vibrated. 3.3% carbon is barely enough for good conductivity. 5-10g of hexanes seems good for making it mix well but still cure. 17g hexane is too much.
- Did training for use of the clean lab upstairs with the thinky
- Planned to make an insulating piece of acrylic to attach to the test platform
Wednesday, July 30
- Drilled and tapped 4 holes in a piece of acrylic for insulating the force plate.
- Took safety test for clean lab
- Talked to Dan about making a new arm for the test platform
- Talked to Barret and Aaron about putting electroadhesion on stickybot
- Ordered nylon screws for fixing acrylic to test platform
- Made a full size wax mold of 50s and 20s to be used for making polyurethane microwedges.
Thursday, July 31
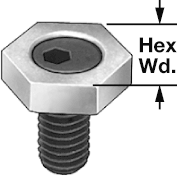
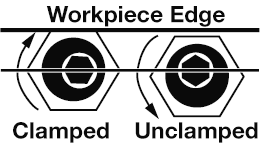
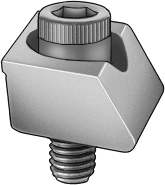
- Sketched a design for new arm for test platform. Then main design goals are that it be modular and stiff. So I kept it as short as possible and looked for a variety of ways to hold the test surface. I decided to make the part that actually holds the test surface detachable so that different holding mechanisms could be used to grip the glass or other test surface, possibilities are adhesive, clamps in shear, or regular normal force clamps. I found some interesting "squeezing" clamps that only clamp in shear on Mcmaster. These could offer the full clearance of adhesives and the changeability of clamps.

- Fixture Methods
| Squeeze Clamp | Squeeze Diagram |
|---|---|
 |
 |
| Normal Clamp | Set Screw |
 |
|
- Learned from Barret about gaitplaner.GUI and Stickybot_Gait.GUI for controlling the signal that could be used for turning electroadhesive clamping on and off. As a first test we will hopefully use the signal that would normally go to the foot peeling servos as the signal to the high voltage circuit. The minimum duty cycle would be clamping off and the maximum duty cycle would be clamping on.
Friday, Aug. 1
- Tried a test casting of sylgard in the wax mold.
- Made a second wax mold, hoping to get a flatter cleaner mold at the transitions.
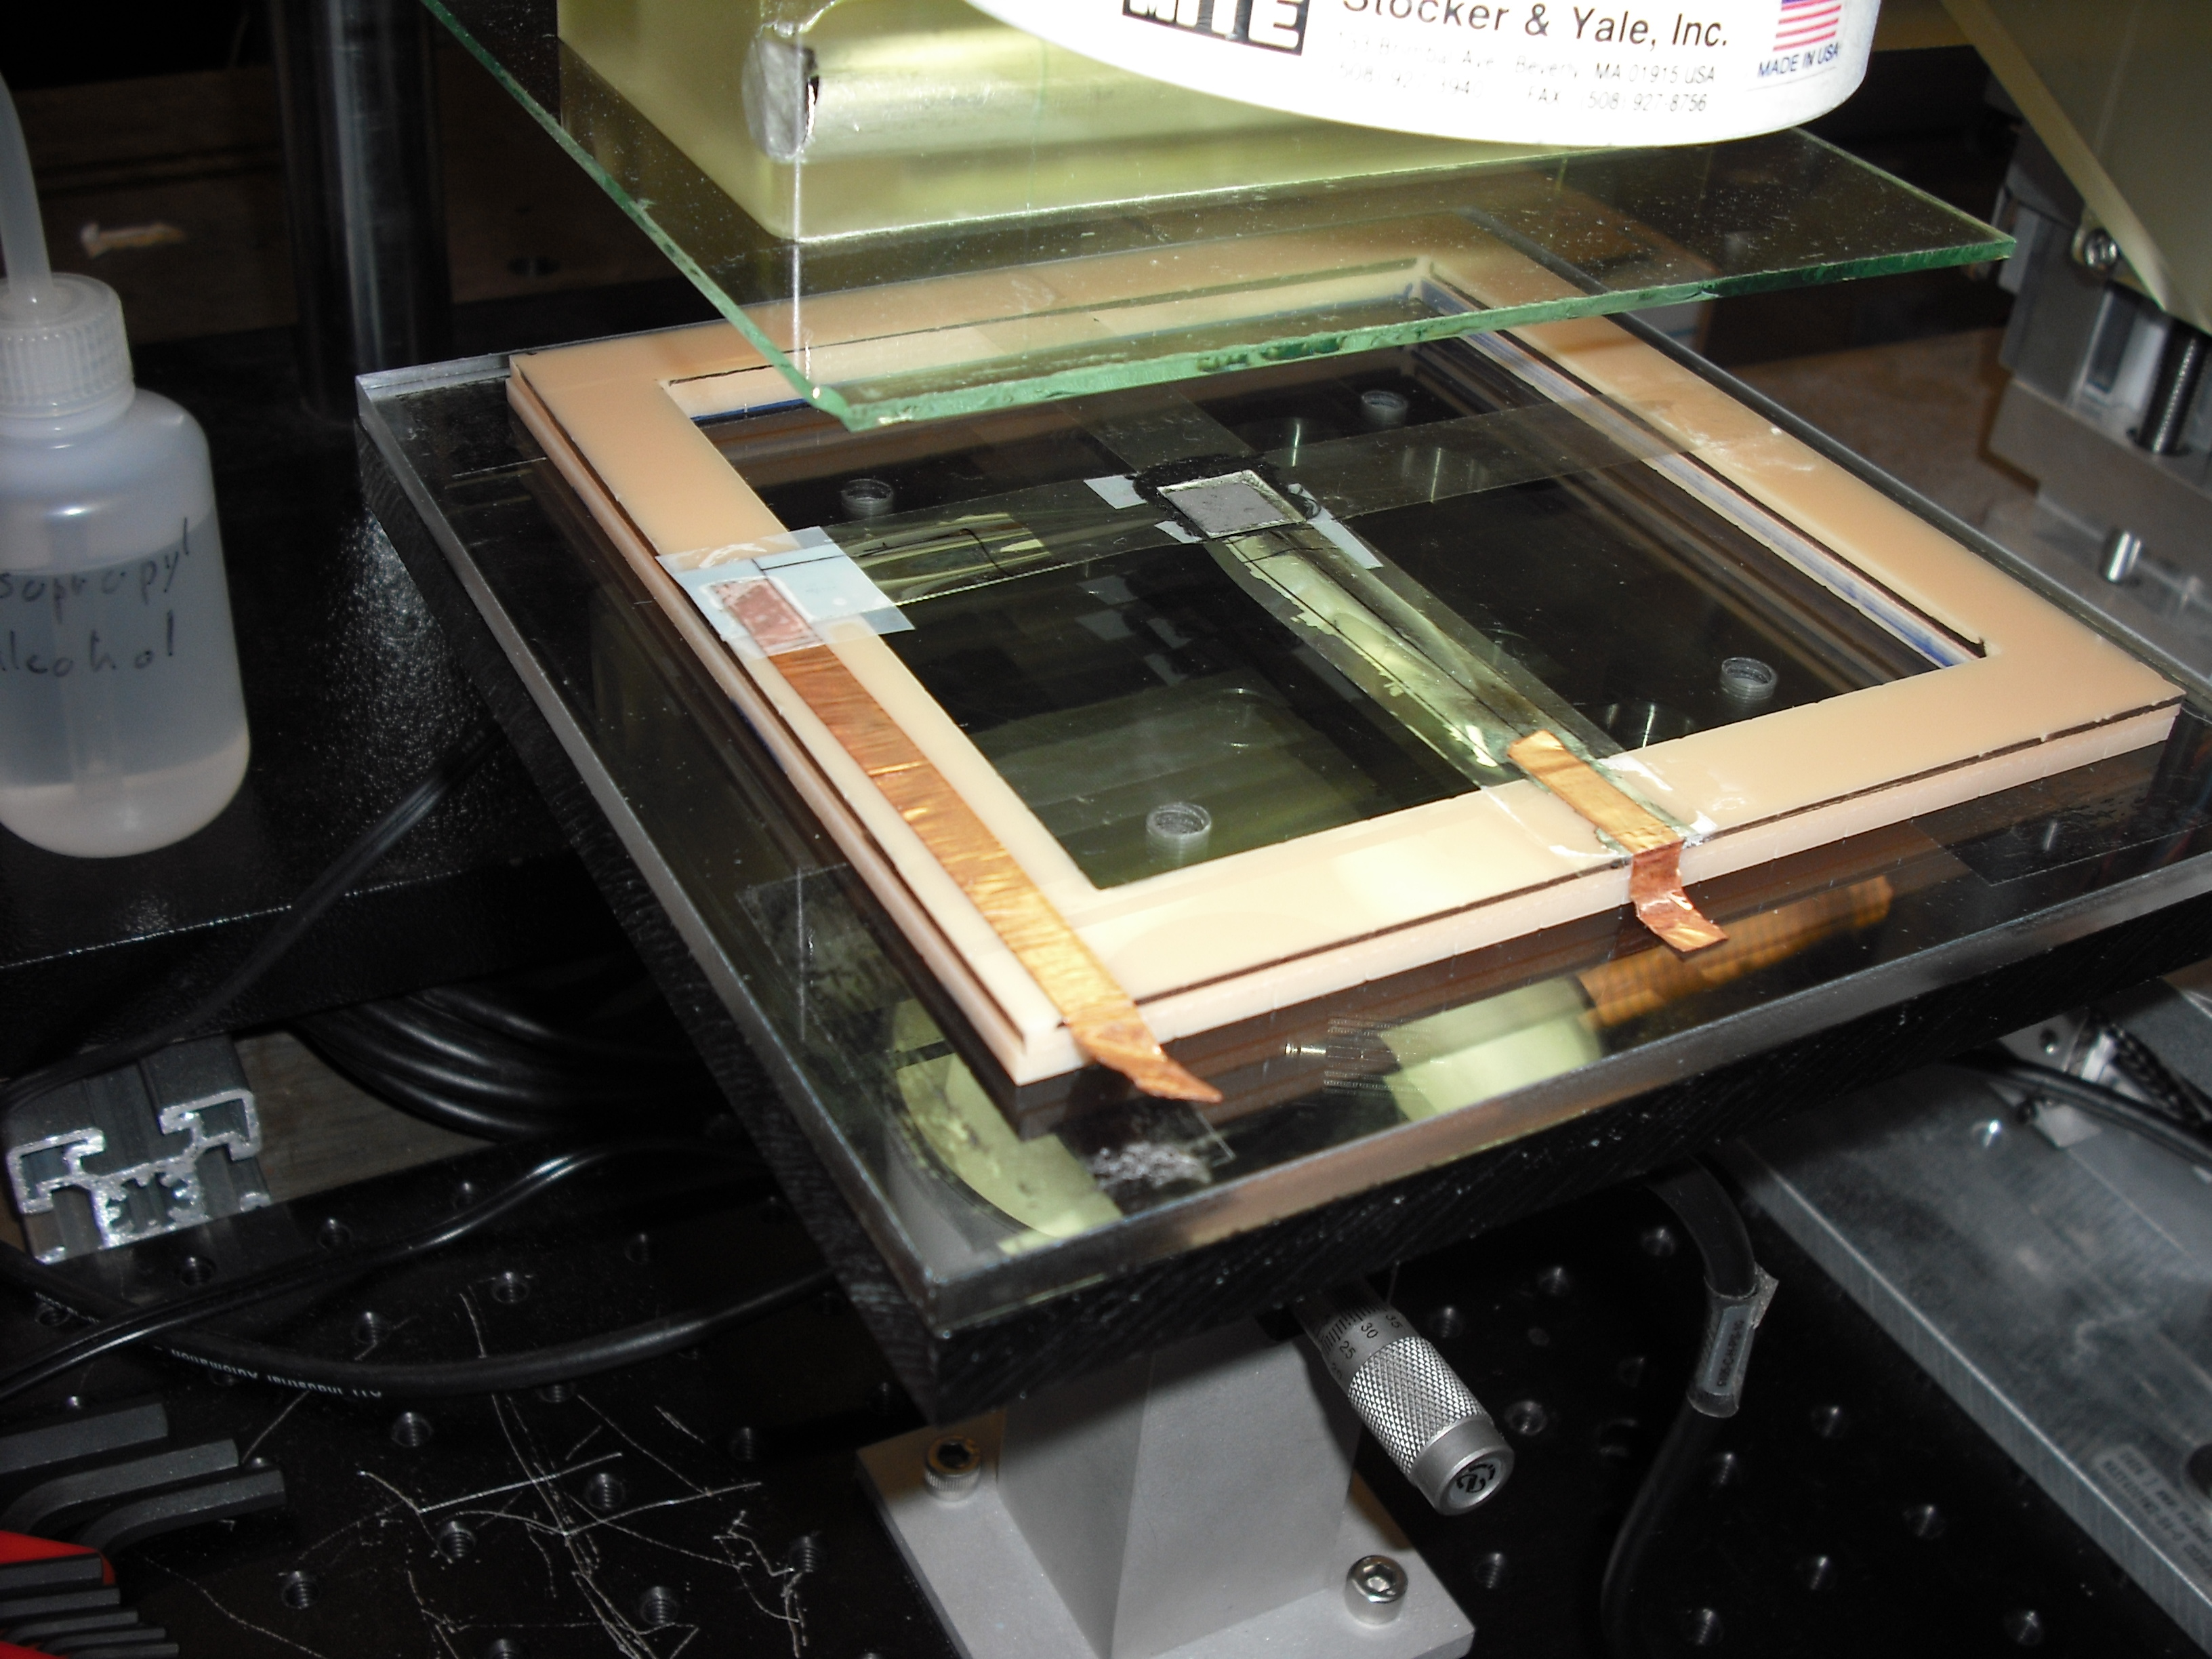
- Nylon screws came in so I worked with Noe on setting up the electroadhesion test on the platform for the first time.
- bbq and lab meeting.
- Set-up for initial force tests of electroadhesion-microwedge hybrid:

Ideas, requests, problems regarding TWiki? Send feedback