new web: http://bdml.stanford.edu/pmwiki
TWiki > Rise Web>TWikiUsers > GregKatz > GregsSummerBlog>WeekEight (21 Aug 2008, GregKatz? )
-- GregKatz? - 12 Aug 2008
Monday, Aug 11
- Machined through holes in the rest of the end-pieces I made for the new arm design so that they can be easily attached to the arm if the current end-piece needs to be swapped out for any reason.
- Drilled and tapped holes in the insulating plate so that the frames can be easily fixtured or removed for electroadhesion testing on the force plate. Unfortunately one of my holes was off and so I will have to try again tomorrow.
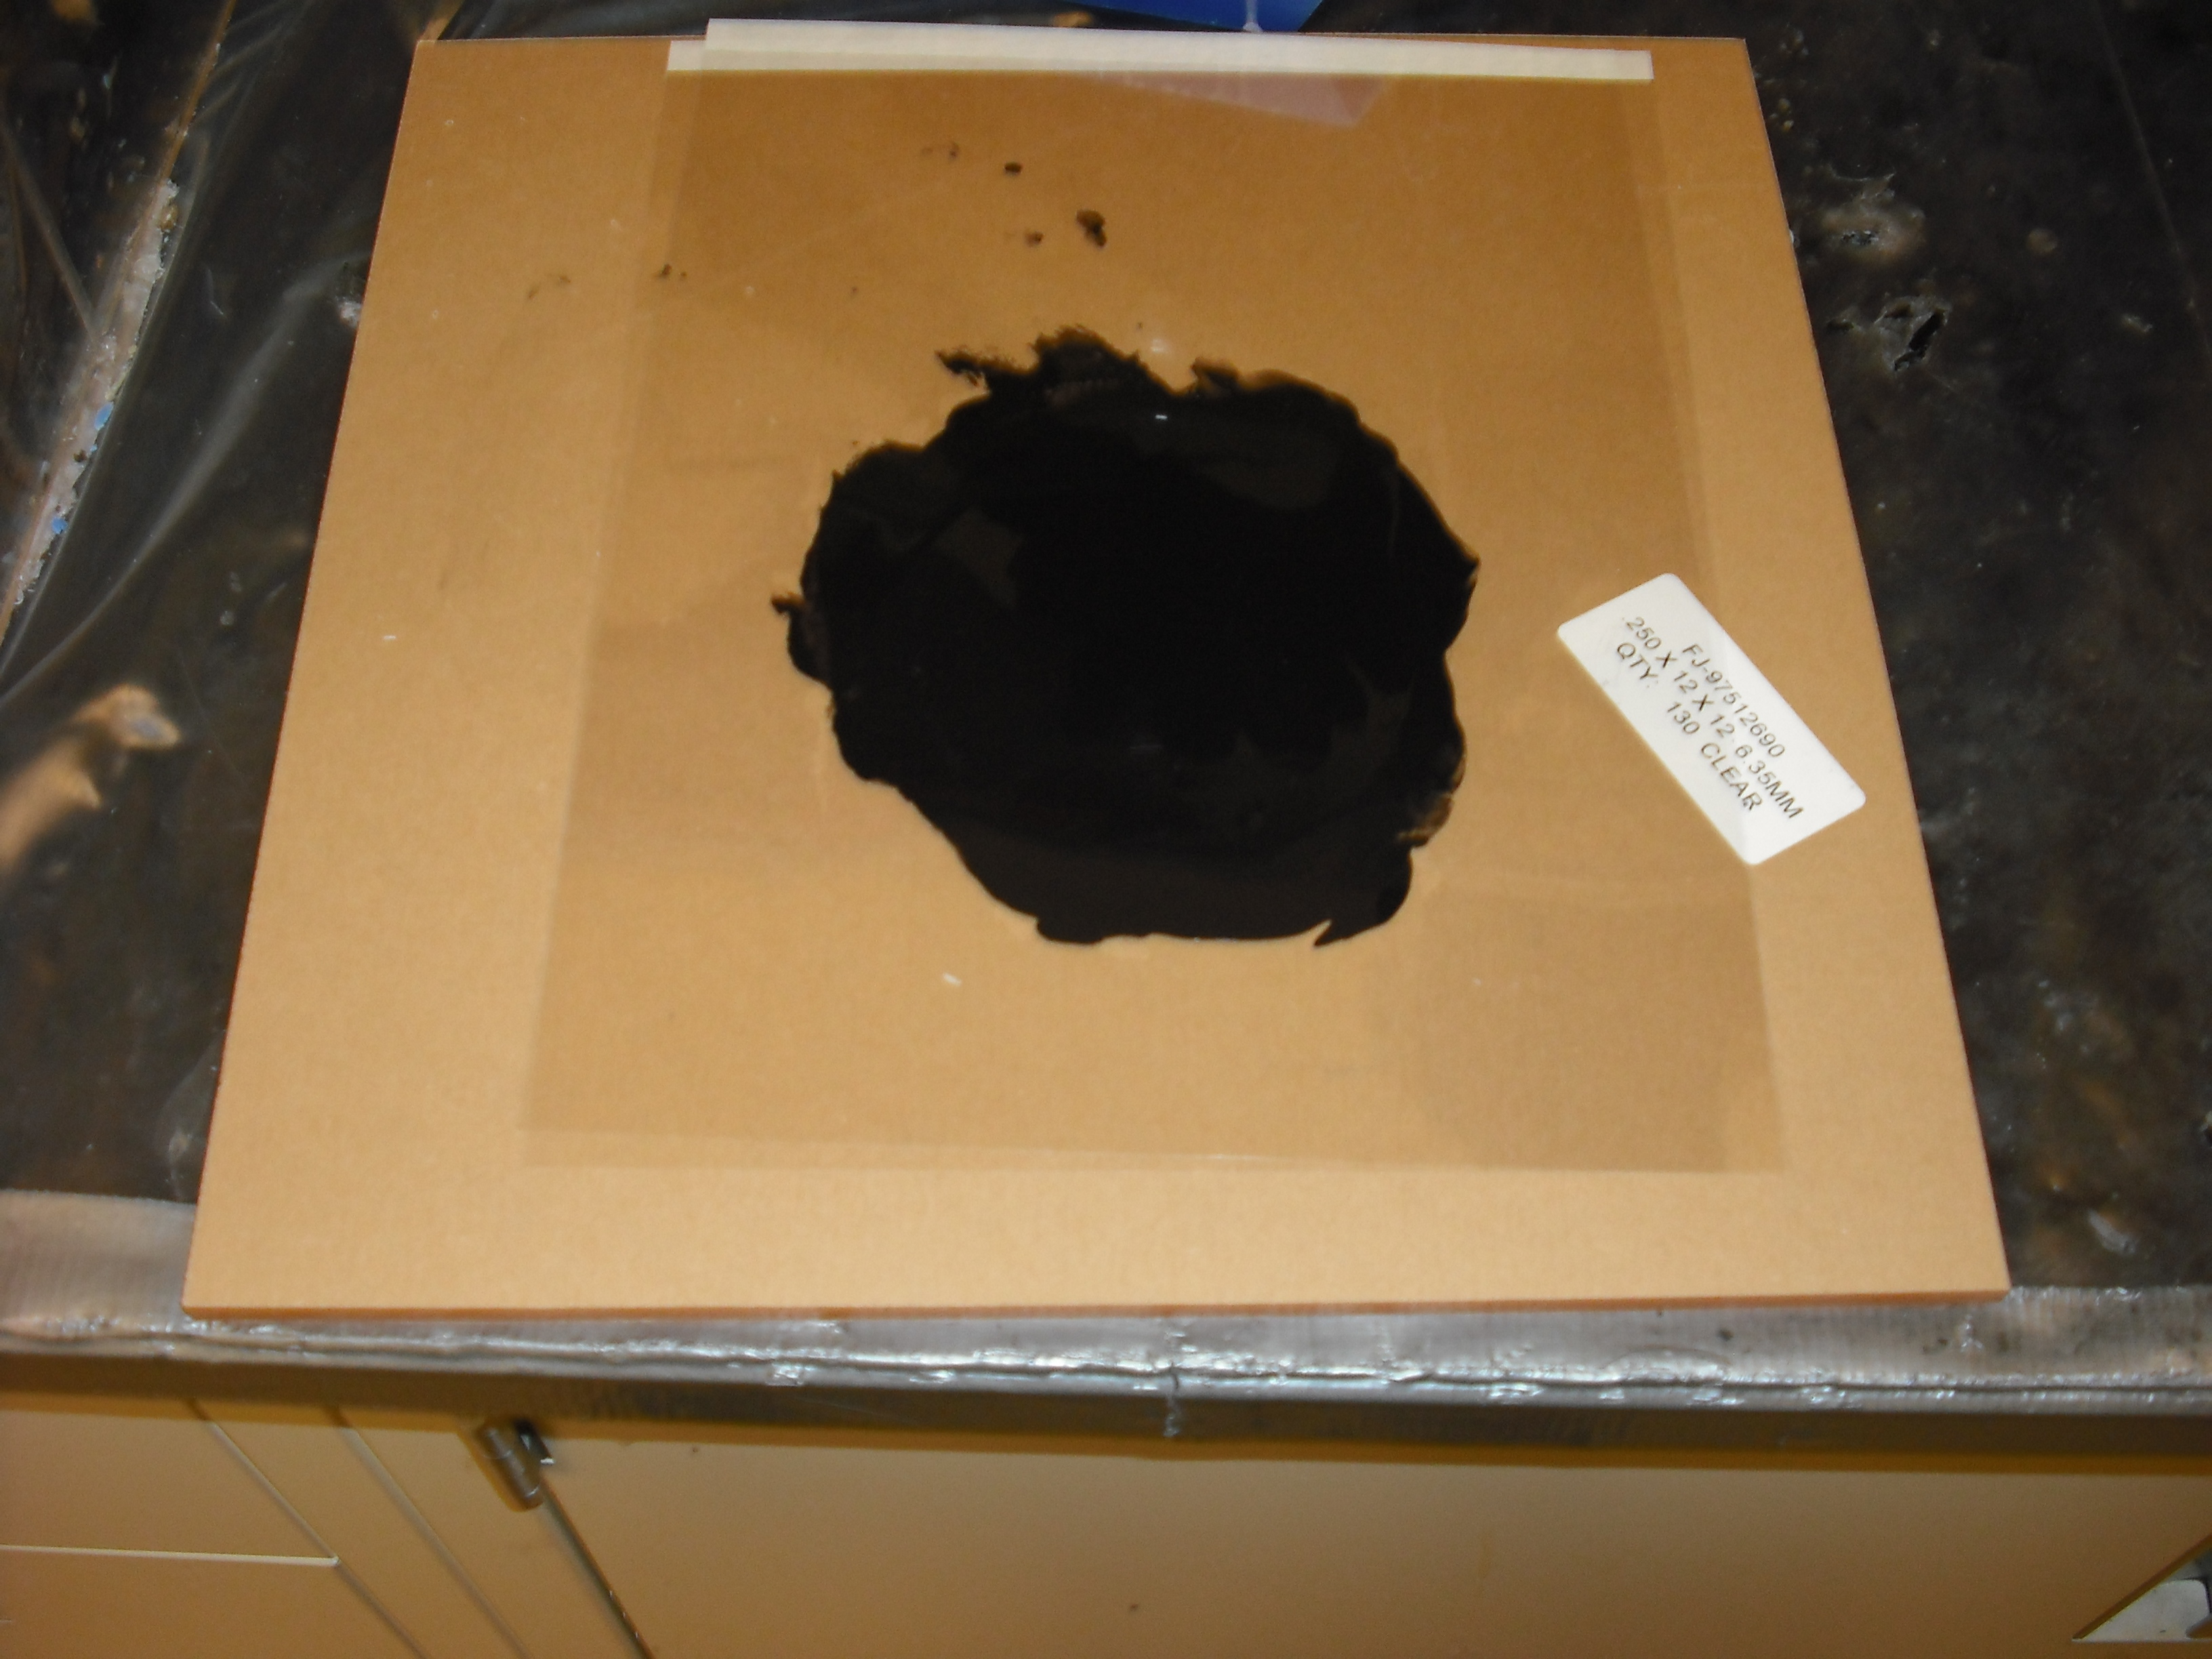
- Cast cantilever shapes out of 5.3% carbon doped sylgard and elastosil. Discovered that 1mm thick carbon doped sylgard bubbled during heat cure, but the 0.2mm thick mold did not bubble. Most likely solvents in the sylgard are boiling so to avoid this I will try letting the sylgard sit for several hours before heating. This may be true for tap blue and elastosil as well. They have also exhibited similar bumpiness. The mixtures always come out extremely smooth from the thinky, then little bubbles appear during spreading and then larger bubbles appear during curing. I am fairly confident that good wedges can be made consistently using the thinky to mix and making a think flat backing layer.
| Close-up showing bubbles during heat cure |
|---|
 |
Tuesday, Aug 12
- Successfully drilled and tapped holes in the insulating plate.
- Discovered elastosil won't cure at room temperature or 70 C for several hours.
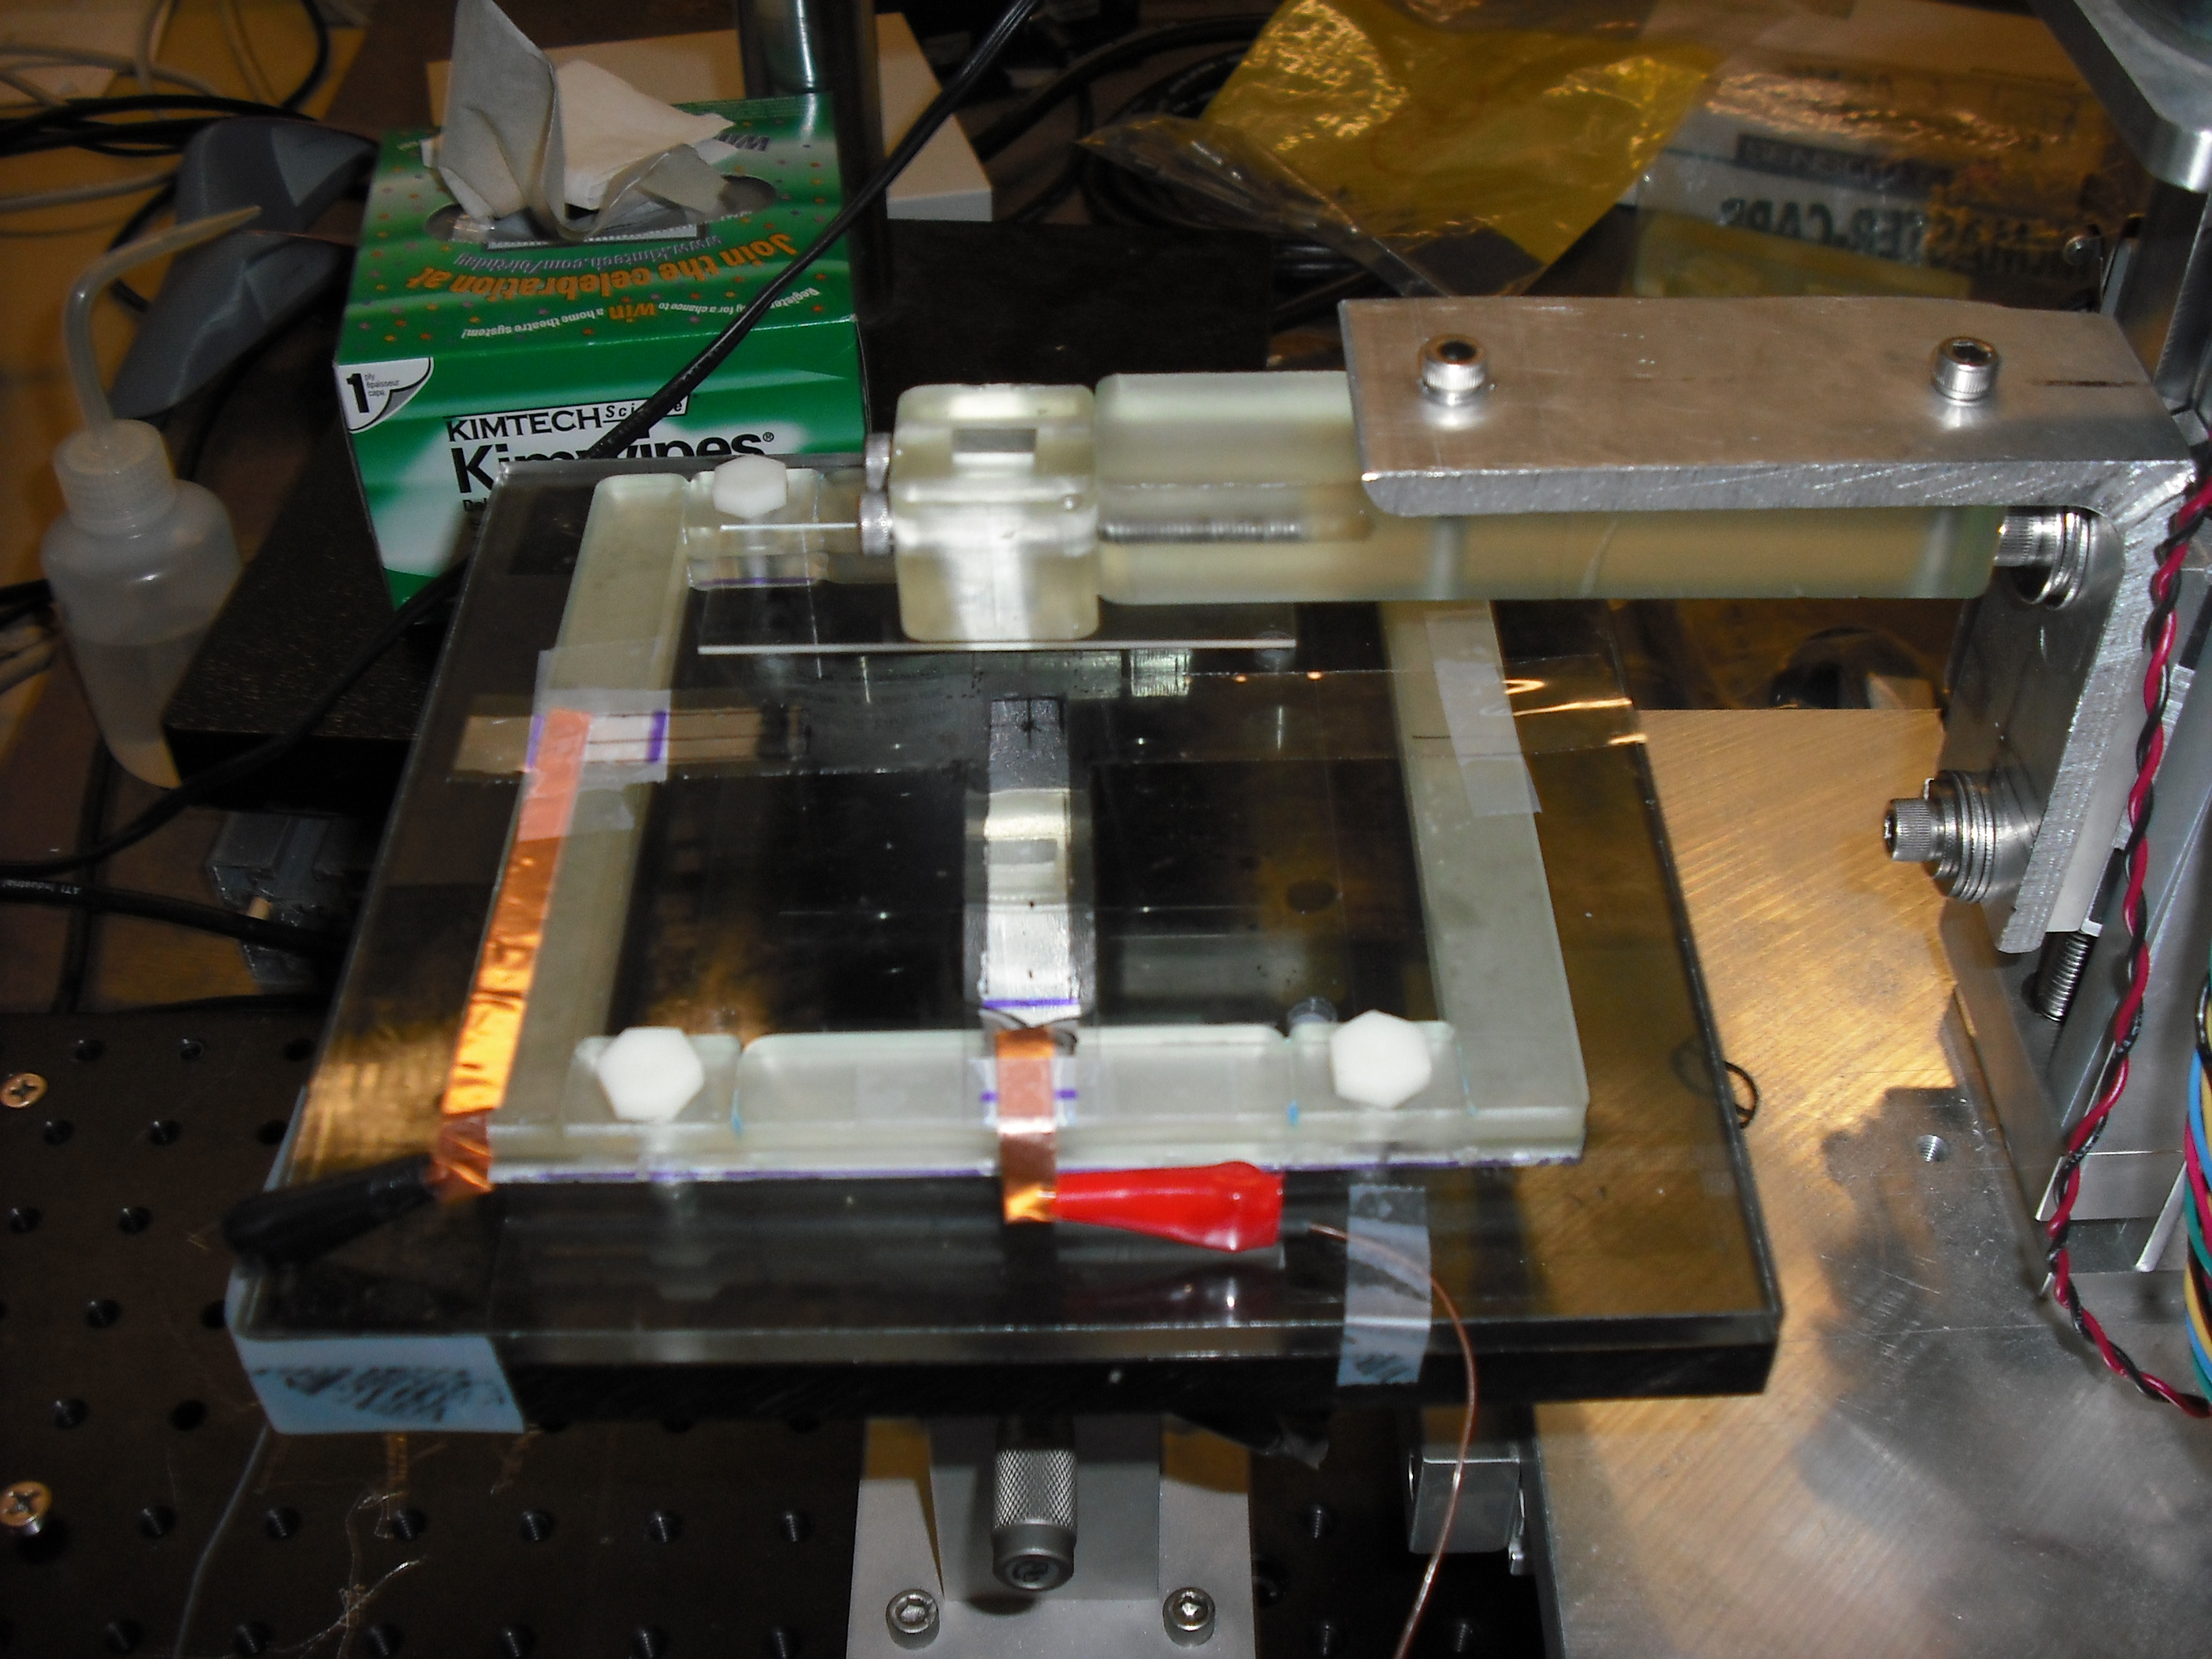
- Made a new aluminum only frame and compared normal and shear force limit for a patch with spring steel backing and the just aluminum frame. They were about the same in pure normal and the patch was much better in shear. The forces were on the order of 0.060 Newtons in both normal and shear.
| New arm and frame set-up for force testing |
|---|
 |
Wednesday, Aug 13
- Had surprisingly good success today with 5% carbon 95% sylgard 170 pdms, 200 microns thick, cantilevered away from aluminum/copper, on a mylar sheet. At 5kv it was moving the sheet significantly at about 1/8" distance. It seems that using a very thin and light (only 200 micron thick) cantilever works much much better than a big thick piece (like 1mm) because it takes much less force to move and there seems to be little penalty in having less material (which means higher resistance and less electrons). This makes me very hopeful that a thinly pressed sample of microwedes cast of this material would help the adhesion forces if used on sticky bot.
- I discovered that on the big high voltage power supply, only the electrode connected to the high voltage line and not the one connected to the ground line produces adhesion. It is still up for debate whether or not having the ground electrode connected at all makes the overall adhesion stronger or not in this case. This brought up an unresolved discussion on exactly how the electroadhesive forces are work. Open questions:
- Does the distance between the electrodes matter?
- Do two electrodes at 5kv produce the same adhesion as one electrode at 10kv and the other electrode floating somewhere else far from the substrate?
- If the substrate being adhered to is a better insulator does it make the clamping stronger or weaker?
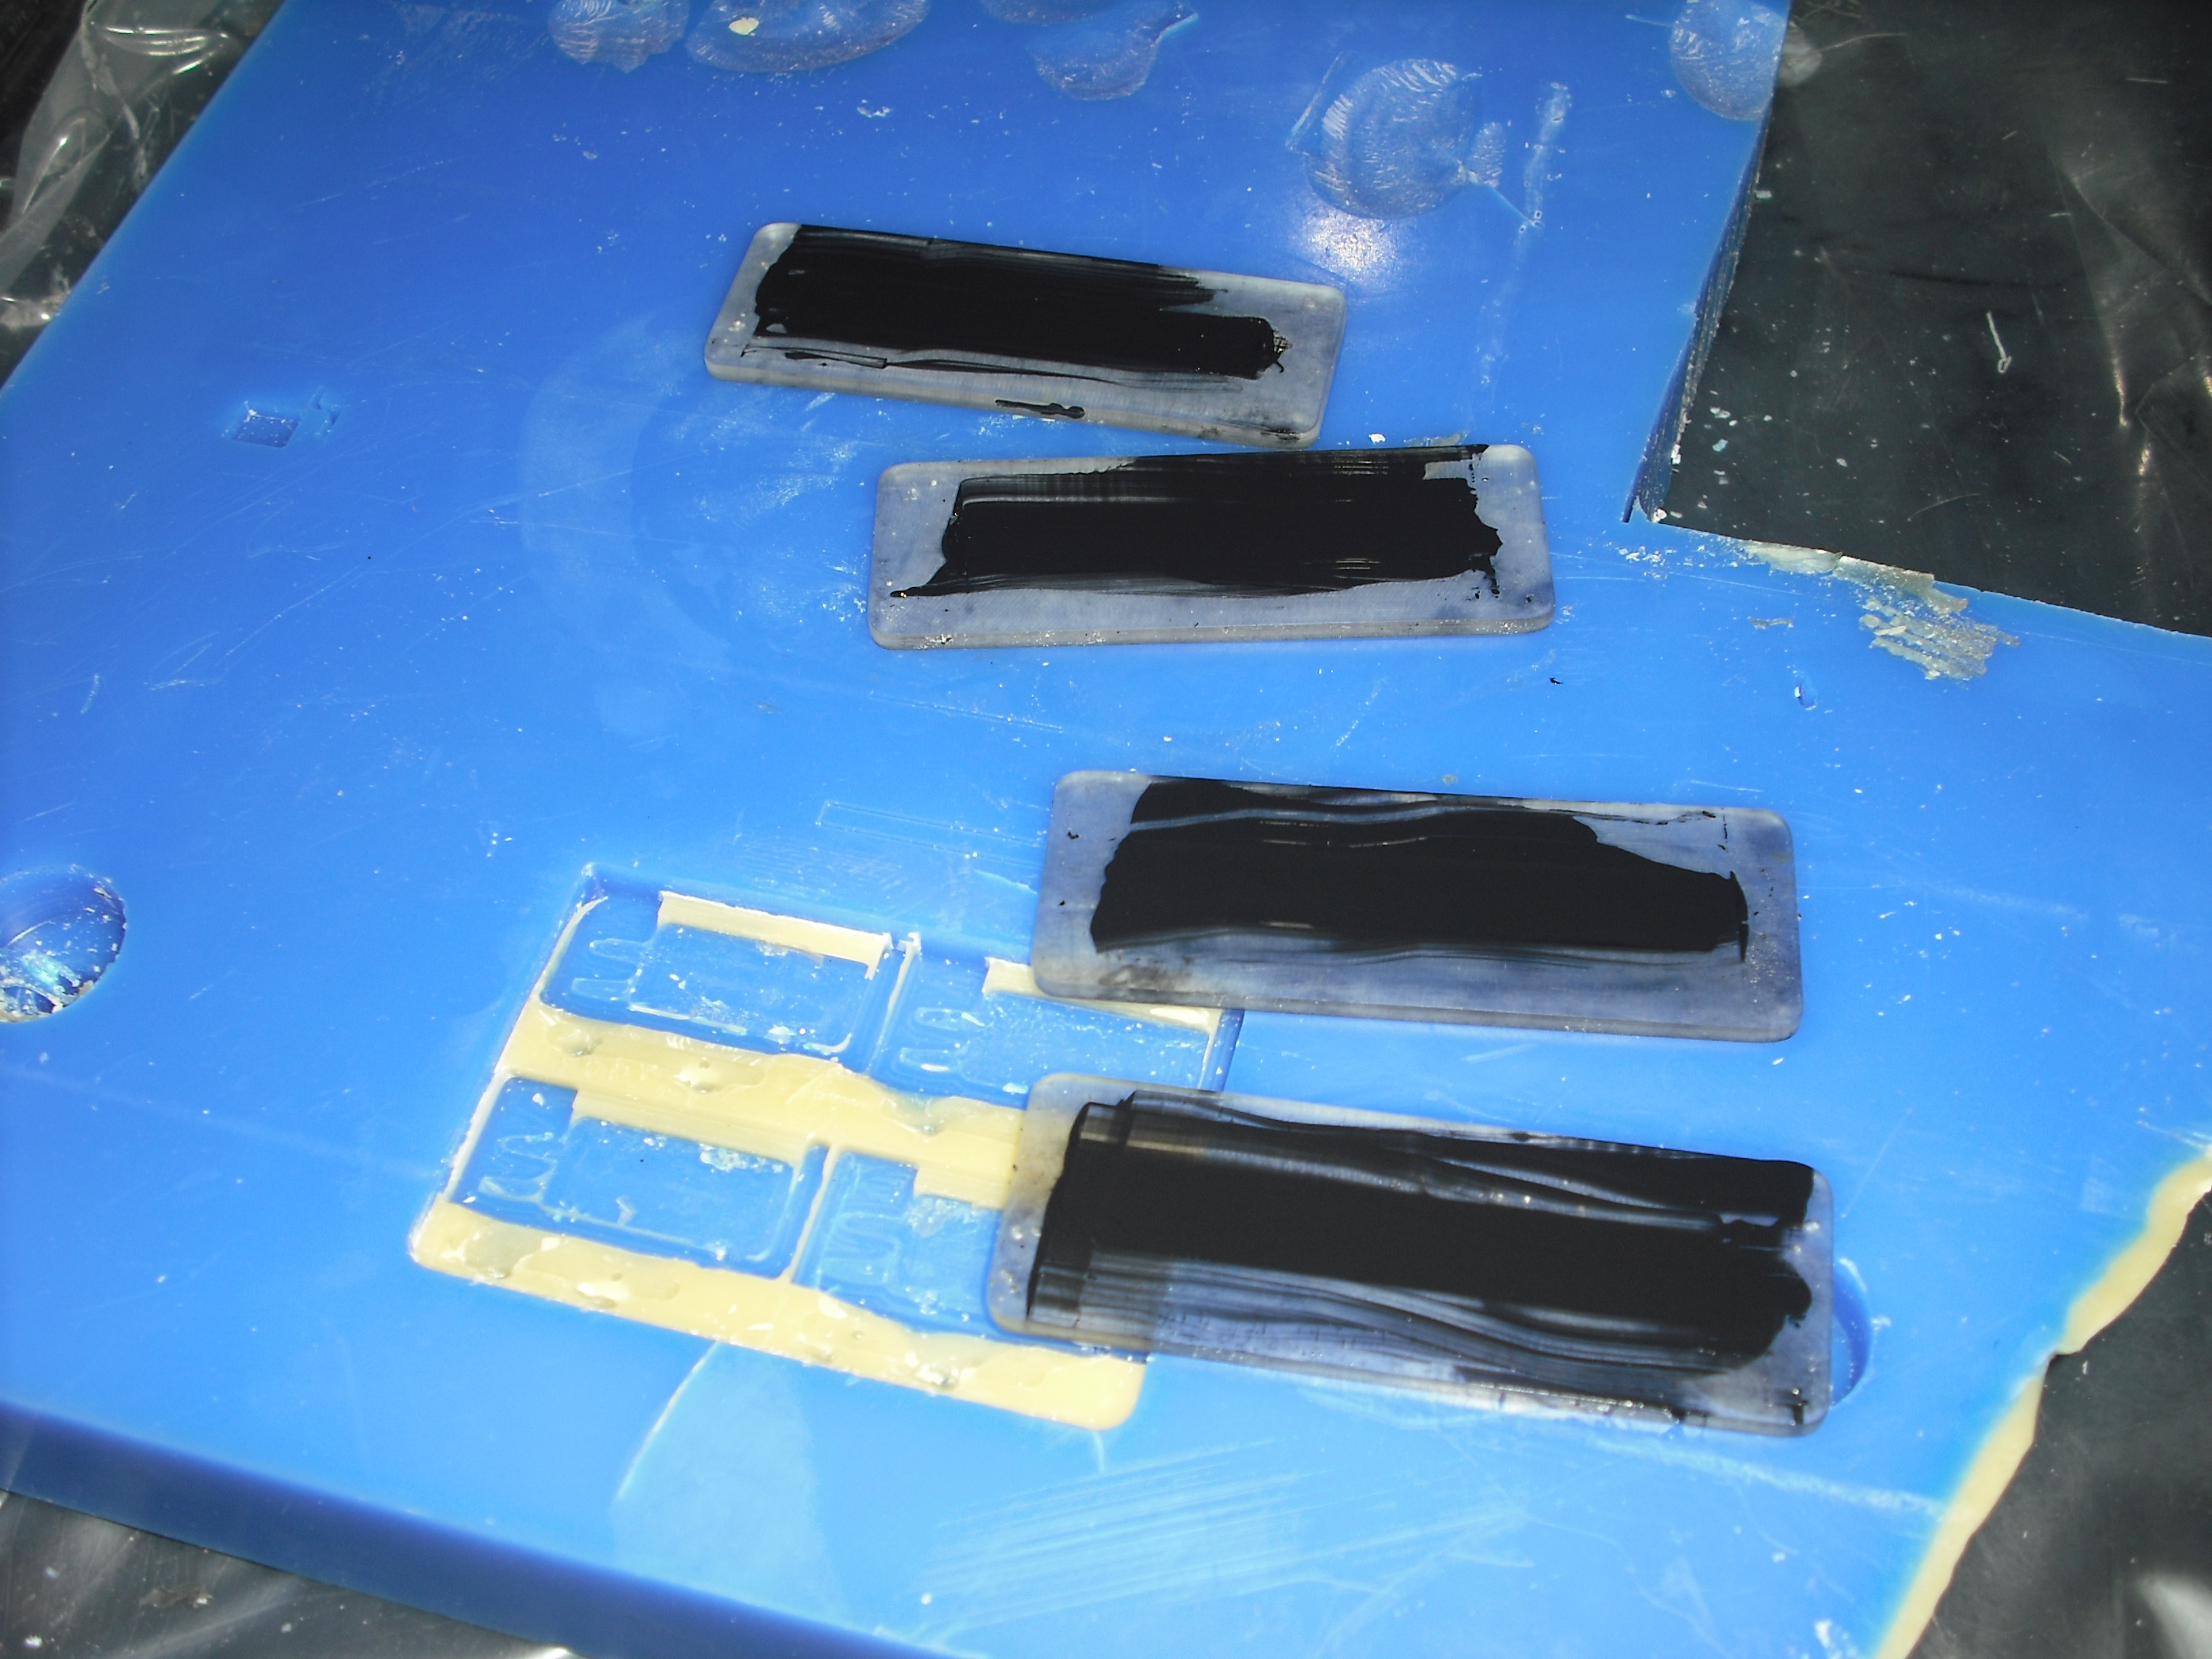
- Experimented for the first time with a "flattening" technique for getting a good thin and smooth backing layer with non-self-leveling, un-spinnable 5% carbon doped sylgard 170 pdms. I found that
- aluminum foil is not a good material to use next to the pdms but
- transparency sheets work well
- it will not cure in the oven with a weight on top of the wafer squeezing it down,
- it will cure as normal in the oven after being flattened once the weight is removed and this produced adequate results
Thursday, Aug 14
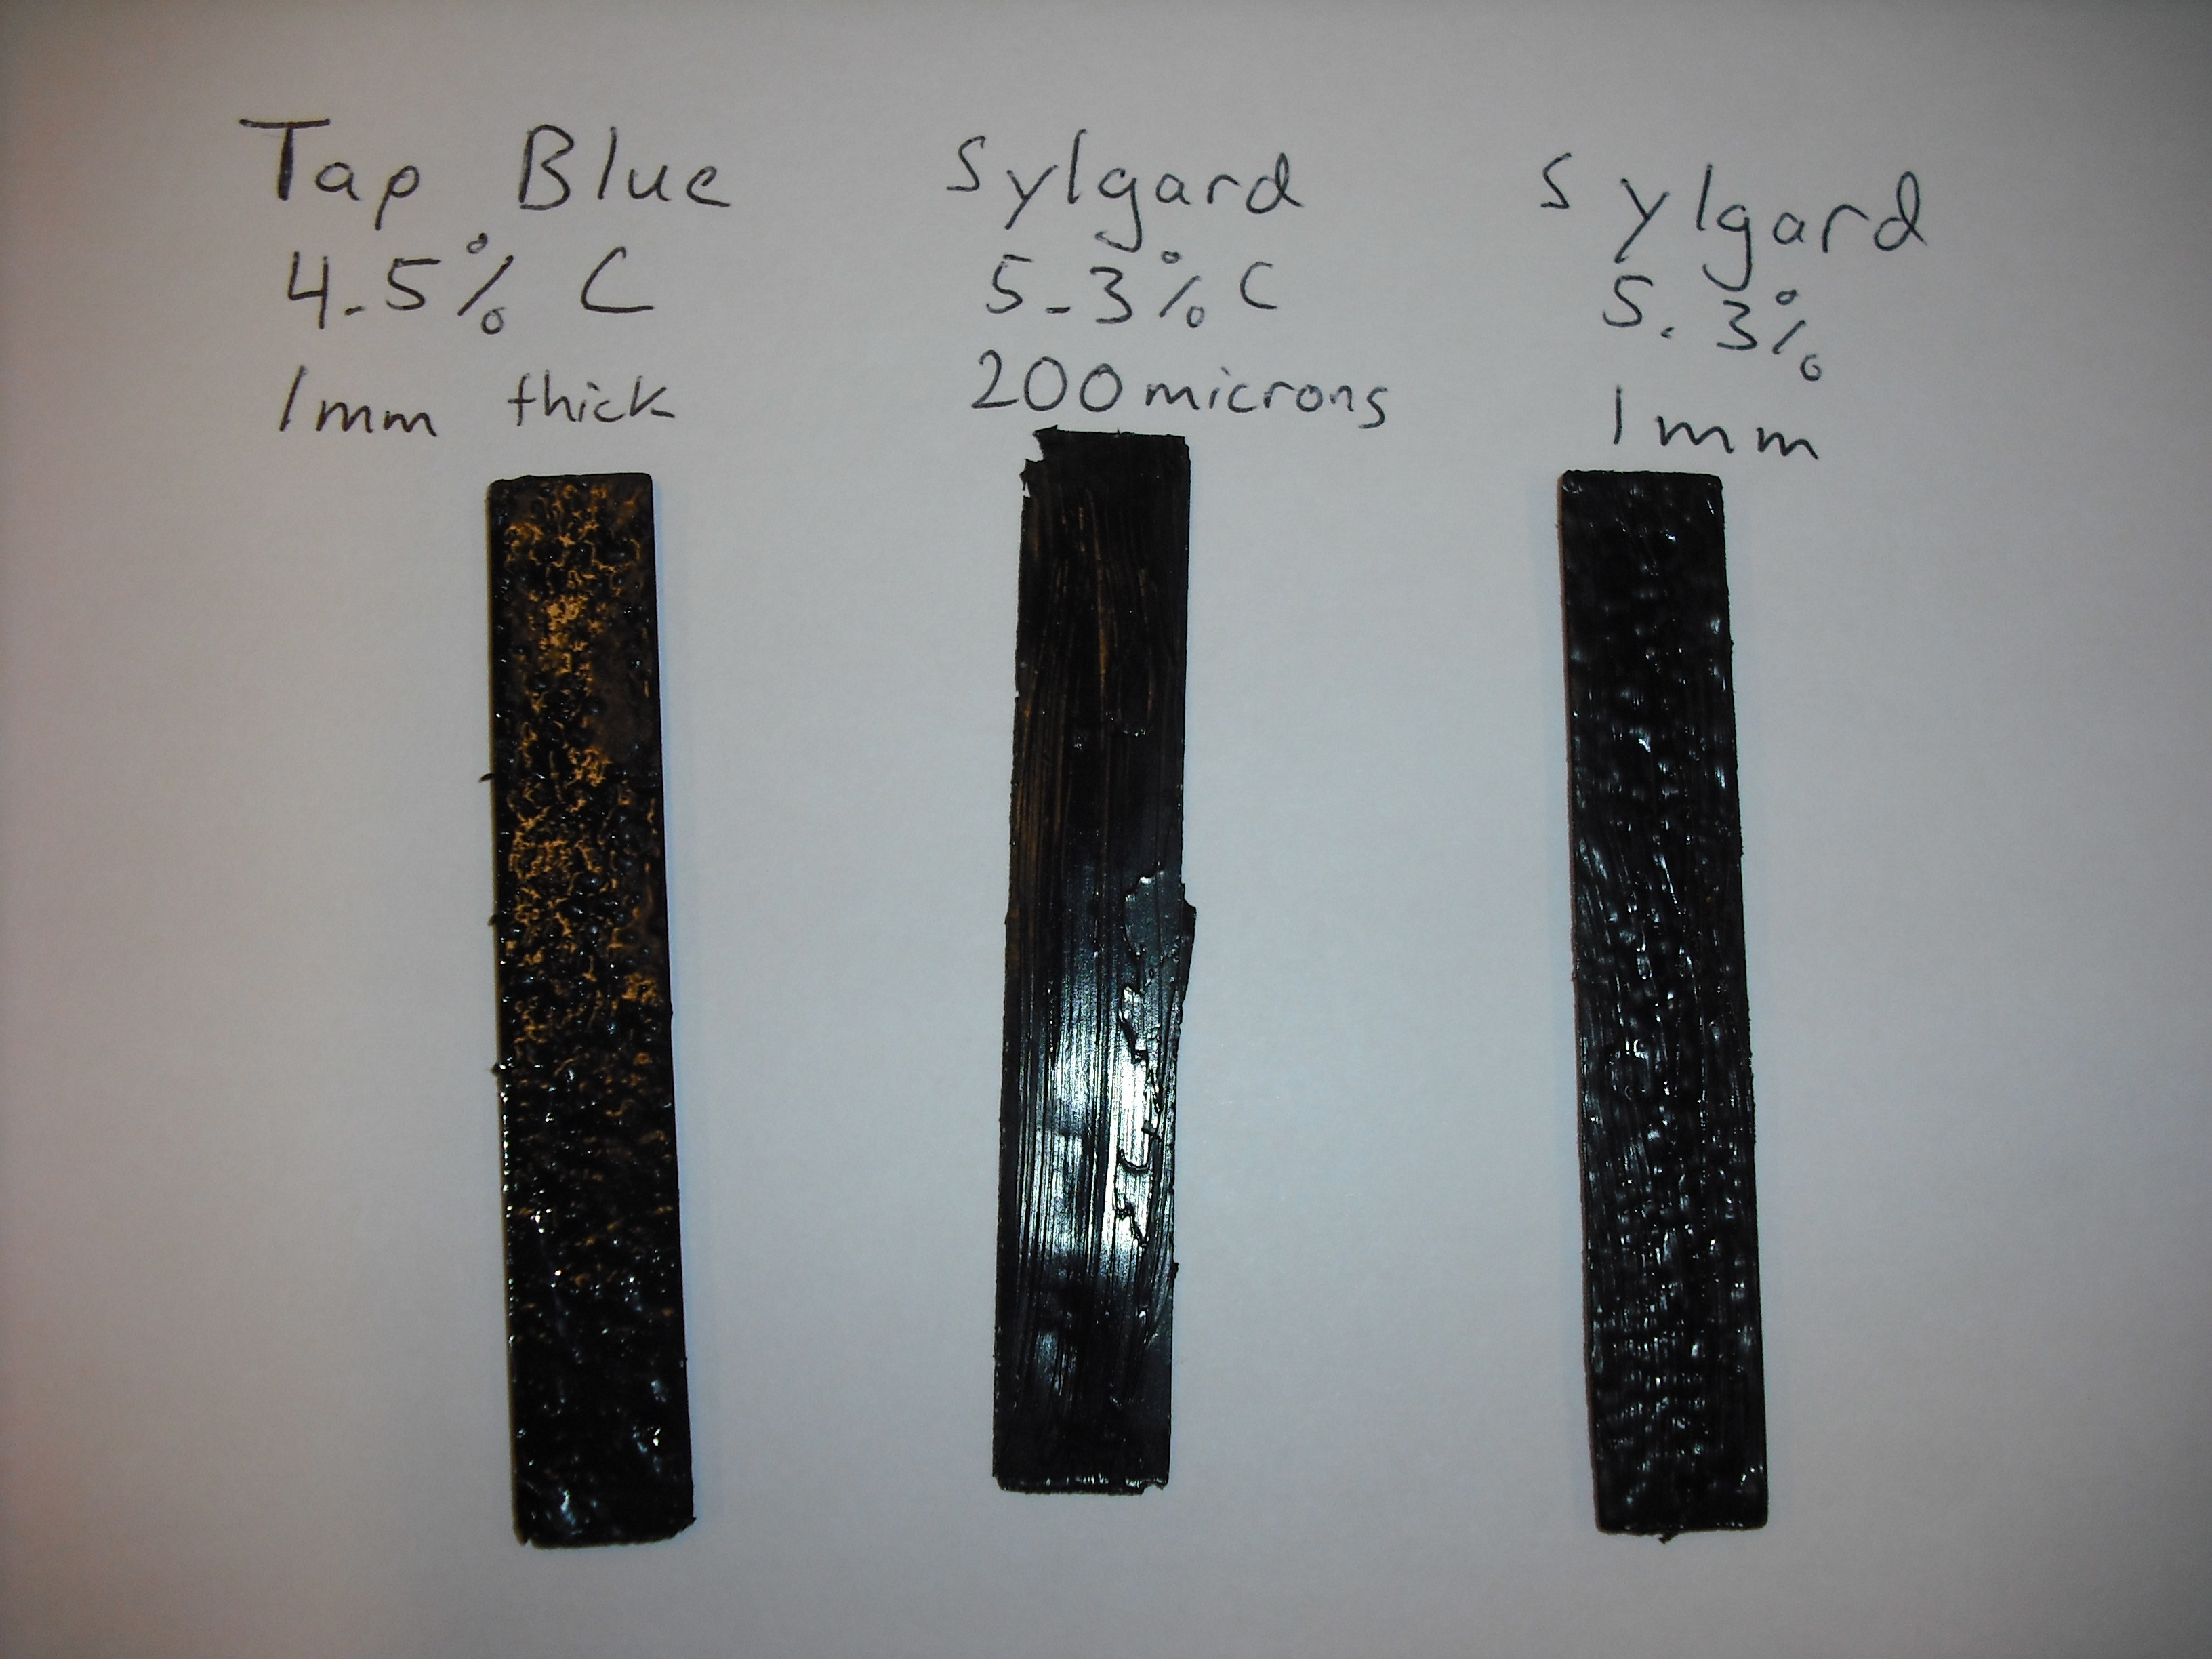
- Accumulating a variety of cantilever samples so that I can compare their ability to do electrostatic clamping at 10kV. This way I can narrow down what material is conductive enough to use on stickybot. I am making samples of 1%, 3%, and 5% carbon doped sylgard, conductive ink dipped pdms, elastosil, and pure carbon and silicone oil spray.
| "Cantilever" shapes cast to control for thickness | Various materials for comparison of electrostatic clamping strength |
|---|---|
 |
 |
- After letting the 5% carbon on wafer sit overnight between transparencies with significant weight on it, it did in fact cure. This is interesting because it did not cure at 85 C even after 18 minutes (normal cure time is 11 minutes). I would expect that it would cure eventually in the oven. The sample did not turn out that well. The backing is acceptably thin and smooth (I haven't looked in the microscope yet because the bulb is burnt out), but the wedge side had some alarming air pockets or bubbles that separate from the mold. These often leave a little dot of silicone still on the wafer and ruin that area for wedges. I have seen this before with the elastosil and other carbon doped trials. I have thought in the past that it has something to do with the wafer being dirty, but it also might be related to the heating in the oven. It only happens in the areas that are touching the wedge mold areas. These air pockets don't show up on the backing or on flat parts of the mold that have no wedges. It may also have to do with no really 100% full curing.
- Looking back at old samples it seems that the worst air pockets/bubbles on the wedge side occured for the 10% carbon, 5% carbon, and elastosil samples. The 3% carbon samples seem better. Assuming elastosil has a high concentration of carbon, which is probably true because it has lower resistance, then I would guess too much carbon is causing the bubbles.
- Testing for arcing distance. Arced at 9kv, 9mm. Arced at 7kv, 7mm. At 10mm no arcing. Didn't see a difference in force with change in electrode distance, but I would really need to use the force sensor to tell.
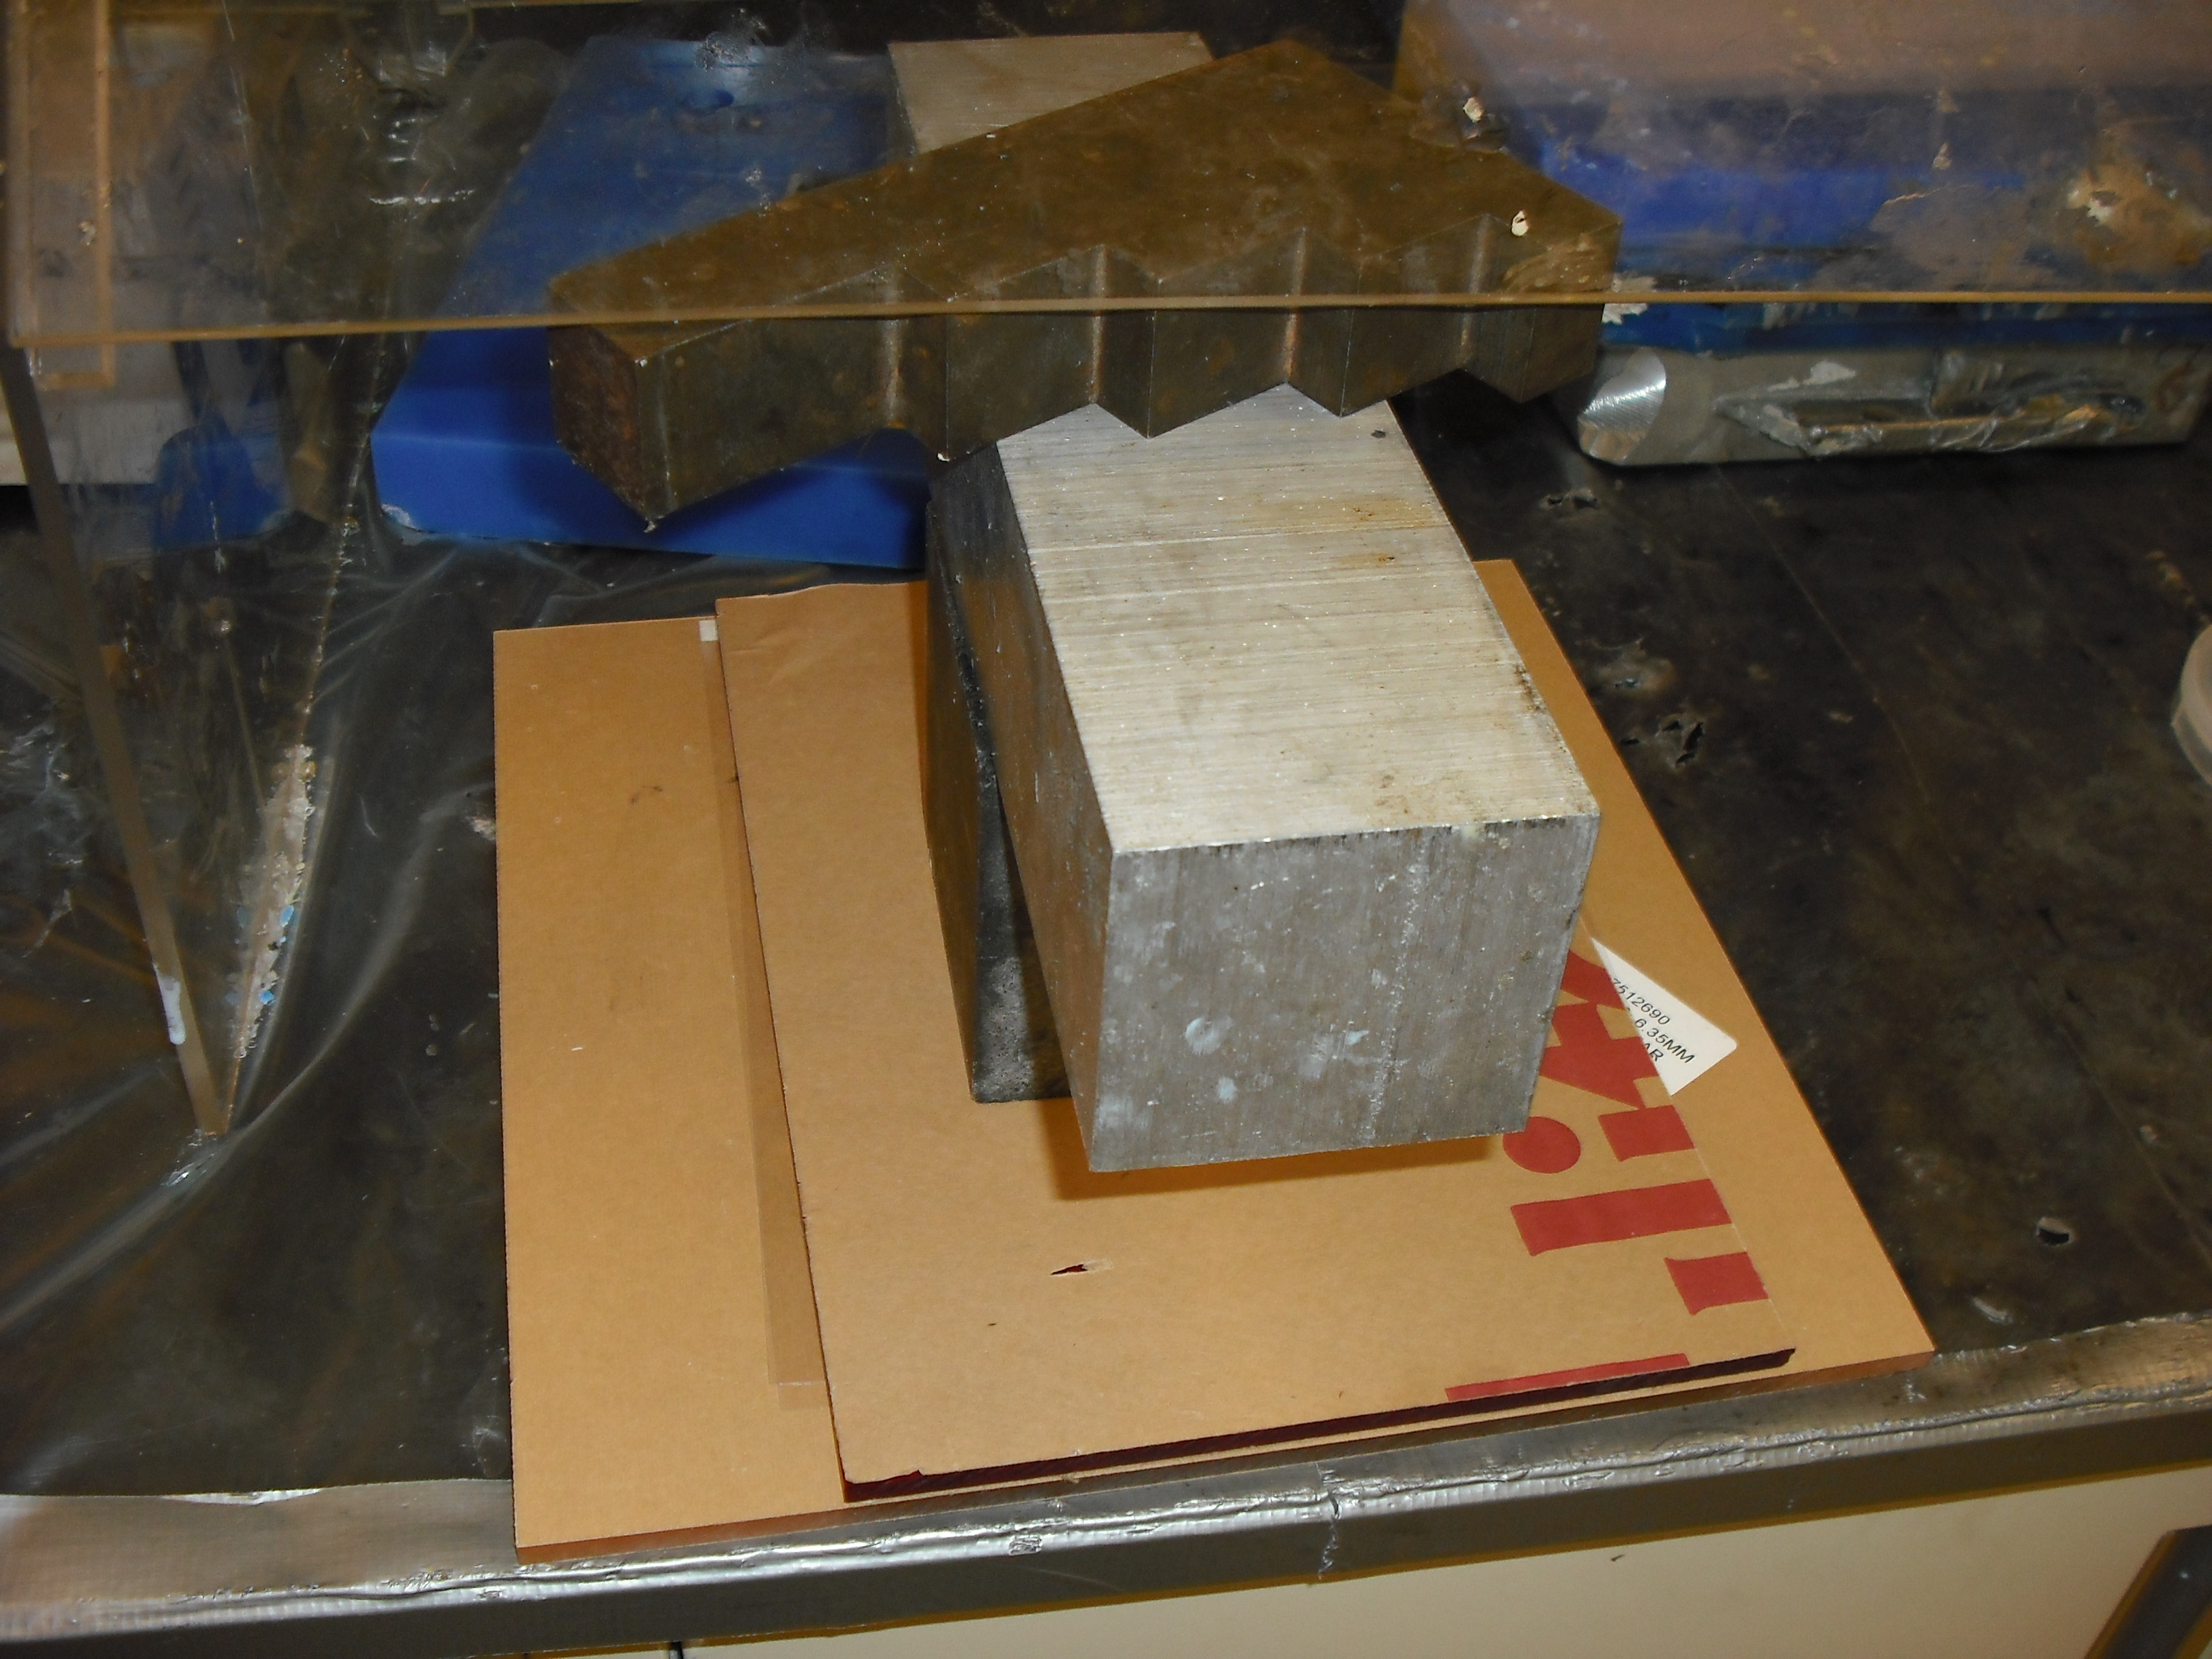
- Trying 1% and 3% carbon solutions in addition to the 5% I just finished. With all three I pre-mixed them in a cup, mixed them in the thinky for 2 min and then defoamed in the thinky for 1 min. Then I flatten them between two pieces of overhead sheet and a big weight on top. For the 5% I tried to put it in the oven right away but it didn't cure so I let it sit overnight and it did cure. For the 3%, I let it sit with weight for 3 hours and no heat. Now I took the weight off and letting sit some more without any heat. For the 1%, it is currently sitting with weight but no heat. I will let the 1% sit without heat over the weekend (I won't be here Friday or Monday). All of the solutions look perfectly smooth after mixing in the thinky and then have some very small barely noticeable bumps/bubbles when I spread them on to the wafer or cantilever mold.
- Trying 3% carbon on the same wafer as the 5% carbon. This time I let it sit with weight for 3 hours and am now letting it sit without weight. At the same time I filled all eight of the cantilever molds (rectangles) and I heat cured half of them immediately and let the other half sit for 3 hours before heating. Interestingly, the immediate cure turned out shinier than the delayed cure, but a difference in the bubbliness was not noticeable.
| Putting weight on wafer to flatten | Wafer flattened in between transparencies |
|---|---|
 |
 |
Ideas, requests, problems regarding TWiki? Send feedback