new web: http://bdml.stanford.edu/pmwiki
TWiki > Rise Web>LabCamera (30 Jul 2008, AlanAsbeck)
Instructions for using the new lab Canon A650 digital camera.
Contents:
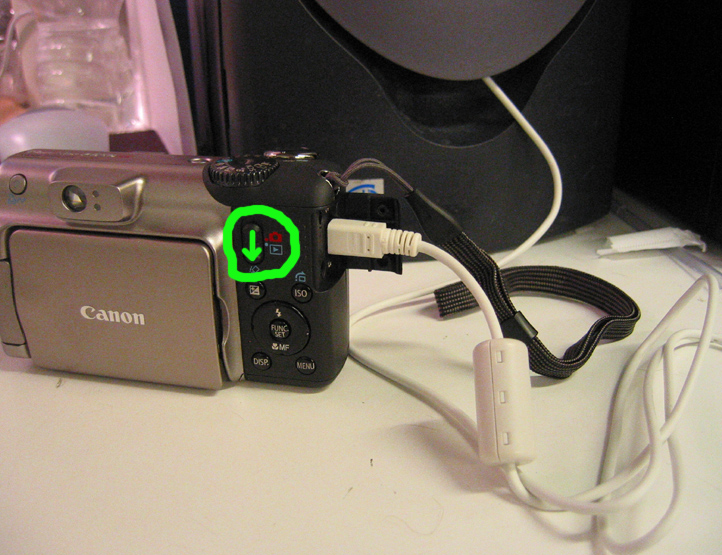
 Camera connected to computer, showing location of switch you must slide down:
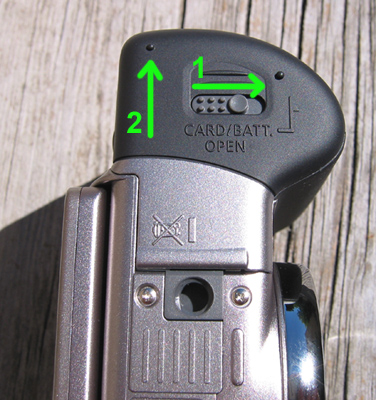
 When you change the batteries, the battery compartment door is a little finicky. To open it, first slide the lever sideways then slide the whole door to the side of the camera (see below). Both of these operations are in the plane of the bottom of the camera.
Opening battery door:
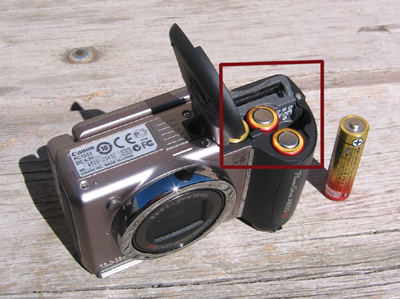
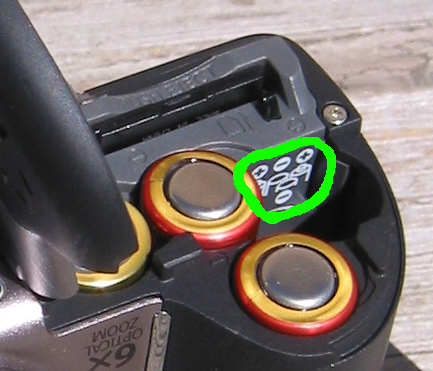
 Then when you put in new batteries, it is helpful to look at the little diagram inside the compartment as to which way the batteries should go. The diagram is slightly hidden so I have taken a picture of it here:
Installing new batteries 1:
 Closeup of diagram:
 Finally, when you close the battery door, push down on it with two thumbs, pretty hard, so it is flush. Pushing on it with just one thumb or asymmetrically will cause trouble. It also works better if you slide the little latch to the side before closing it (the reverse of what you do when you open it) (not shown in the pictures below).
Proper way to close the battery case:
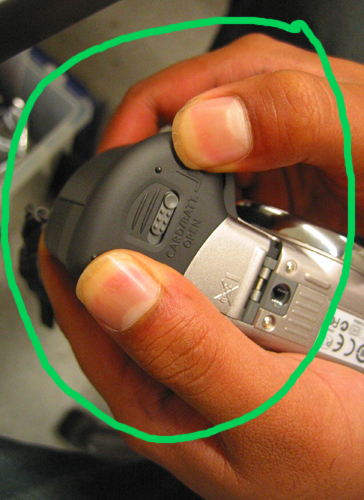 Bad way to close the battery case:
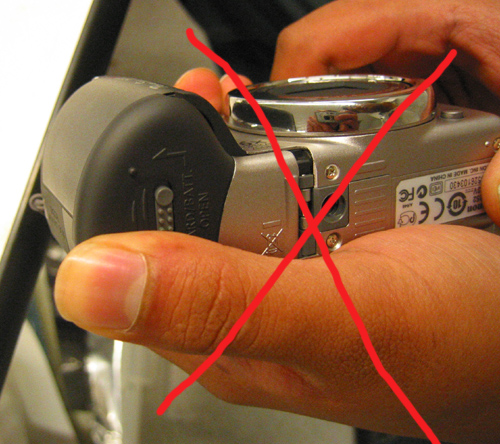
(Thanks to Sanjay for being the hand model)
 -- AlanAsbeck - 30 Jul 2008
Close-up photos
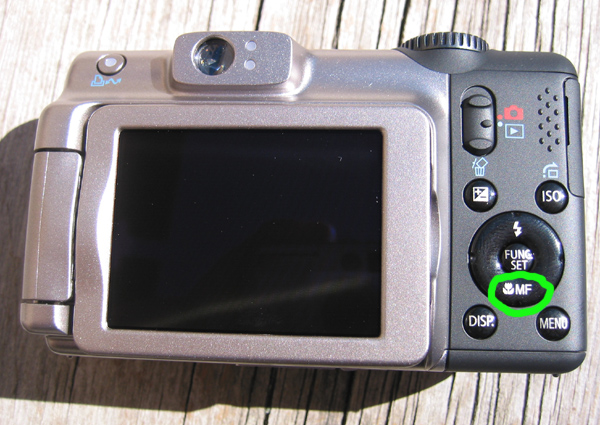
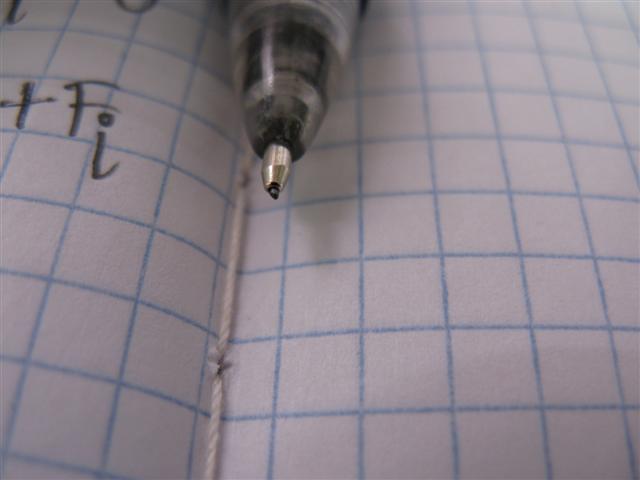
If you want to take a close up ("macro") shot:- You MUST push the flower (Macro) button so the little flower icon appears on the screen.
- Turn the flash off
- Zoom all the way out -- it focuses closer and works better.

Connecting to the computer
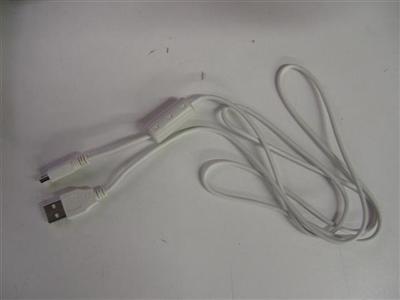
Although you can take the SD card out of the camera and put it in the card reader, a better method is to use the cable to connect the camera directly to the computer. Plug in the cable to both the camera and computer, then put the camera in playback mode by sliding the switch down as in the picture below, then turn the camera on. Then, you can either access the camera through "My Computer" or through the little Camera Wizard which pops up. Please please please delete your pictures off the camera after you download them! Please also turn off the camera promptly after downloading your photos or it will run down the battery. Cable: Camera connected to computer, showing location of switch you must slide down:
Connecting to a Mac: Turn off iPhoto auto-launch
If you have a Mac and are annoyed by iPhoto turning on, here's what to do:- Open /Applications/Image Capture
- Go to Preferences and select "When camera connected, open: Image Capture"
- Go to Devices and select the camera.
- Click "Download some". You'll be able to browse photos, select a folder to download to, and delete the pictures when you're done
Batteries
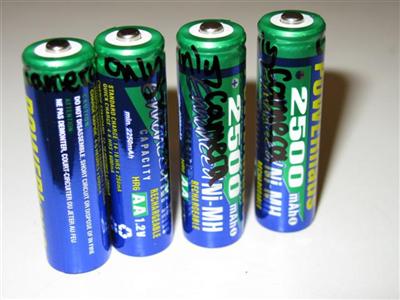
I have purchased two sets of batteries just for the camera, so we will always have charged batteries ready. These are rechargable batteries and will be recharged in a charger located on one of the desks in Hapticsland. DO NOT USE THESE BATTERIES FOR ANYTHING ELSE BESIDES THE CAMERA!! If you do, we will find you and make you clean out the HAAS. I have labeled the batteries so there will be no confusion about them. The Batteries: When you change the batteries, the battery compartment door is a little finicky. To open it, first slide the lever sideways then slide the whole door to the side of the camera (see below). Both of these operations are in the plane of the bottom of the camera.
Opening battery door:
  Then when you put in new batteries, it is helpful to look at the little diagram inside the compartment as to which way the batteries should go. The diagram is slightly hidden so I have taken a picture of it here:
Installing new batteries 1:
  Closeup of diagram:
  Finally, when you close the battery door, push down on it with two thumbs, pretty hard, so it is flush. Pushing on it with just one thumb or asymmetrically will cause trouble. It also works better if you slide the little latch to the side before closing it (the reverse of what you do when you open it) (not shown in the pictures below).
Proper way to close the battery case:
  Bad way to close the battery case:
(Thanks to Sanjay for being the hand model)
Picture size
Also, the camera has 12 Megapixels so the pictures can be quite large. For most applications you might want to reduce the picture size by changing it to 5 Megapixel mode (for comparison, the old camera was 4 Megapixels). Do this by hitting the "Func." (Function) button and then make it be size M2 (see below).
Function button: 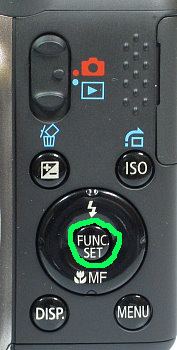
|
Picture size menu: 
|
Samples:


 -- AlanAsbeck - 30 Jul 2008
 Ideas, requests, problems regarding TWiki? Send feedback