category: SummerBlogs
Sonali and jumper
Sonali Singh
Weeks 1 and 2
Day 1
Today was spent mostly familiarizing myself with two projects I will spend some time working on:
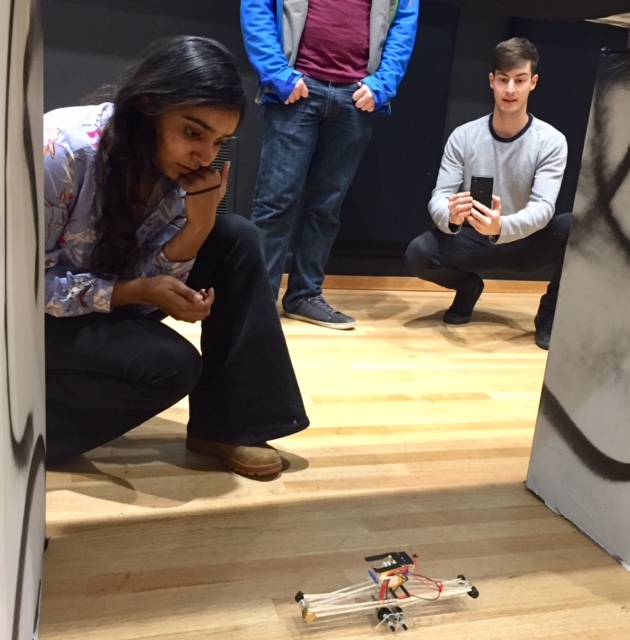
- Capella's project with Honda, looking at the effectiveness of gecko adhesives in a continuous variable transmission. CVTs are used in a number of small, motorized vehicles such as motor scooters, small tractors, and other utility vehicles. Honda is particularly interested in a novel method for a compact, lightweight CVT.
- Sam's project, involving a telerobotic system for performing biopsies in magnetic resonance (MR) environments. Initial iterations of the system included a macro-mini system with linear stages and rolling diaphragm advancement using a capstan.
I spent some time using a silicone sealant to try to affix glass tubing to a quarter-inch dowel for the test setup using 3D printed inserts that were not-quite press-fits.
Day 2
Day 5
Week 3
Day 1
Day 2
Day 5
Today BDML hosted the MERL barbeque. Another SURI student (Marcela) and I spent the morning cooking approximately 120 eggs remotely (at my co-op in Palo Alto), after which I embarked on a clean-up quest that has yet to resolve itself (note to future self: butter both the parchment paper and the baking tray, to ensure egg spillage does not crust onto the baking sheet!).
Week 4
Goals for This Week
- Complete the test-setup for the Honda Project. This will likely include mounting and adjusting the hysteresis brake, fine-tuning the amplifier for the torque sensor, CADing/3D printing (and milling an existing) encoder reader mounts, and ensuring that I can gather true data (whether through using an Arduino Due writing to analog pins with interrupts or an IDE with an SD card and writing directly to the SD card).
Day 1
I spent this morning laser cutting parts to mount the hysteresis brake to the torque sensor at the PRL. The outer diameter of the brake will be applying the torque to the sensor, as the shaft of the brake will be coupled to the passive glass roller in the set up and should be able to spin freely when the brake is "off" (no voltage applied). As per a suggestion from Sam, I first spent some time adjusting for the kerf of the laser cutter, as I would like the through holes to be a fairly tight fit around each bolt
Day 2
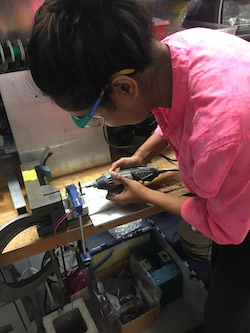
Using an aluminum oxide grinder to cut off d-shaft of the hysteresis brake
Day 3