Week 8
Last Week!
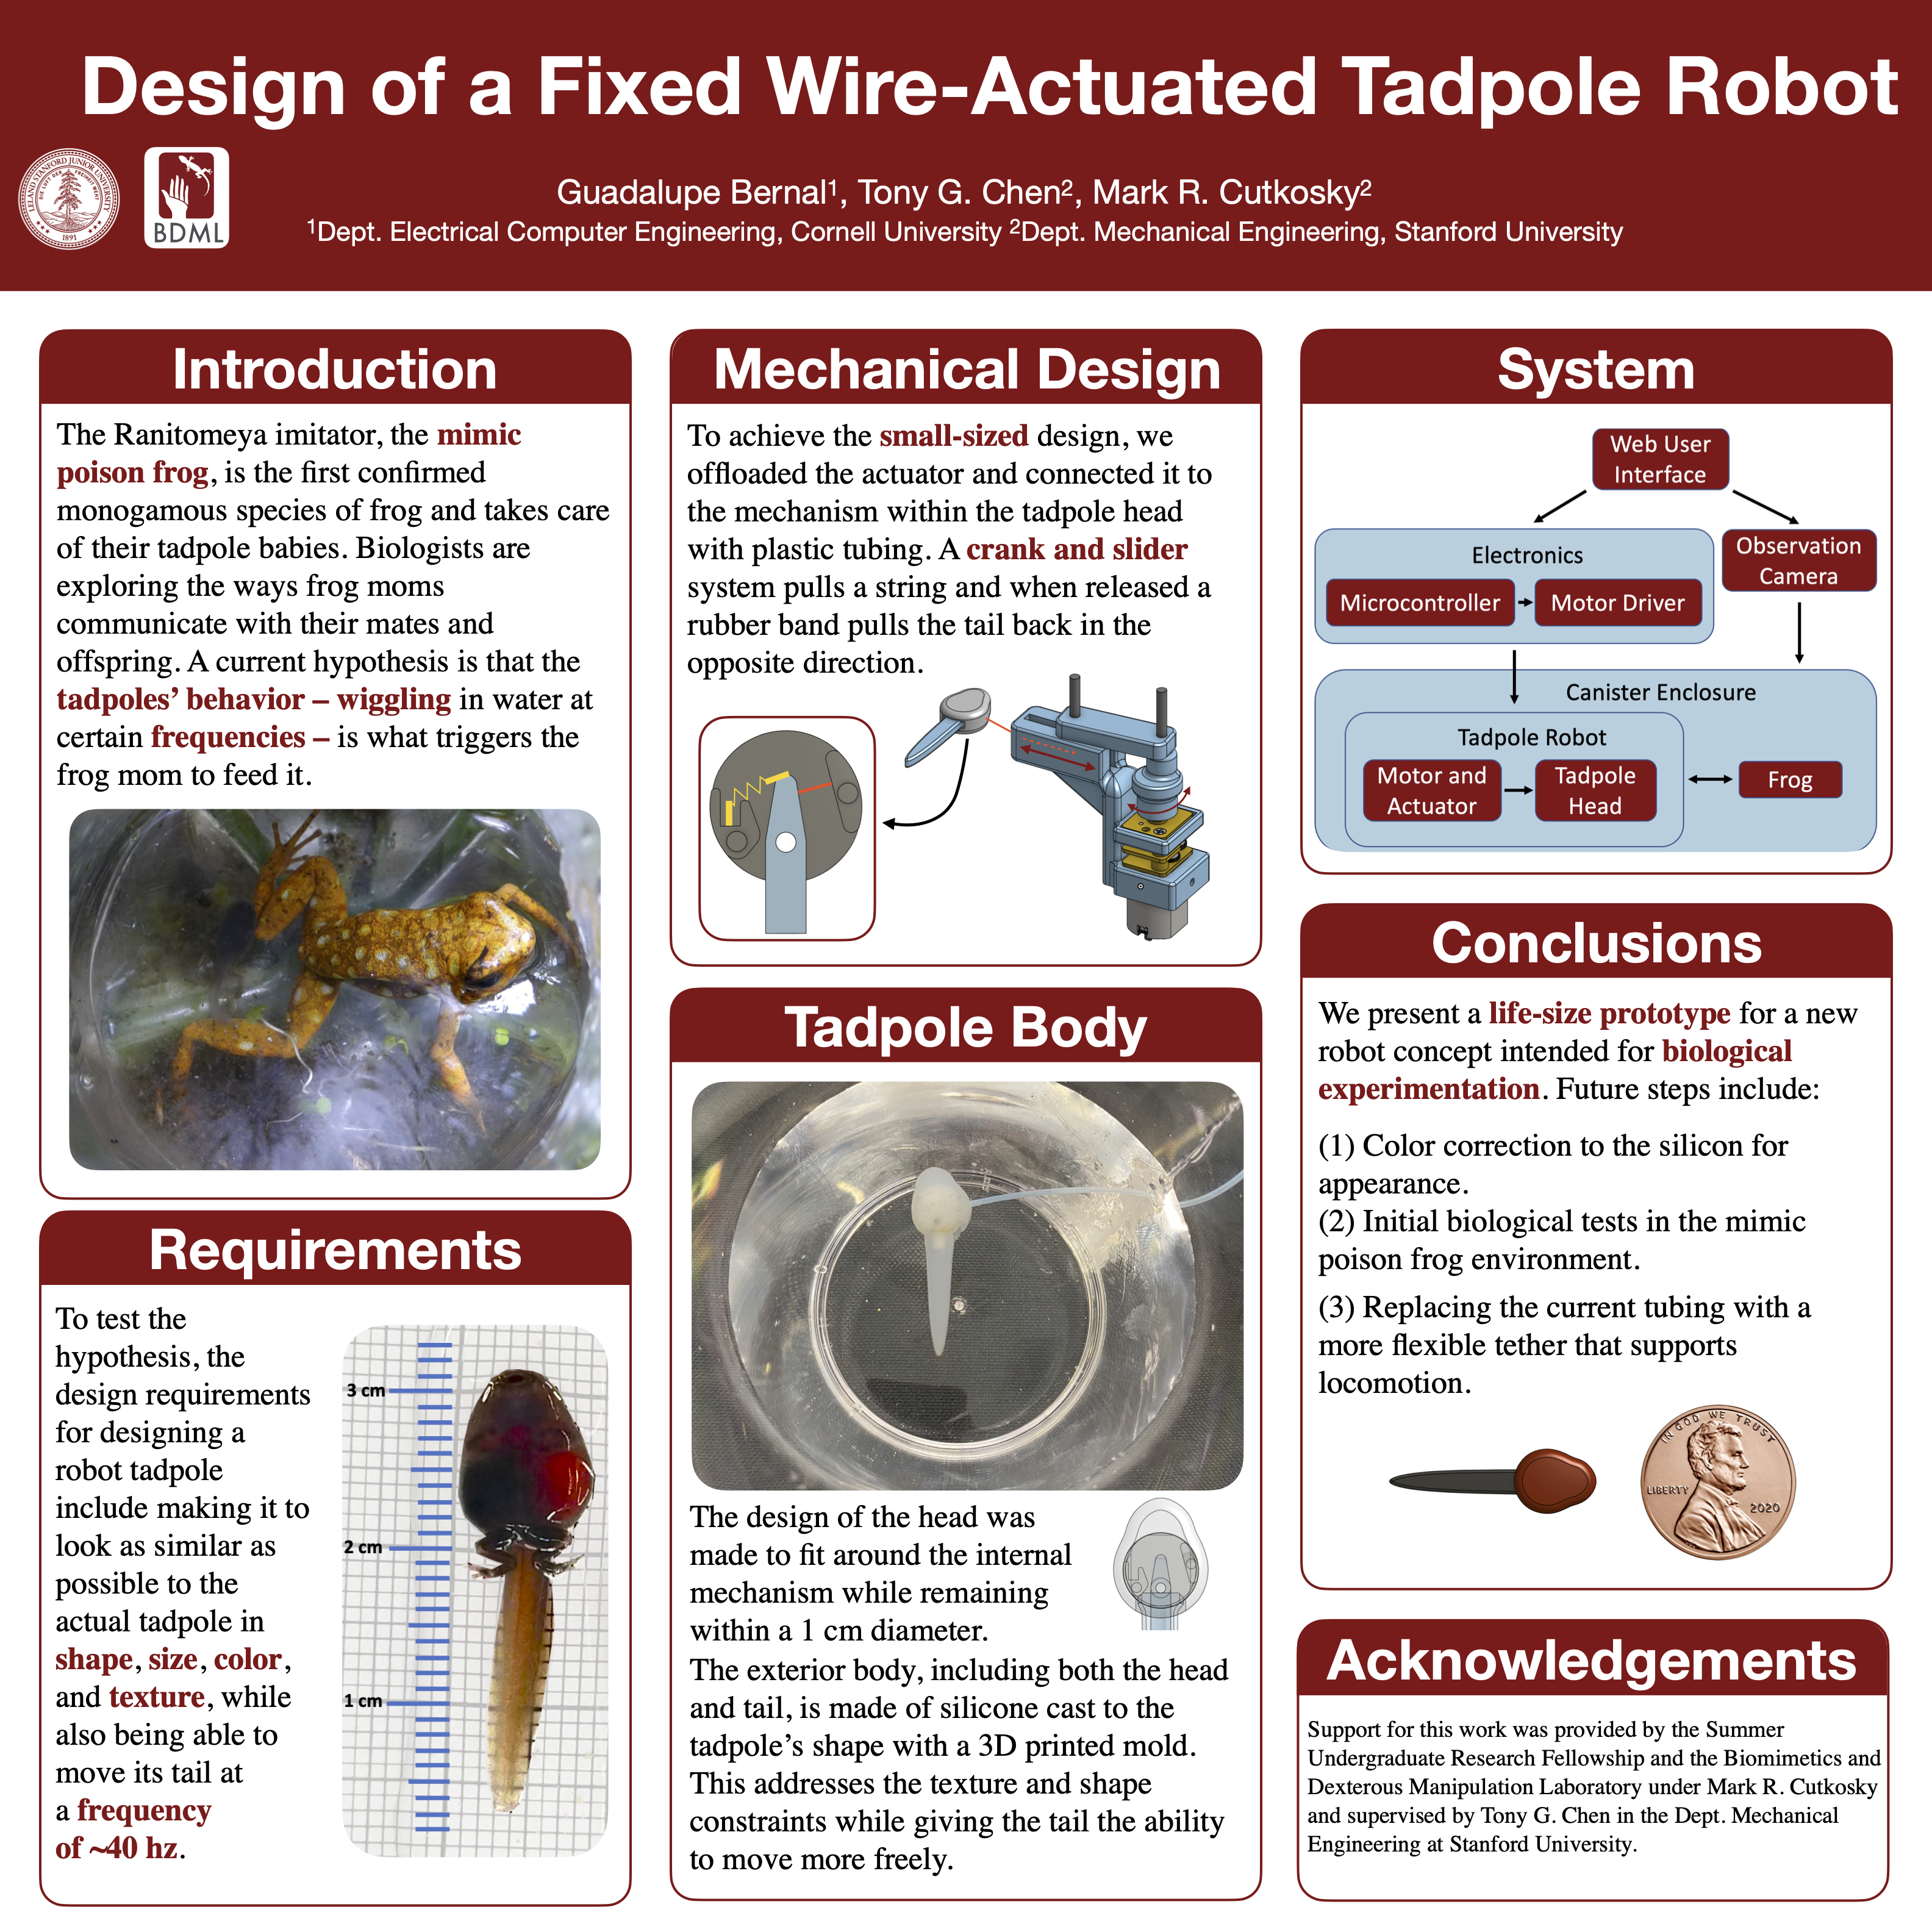
On my last two days, Monday and Tuesday, I shared all the software and information about the circuit with Dominic so that he can continue to work on it now that my summer has wrapped up. I completed my poster and presented it alongside a 5-minute powerpoint presentation on the Tadpole Project I got to work on this summer. Poster pictured below:
Week 7
DAY 27 / 28 : August 4/5
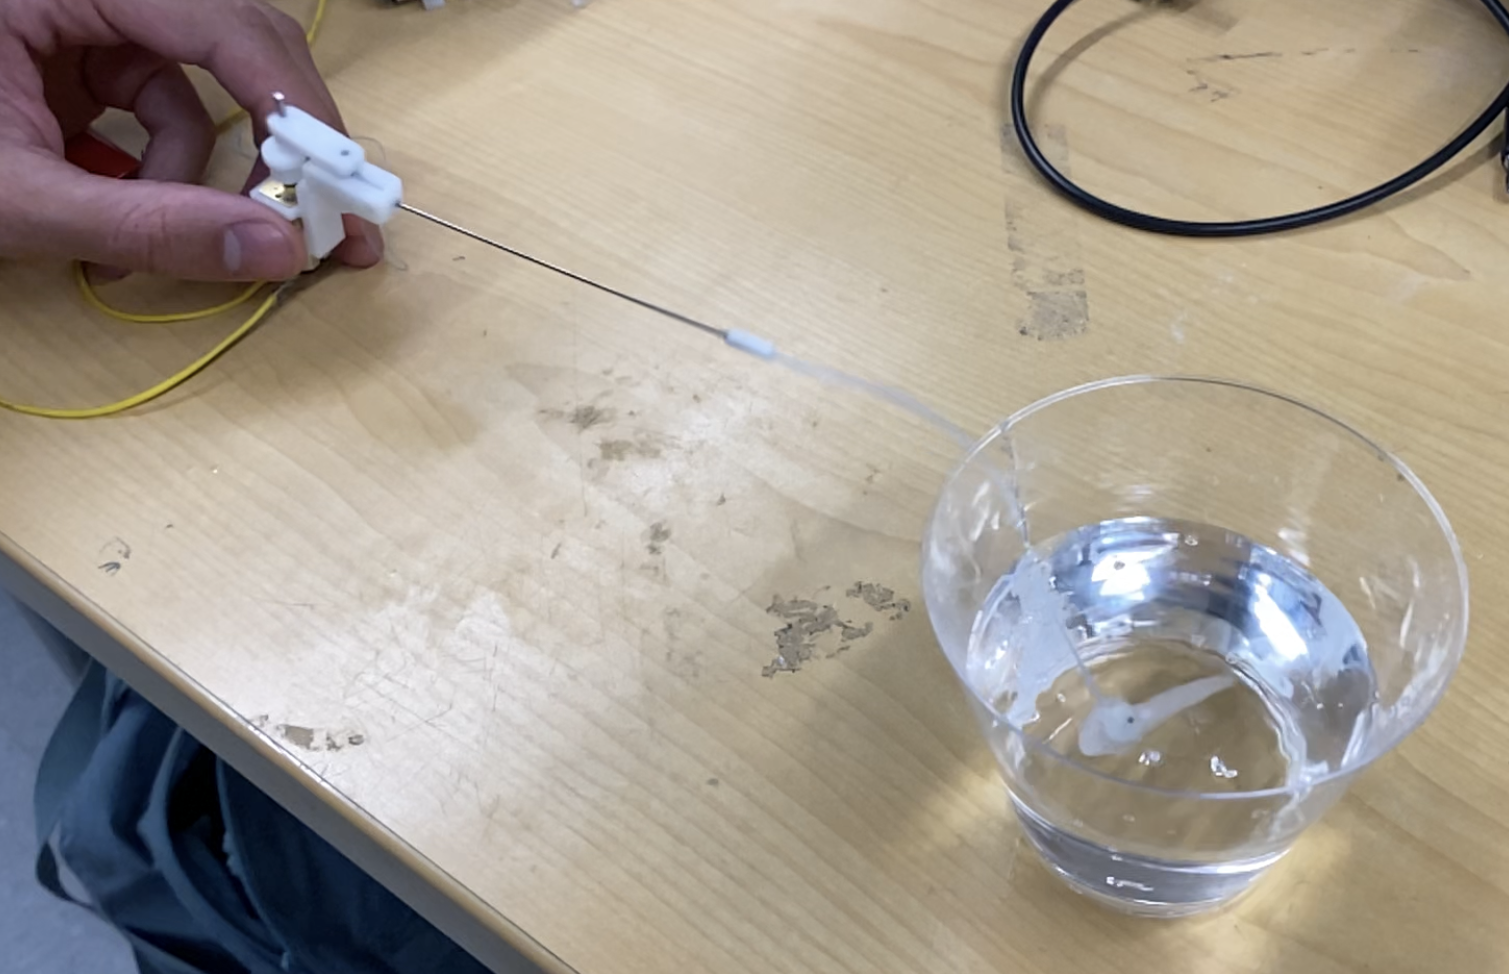
I began designing poster board for the presentation. Dominic and I tested the TadBot submerged in water and designed and printed L-shape connectors for the metal tubing to reach out of the tank.
DAY 24/25/26 : August 1/2/3 Sick and under COVID quarantine :(
Worked on the software for controlling the motor from the Argon Particle device and began brainstorming for the poster presentation.
Week 6
DAY 23 : July 29
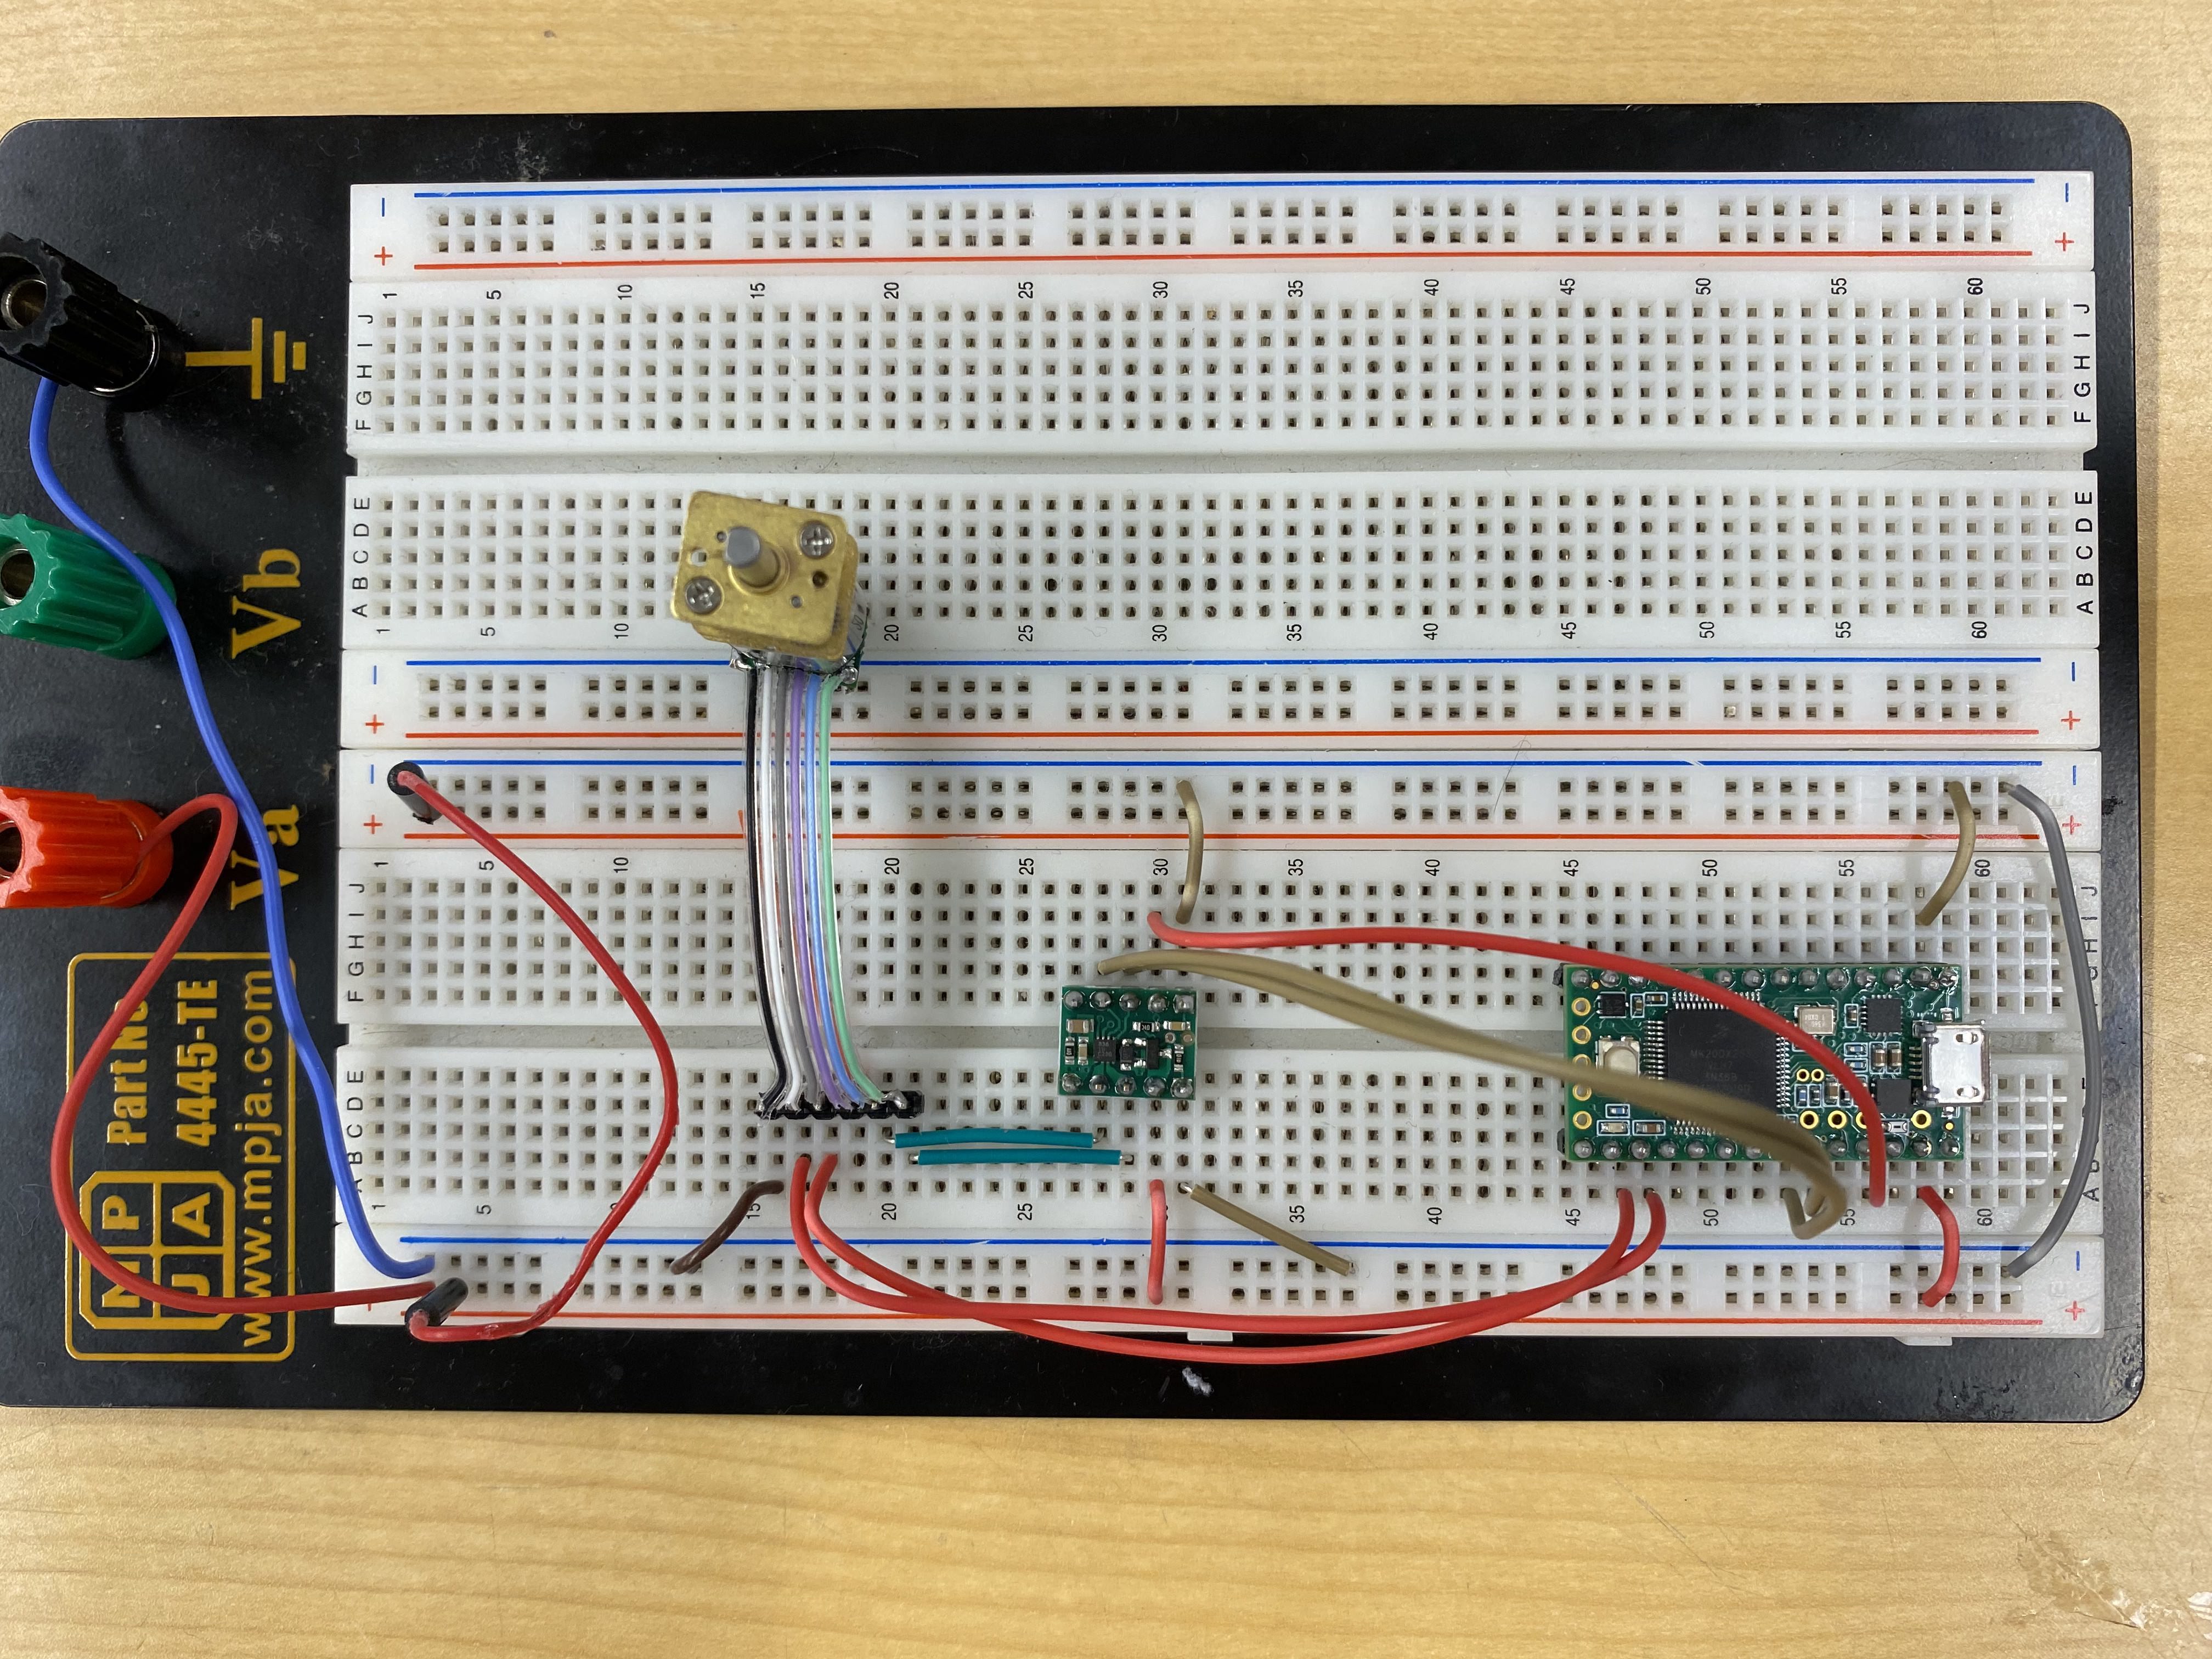
Finalized the circuit design and worked on the software for the Teensy. We decided to switch to an Argon Particle board in order to control the robot through WiFi.
DAY 22 : July 28
Worked on circuit design for controlling the motor. The Teensy microcontroller connects to a Motor Driver which in turn connects to the encoder attached to the motor.
DAY 21 : July 27
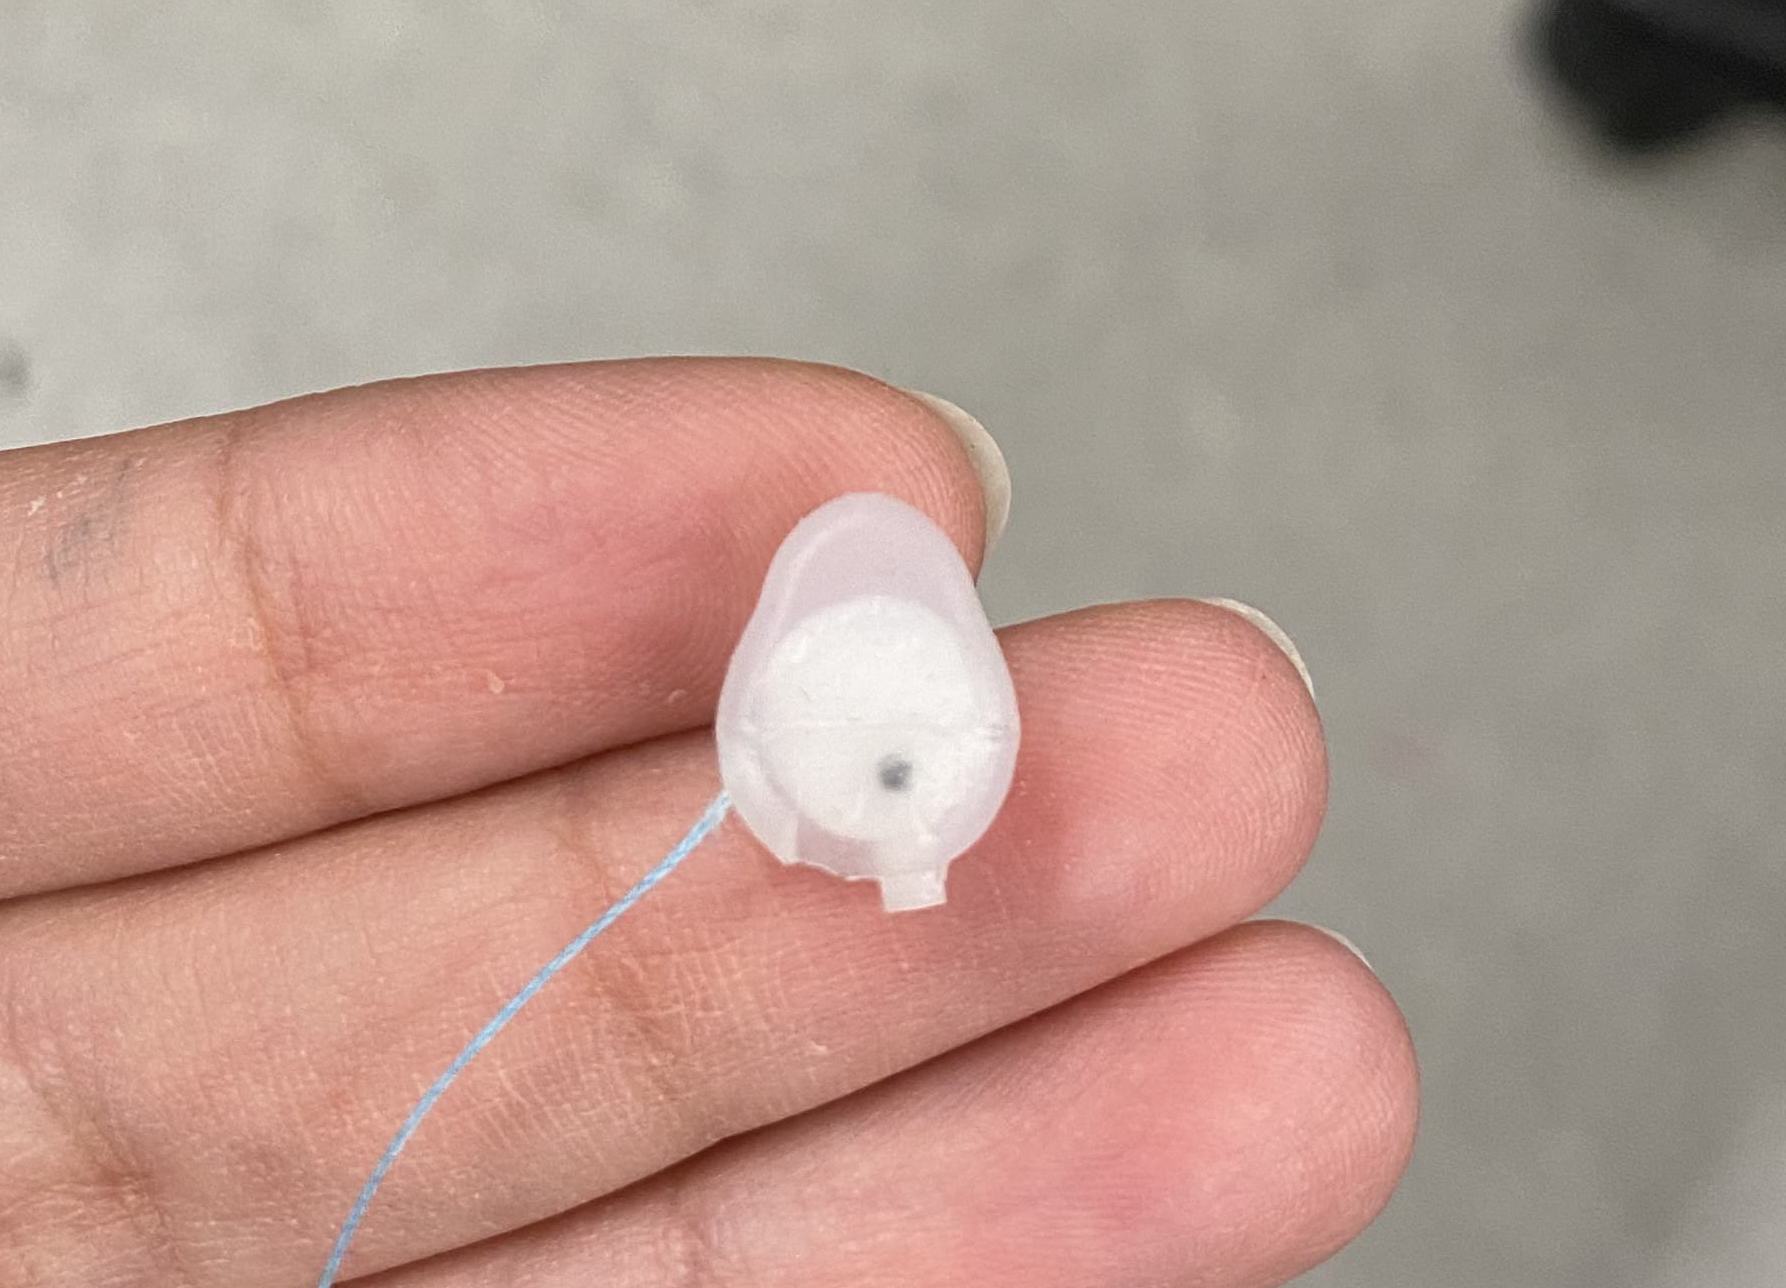
Dominic and I succeeded in casting the head of the tadpole. Our previous issue was using too much mold release as well as how thin the design was at specific points. We also re-designed the three-part mold in order to be all to unscrew it when taking the mold apart instead of having to break the superglue centerpiece off. This modification made it much easier to take the mold apart without breaking the silicone membrane.
DAY 19/20 : July 25/26
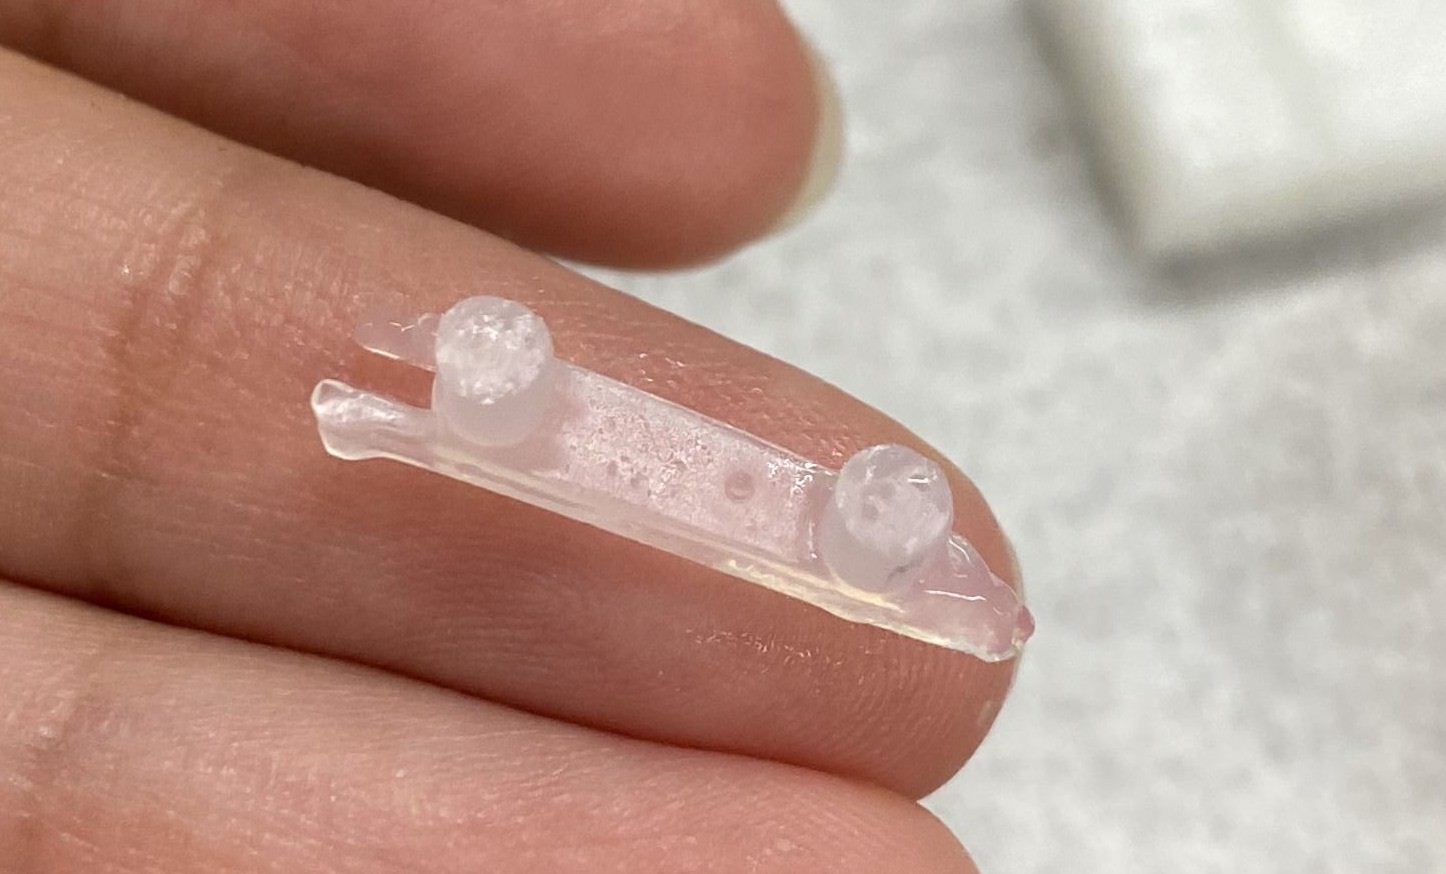
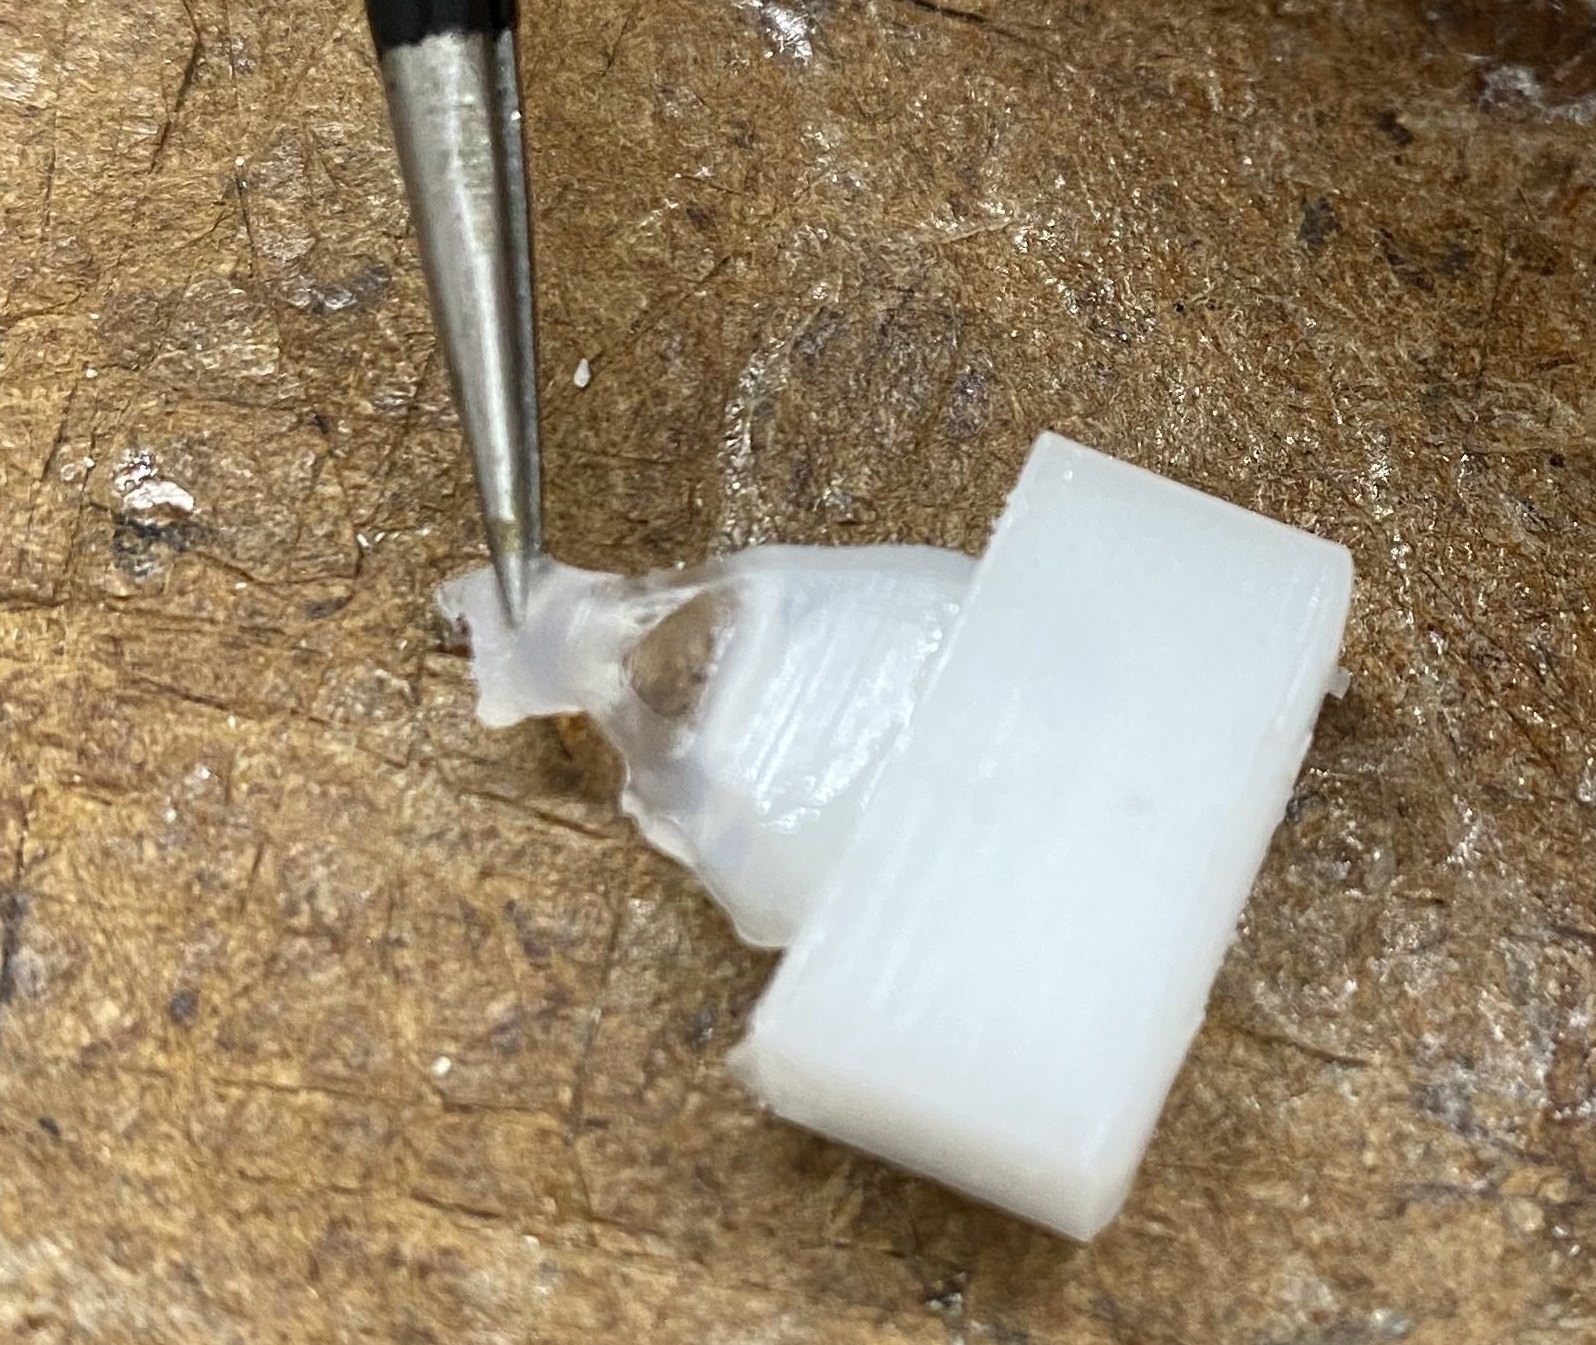
Initial Casting Results
Dominic and I un-molded the parts we cast on the 25th and they area shown below. We the thickness of the membrane at the smallest points in the mold were too thin to not break apart. There were also issues with too much mold release causing the silicone to not cure correctly. In the head piece a giant air bubble remained that was impossible to remove while we poured even with the air vacuum. Because of the issues seen below, we redesigned the molds and left them to print for tomorrow.
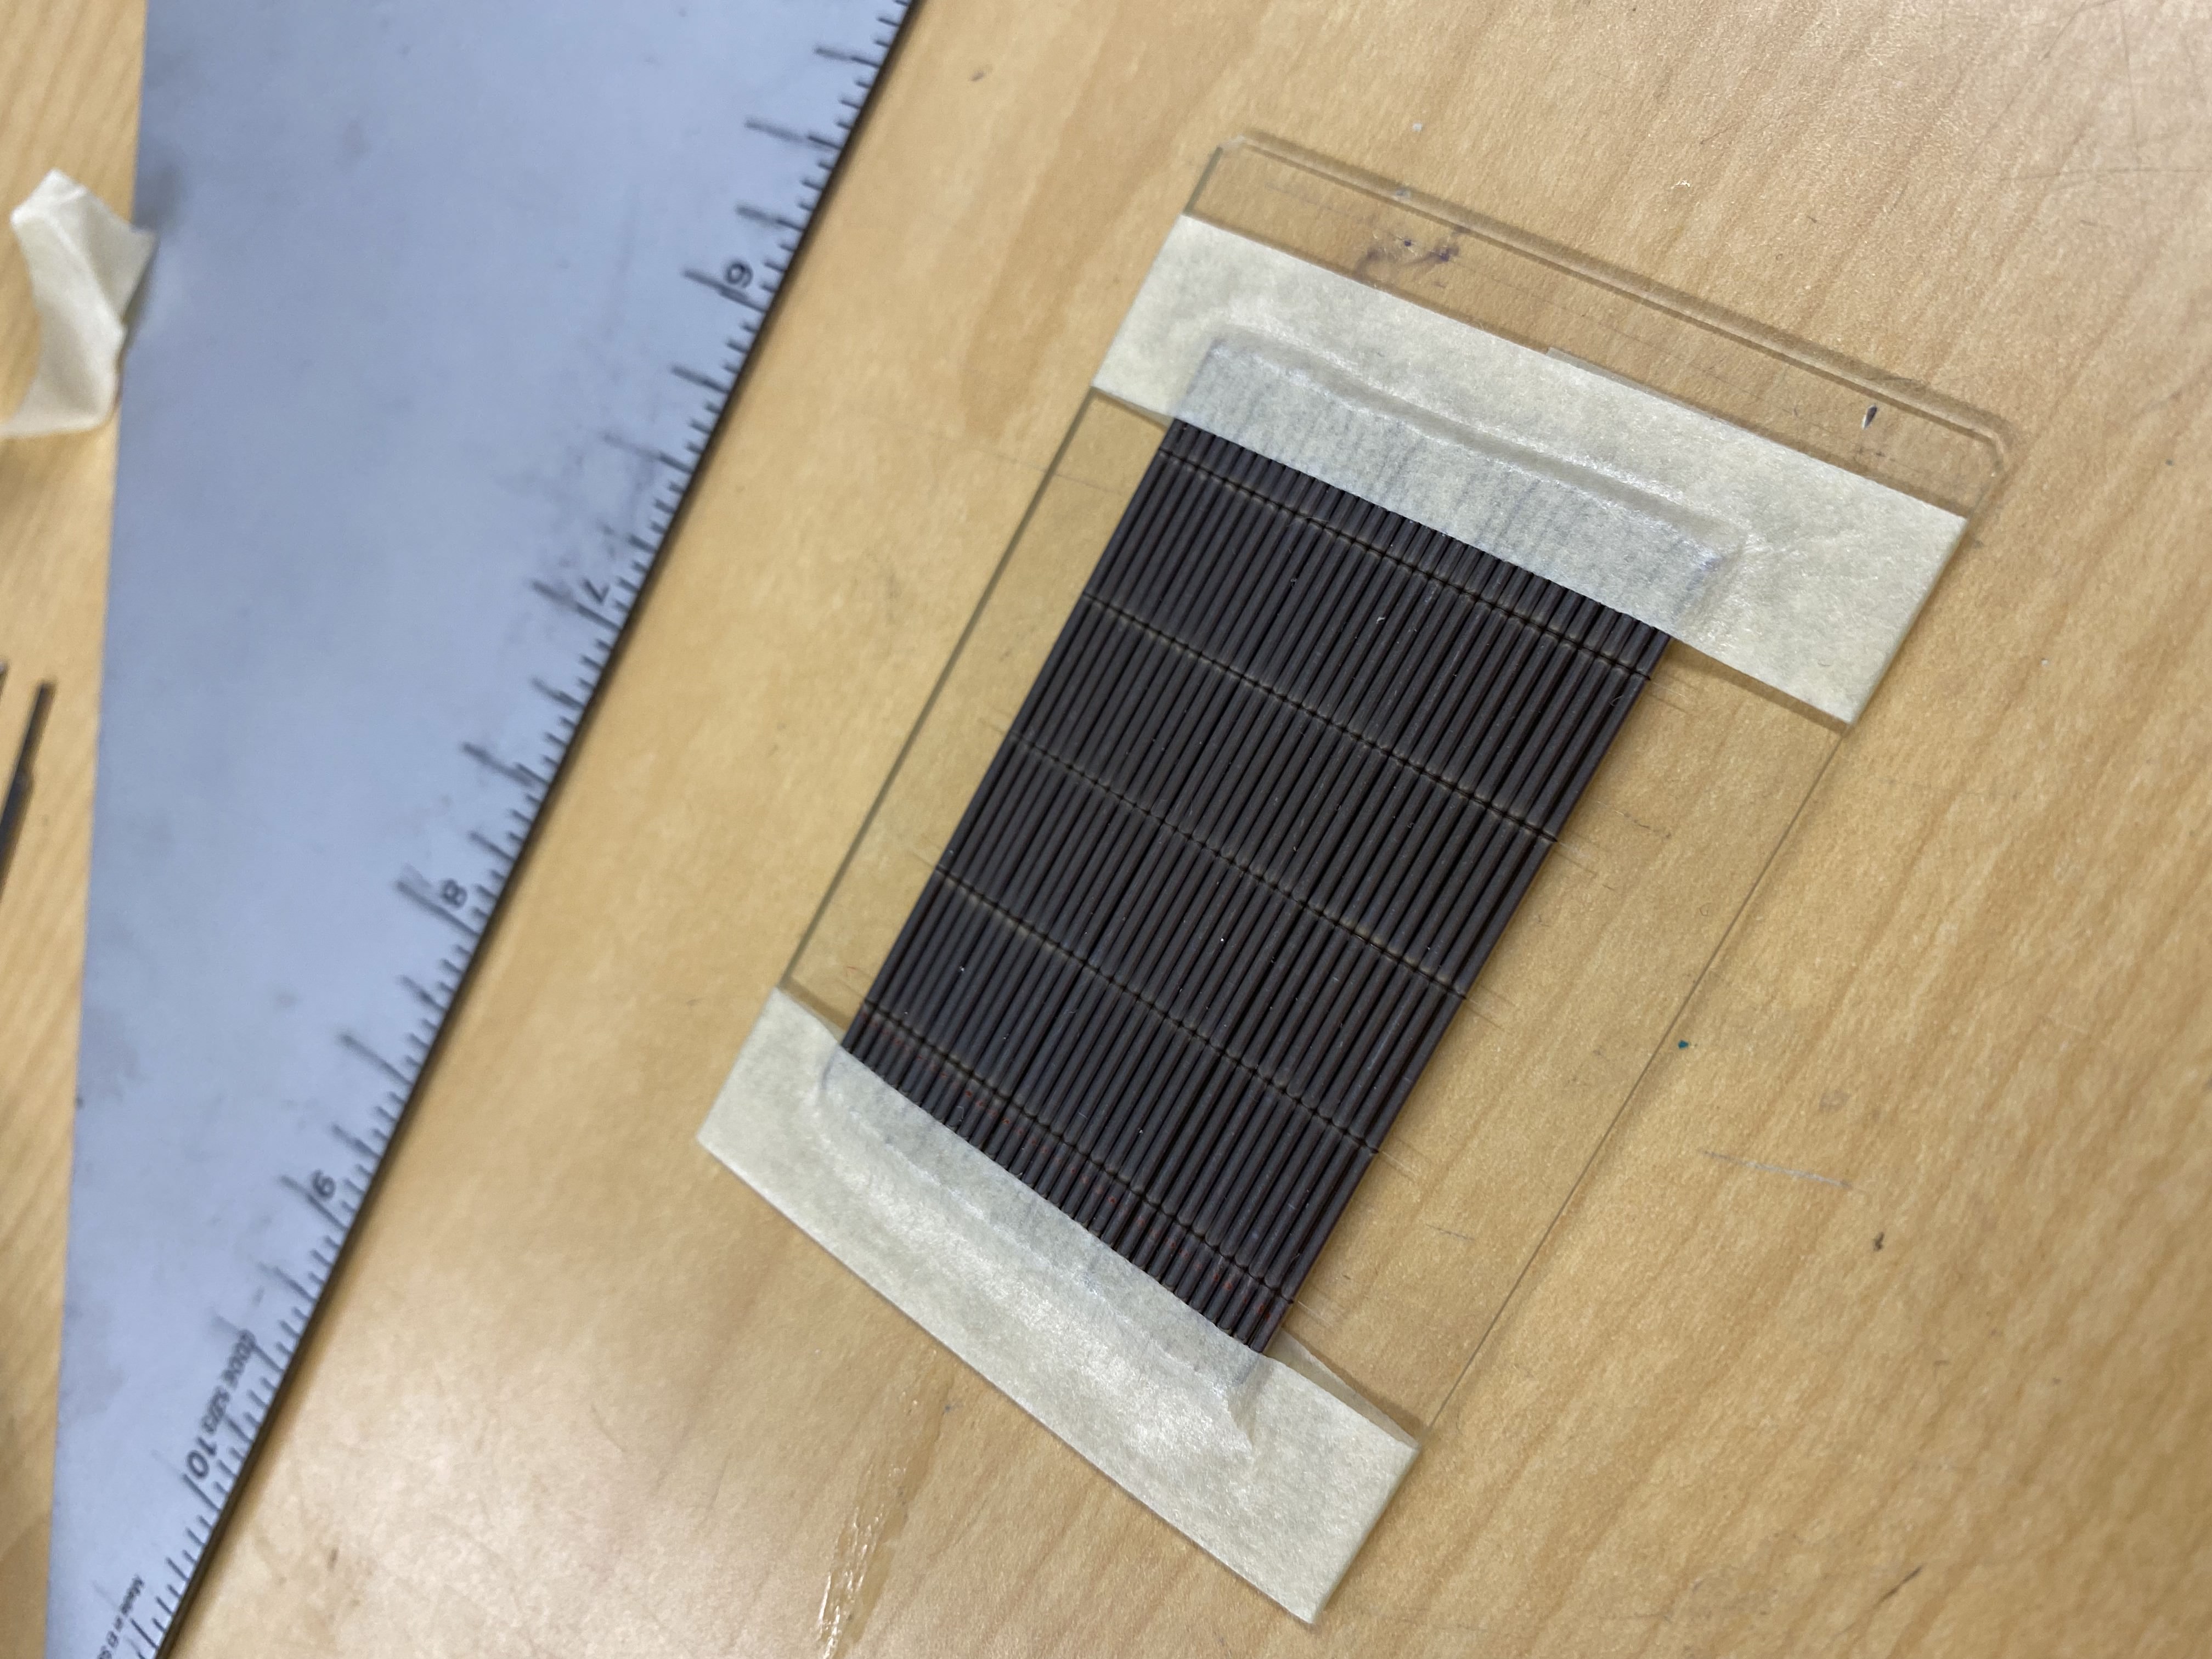
I worked with the UV Laser to cut the tubing for the ReachBot spine tiles.
Week 5
DAY 18 : July 22
DAY 17 : July 21
July 18/19/20 Away from lab Sick :(
Week 4
DAY 16 : July 15
I replaced the new motor and tested it at 6V. The video below shows the functional actuator and tadpole. The slow motion video is also linked here. By looking at the slow-motion video I could count the frequency at which the tail is wiggling. It is currently running at approximately 41 Hz which is above the range we were hopping for!
DAY 15 : July 14
The new 100:1 gear ratio motor arrived and I had to design and print a new rail to fit it in the slot from the previous motor. I began constructing the new tadpole robot with the parts left printing overnight. I also continued working on designing molds for the head and tail. The finalized designs are shown below:
DAY 14 : July 13
Now that we know the current design is functional (at least at very very low speeds) we can begin modifying the tadpole design to look more realistic and making the exterior membrane. With reference to the real tadpoles, I designed a more realistic tadpole model and membrane.
DAY 13 : July 12
Dominic and I constructed a functional version of the robot! The actuator correctly pulled and released the sting through the tub and moved the lever. The rubber band acted like a spring and also functioned correctly. The video linked blow shows this design.
I also completed the necessary 2 hour trainings for using the UV laser.
DAY 12 : July 11
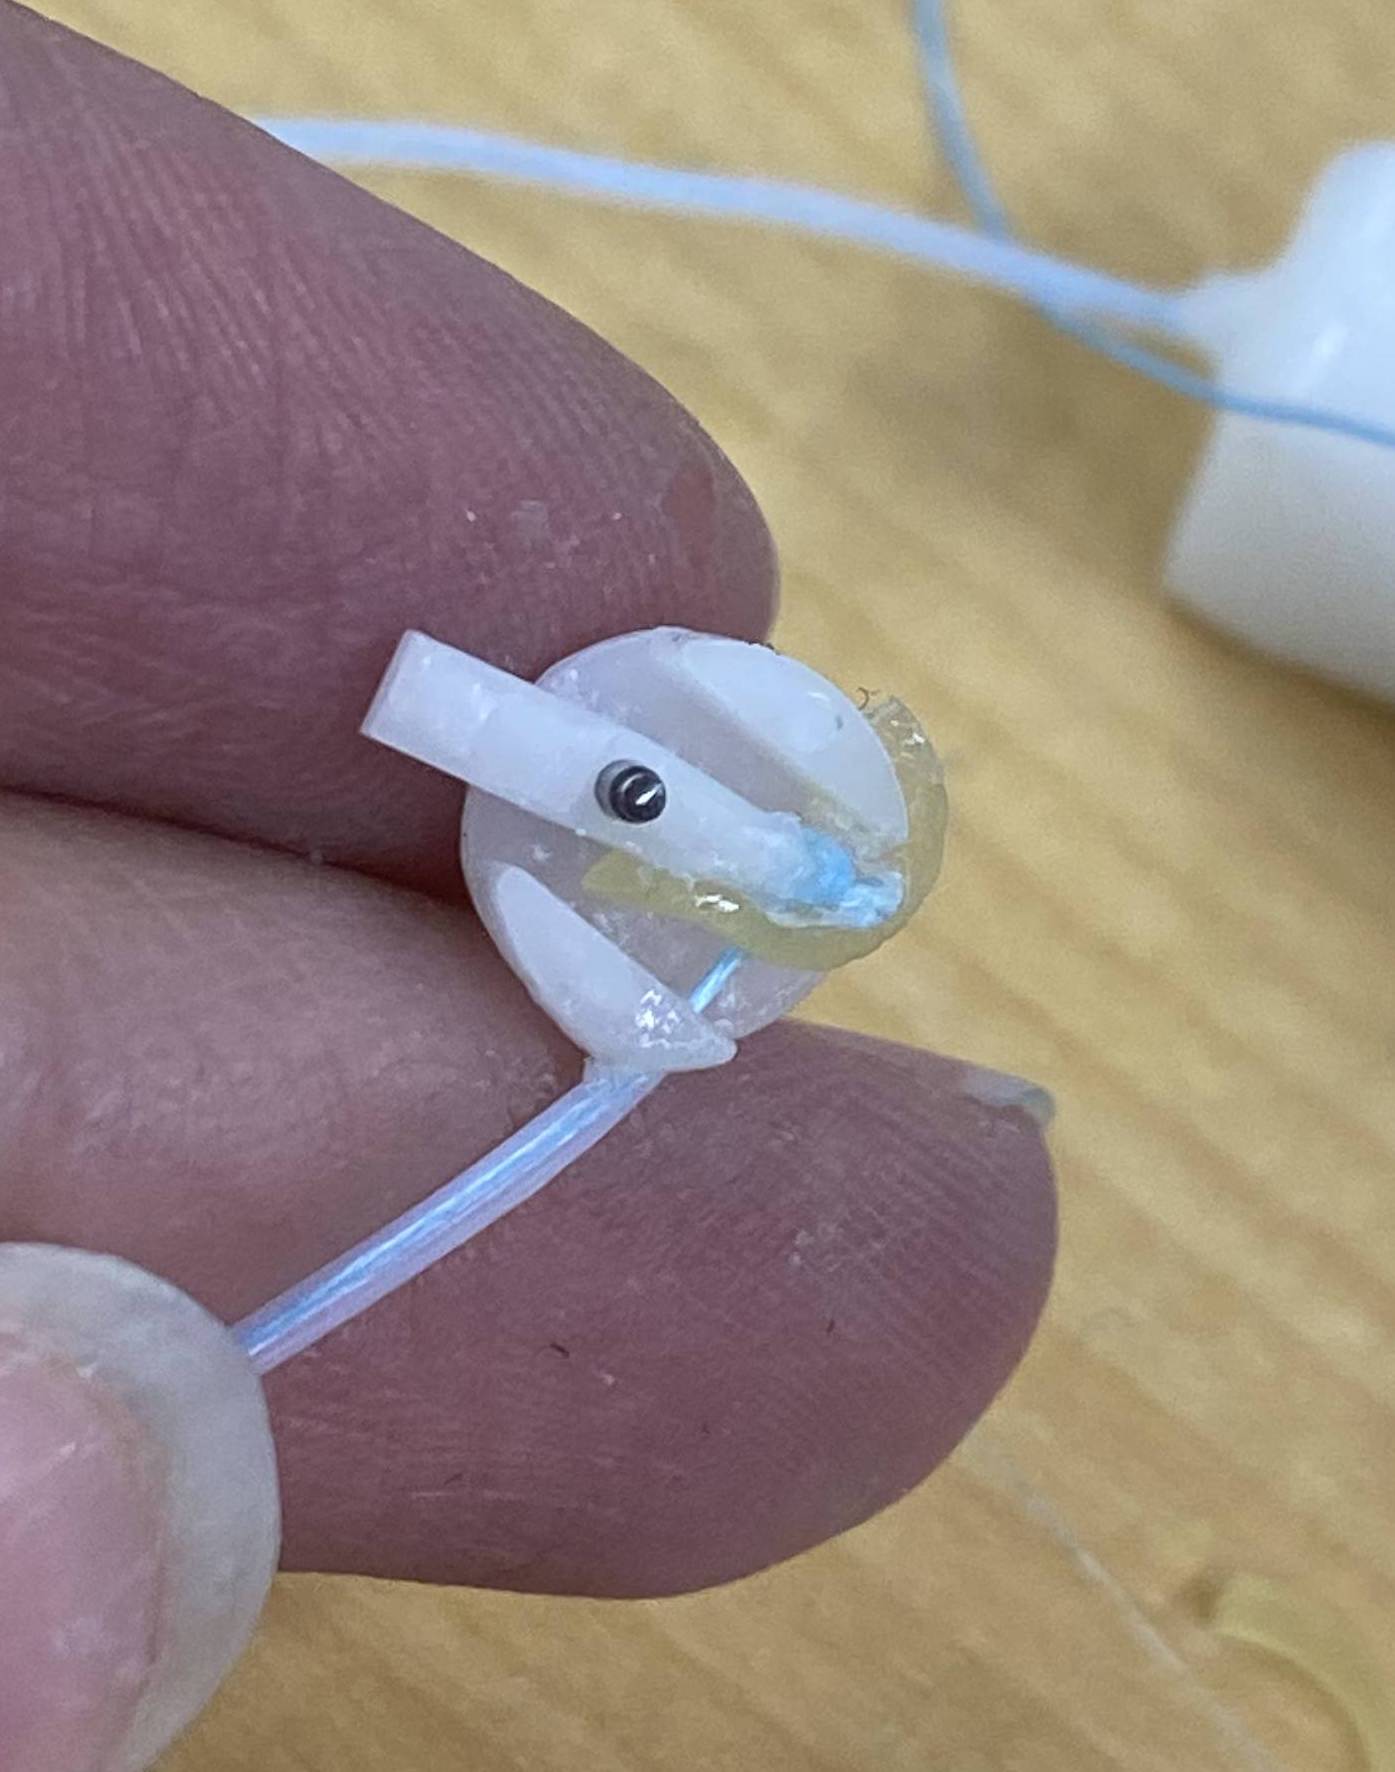
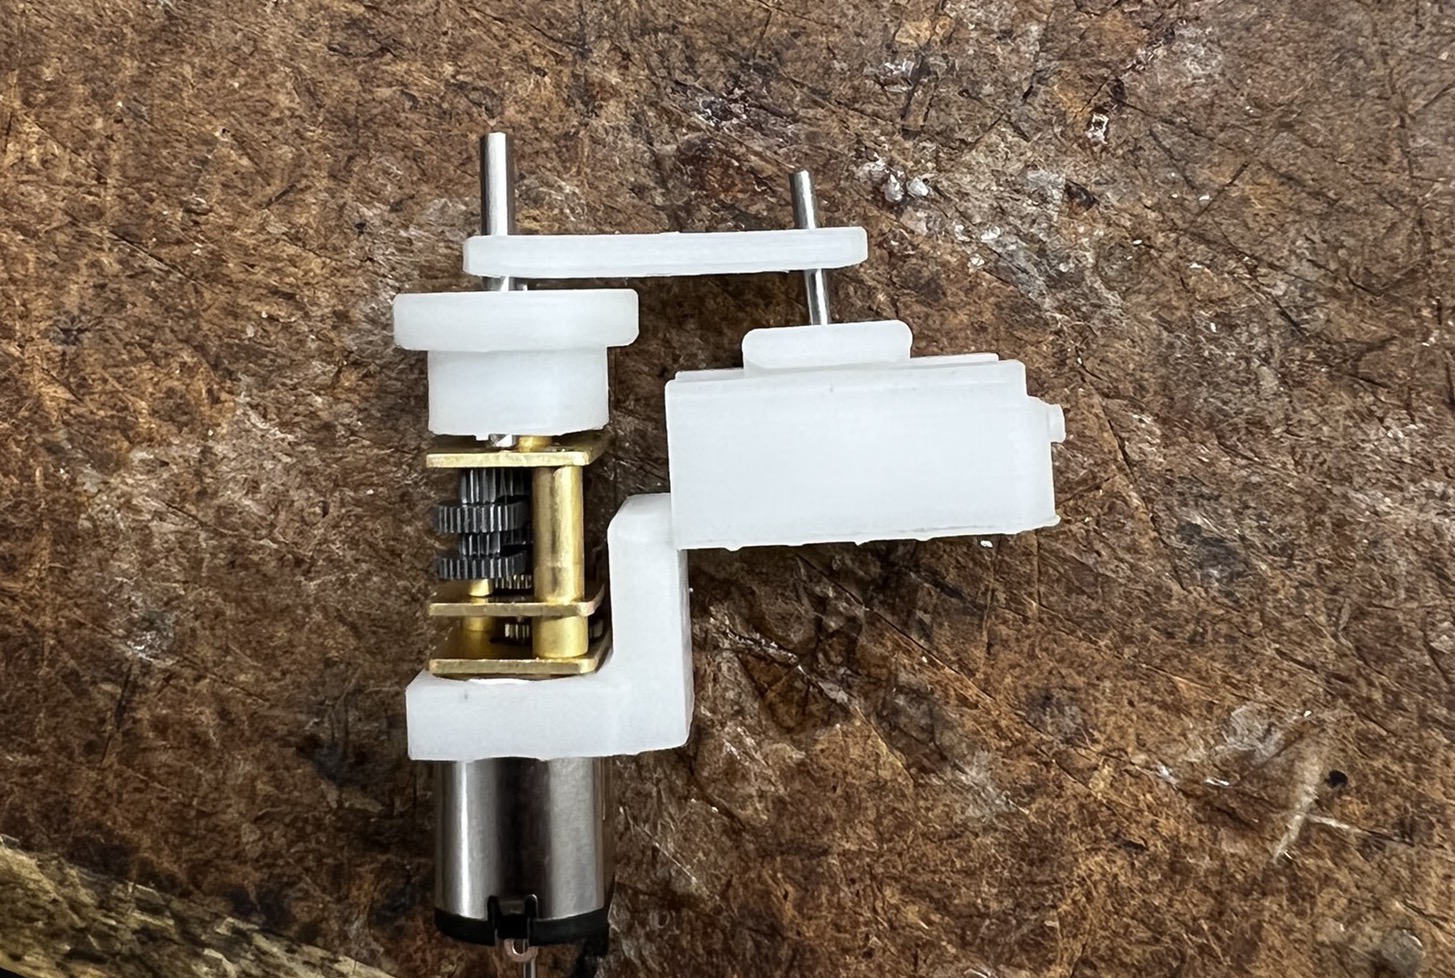
After multiple versions of the actuator design not sliding smoothly, Tony helped gave us the idea of removing the slider completely and simply attaching the string to the pin itself as shown in the design below. After modeling it, we left the design to print overnight.
Functioning TadBot with Actuator
Week 3
July 7/8 Under COVID quarantine :(
DAY 11 : July 6
The initial actuator design was not sliding smoothly so we redesigned and printed more versions to try and get the tolerences correct.
DAY 10 : July 5
I modeled a test cube for the ReachBot gripper Tile:
We need to print it overnight in the other lab's printer because of the high accuracy needed to print the hole within the hole shown. This test tile will let us figure out what the best dimensions are for the spring and spine. Then I worked on a new model for the TadPoleBot. I came up with an idea that would let us use a motor instead of air as an actuator and after discussing. After refining it with Tony and Dominic, we settled on using a motor connected to a to a crank to linearly actuate a string/steel wire through a tube to the TadPole. I designed the following actuator on OnShape and left it to print overnight.
Week 2
DAY 9 : July 1
Dominic and I tested different membrane thickness using the spin coater at different rpm speeds for 2 minutes on glass plates.
DAY 8 : June 30
Today was lab cleanup day! We spent the day organizing.
DAY 7 : June 29
In the morning I spent time reading papers on the Gecko Inspired Adhesives. Dominic and I used the formlabs printer to print our first iteration of the tadpole robot. When putting it together we realized some of the issues with our original design, but overall were happy with how it turned out. We designed a mold for the membrane part of the robot and left it to print overnight.
DAY 6 : June 28
I spent most of the morning going over in some more depth Carlo's thesis. Afterwards, we went through his Matlab code for the 2D model and the 3D model line by line to make sure I understood his work and the math behind it. Dominic and I spent some time designing the the mold for the membrane butt later realized the design was too small. Tony explained how instead we could use an acrylic sheet and a few layers of tape (each 100 um) to get the proper thickness of the membrane instead of printing a mold.
DAY 5 : June 27
Carlo gave me a deep overview of the math behind the gripping mechanism of ReachBot included in his theses. My next steps are to read more in depth into the math and then meet with him tomorrow to go over his code base. Tony, Dominic and I met with Billie, a grad student biologist, for who we are designing a tadpole robot. The goal of the project is to simulate how a tadpole begs for food by wiggling at a high frequency in order to convince the real frog parents to feed it. In the afternoon, Dominic and I designed and modeled on OnShape a new version of the tadpole robot. We wanted to fix some of the bugs that Tony's original design had had.
Week 1
DAY 4 : June 24
Power was restored! I spent some time reading the 2022 IEEE ReachBot publication. Hojung showed us the UV Laser, Rachel gave us some OnShape tips, and Tony showed us how to cast. I also started learning about how we describe robot dynamics.
DAY 3 : June 23
Power outage continued so we were not able to go in to the lab.
DAY 2 : June 22
Trip to the beach! We had a fun time talking and wrote out our goals for the summer.
DAY 1 : June 21
Today was my first day in the lab. Dane gave us a tour of the lab and went over all of the safety features. Then Mark got me set up on the BDML Wiki and I completed the STARS safety trainings. Carlos and Tony gave me an overview of the ReachBot project which I’ll bee working on. A power outage ended the day early though.