new web: http://bdml.stanford.edu/pmwiki
TWiki > Main Web>TWikiUsers > SamsonPhan>LaserMolds (22 Apr 2009, SamsonPhan)
-- SamsonPhan - 22 Apr 2009  Holes
Holes with non-vertical walls were easiest to demold, as expected. Uniform height of demolded parts can be achieved if demolded very carefully. Some clumping occurs after demold (may be greatest factor in packing design). It's very apparent which line of holes was in focus and which were not , attested by column aspect ratio and height.
Squares
Squares hardest to demold and suffered most tearing. Some columns actually stuck together, probably because the molds were not actually separate.
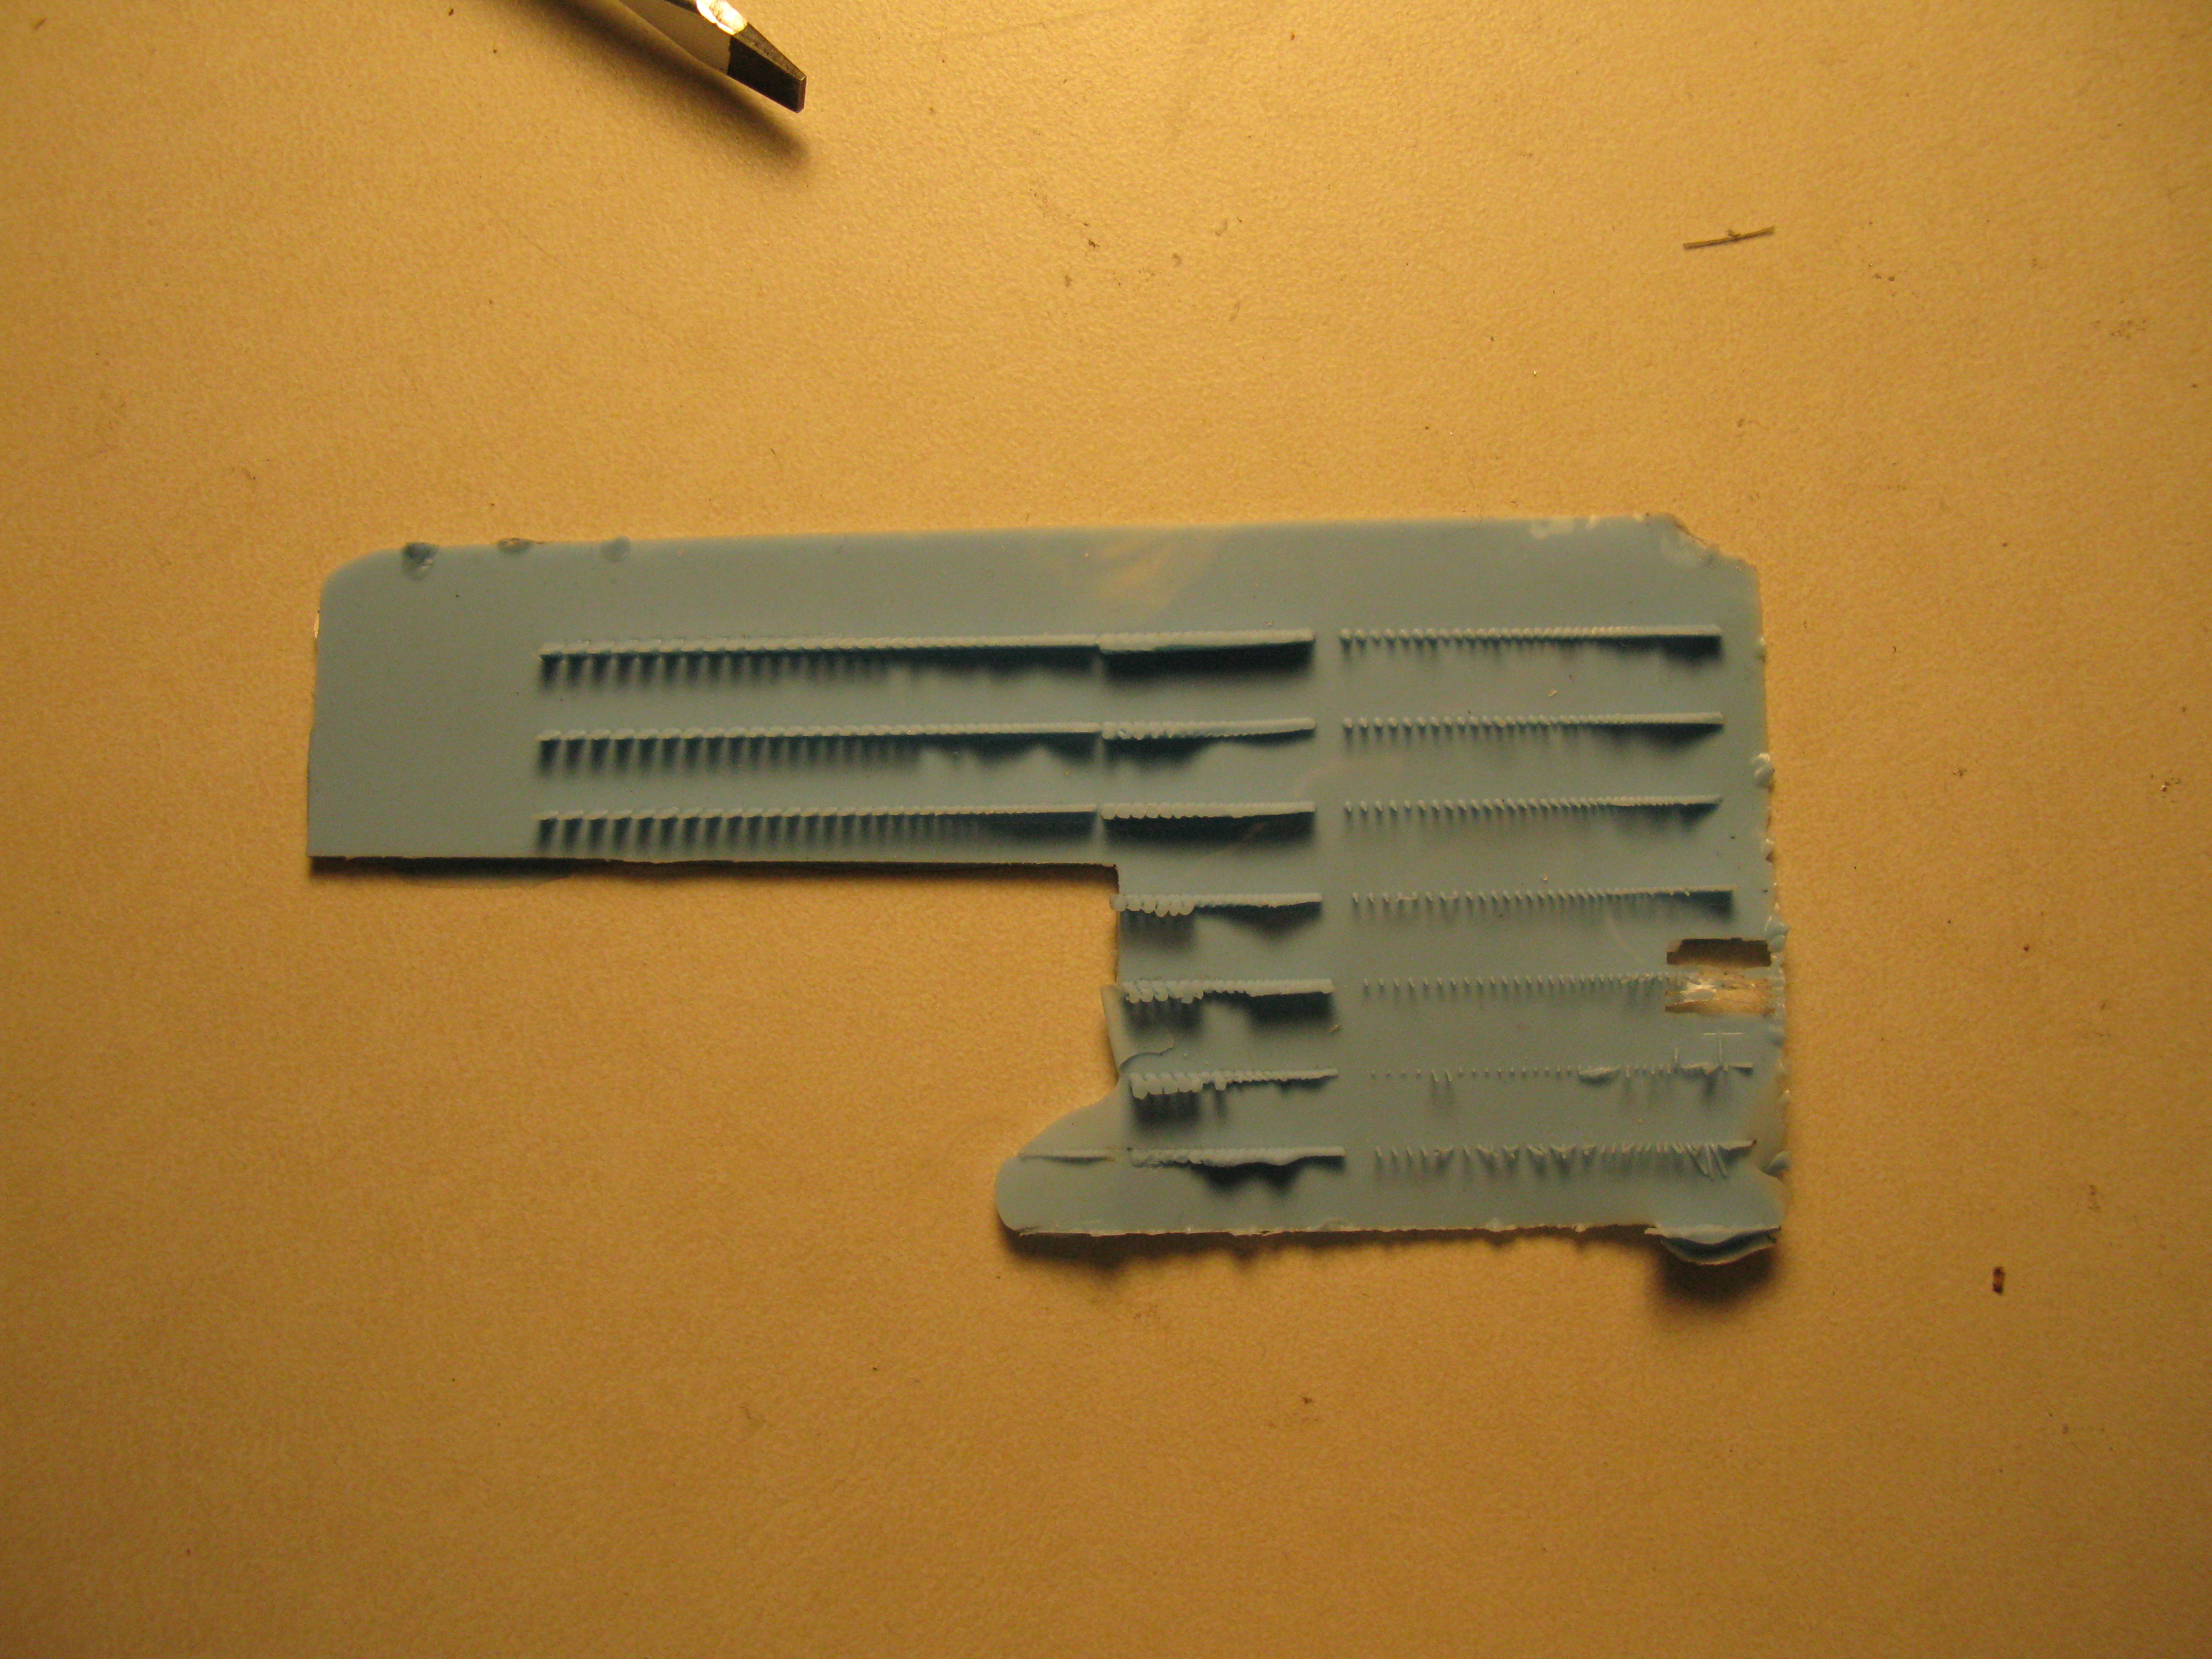
Lines
It appears most of the parts tore along the bottom edge of the mold, resultin gin near uniform height of parts. Parts maintain angle of mold (10 degrees).
Lessons learned
Holes
Holes with non-vertical walls were easiest to demold, as expected. Uniform height of demolded parts can be achieved if demolded very carefully. Some clumping occurs after demold (may be greatest factor in packing design). It's very apparent which line of holes was in focus and which were not , attested by column aspect ratio and height.
Squares
Squares hardest to demold and suffered most tearing. Some columns actually stuck together, probably because the molds were not actually separate.
Lines
It appears most of the parts tore along the bottom edge of the mold, resultin gin near uniform height of parts. Parts maintain angle of mold (10 degrees).
Lessons learned
- 13-14 spacing poured, cured. Unfortunately, mounted upside down, so when tried to pull our of mold, they all got stuck. Need to remake.

- Talked to Aaron. Compression is used to modulate backing layer thickness.
- Hairs were pulled off backing layer due to mold inversion:
- 13-14 spacing in 1/8" acrylic made
- 33-34 spacing in 1/8" acrylic unsuccessful. Tried1 time. TA suggests that the melting process of LaserCamming? coupled with the hole spacing caused this.
- license obtained
- through holes can be backed with another acrylic sheet. Acrylic cement will wick into holes, but not really hurt dimensionality. in test, did notice bulbous end. May be because surface was rough and mold was mated upside down.
- Spoke with Alan. Make 4x4 array of stalks, minimum spacing, using 1/4"
- Get license
- Lines are interesting, especially the ones that are close together but still separated. It provides consistent compliance without crosstalk and coupling.
- Notice height variations for through holes. Variations caused on out of focus ones.
- Batted around idea of using an encoder wheel and motor to adjust the height ofthe laser during the cut. Sanjay suggested using a jig that would raise and lower the piece instead. Need to clear with Craig if possible.
- talk with Aaron, Alan, and Dan about possible application.
- Cover both sides with tape to prevent scorching. may also help with uneven surface that made flash issues
Holes
Holes with non-vertical walls were easiest to demold, as expected. Uniform height of demolded parts can be achieved if demolded very carefully. Some clumping occurs after demold (may be greatest factor in packing design). It's very apparent which line of holes was in focus and which were not , attested by column aspect ratio and height.
Squares
Squares hardest to demold and suffered most tearing. Some columns actually stuck together, probably because the molds were not actually separate.
Lines
It appears most of the parts tore along the bottom edge of the mold, resultin gin near uniform height of parts. Parts maintain angle of mold (10 degrees).
Lessons learned - variations in height make difference mold crosssection that are sufficent to disrupt performance of layer
- find a way to prevent leakage into gap (possibly refinish laser camm part before pour)
- what is mimum spacing? Why?
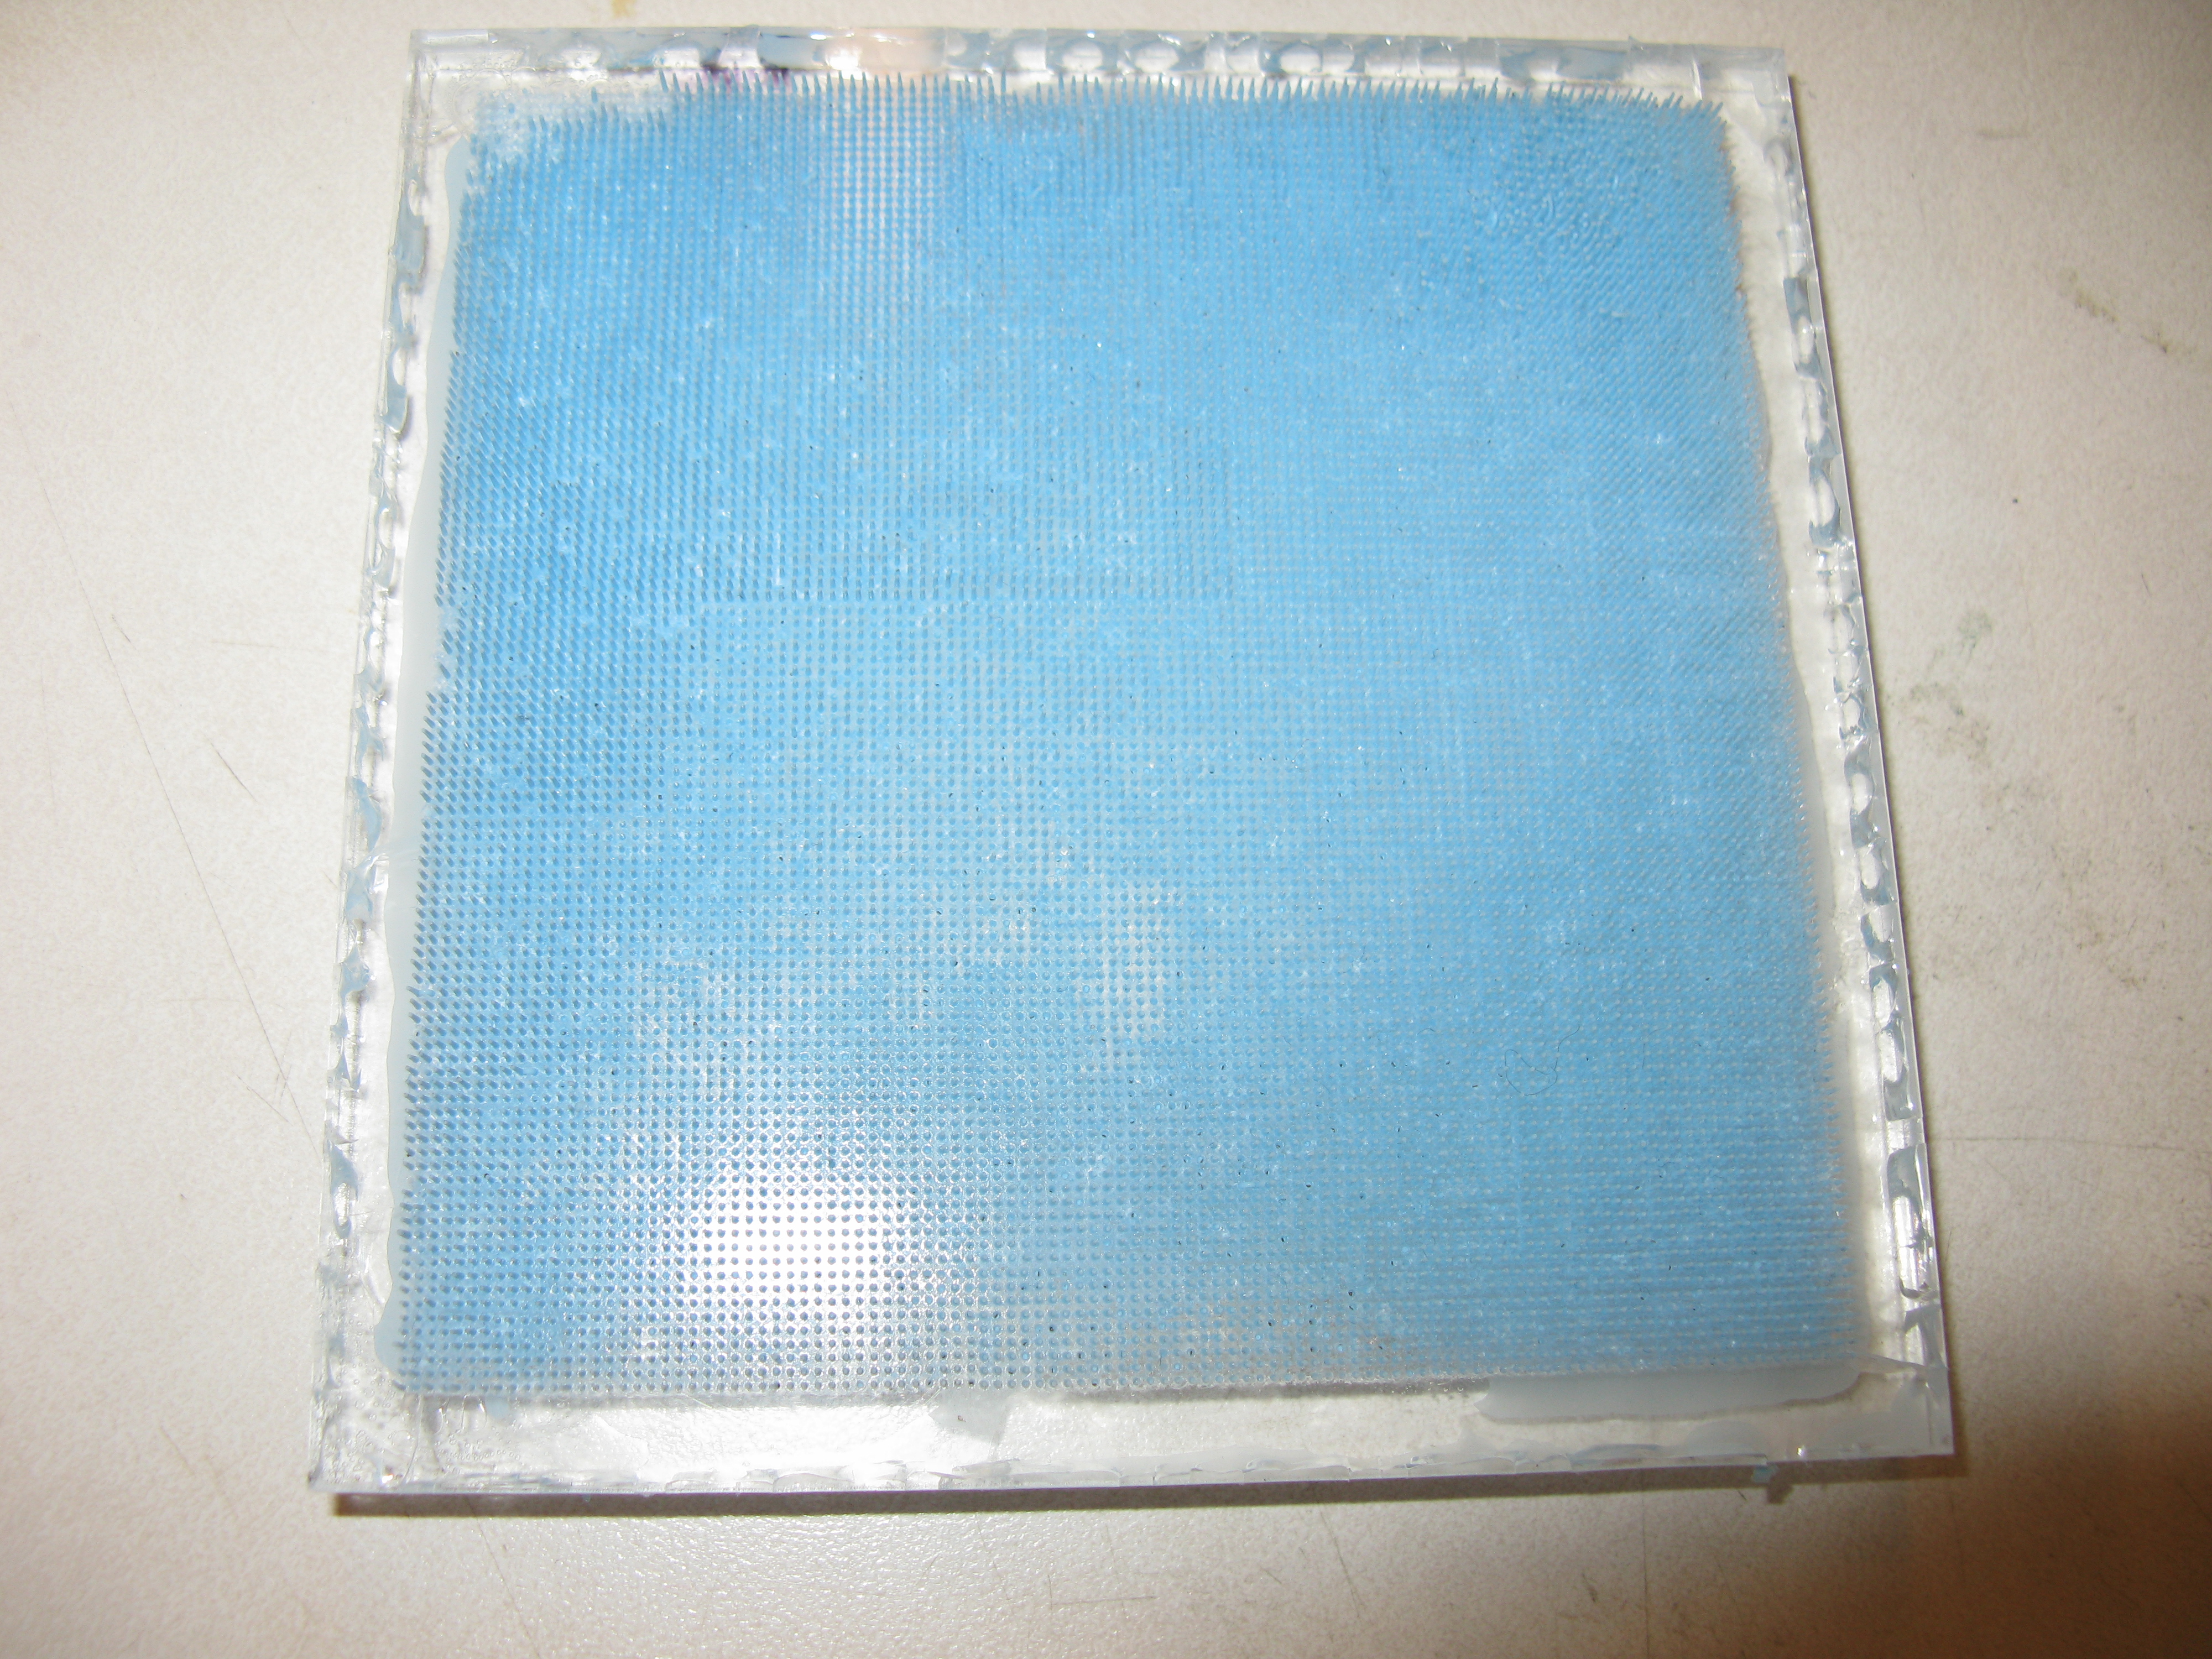
- after cure:
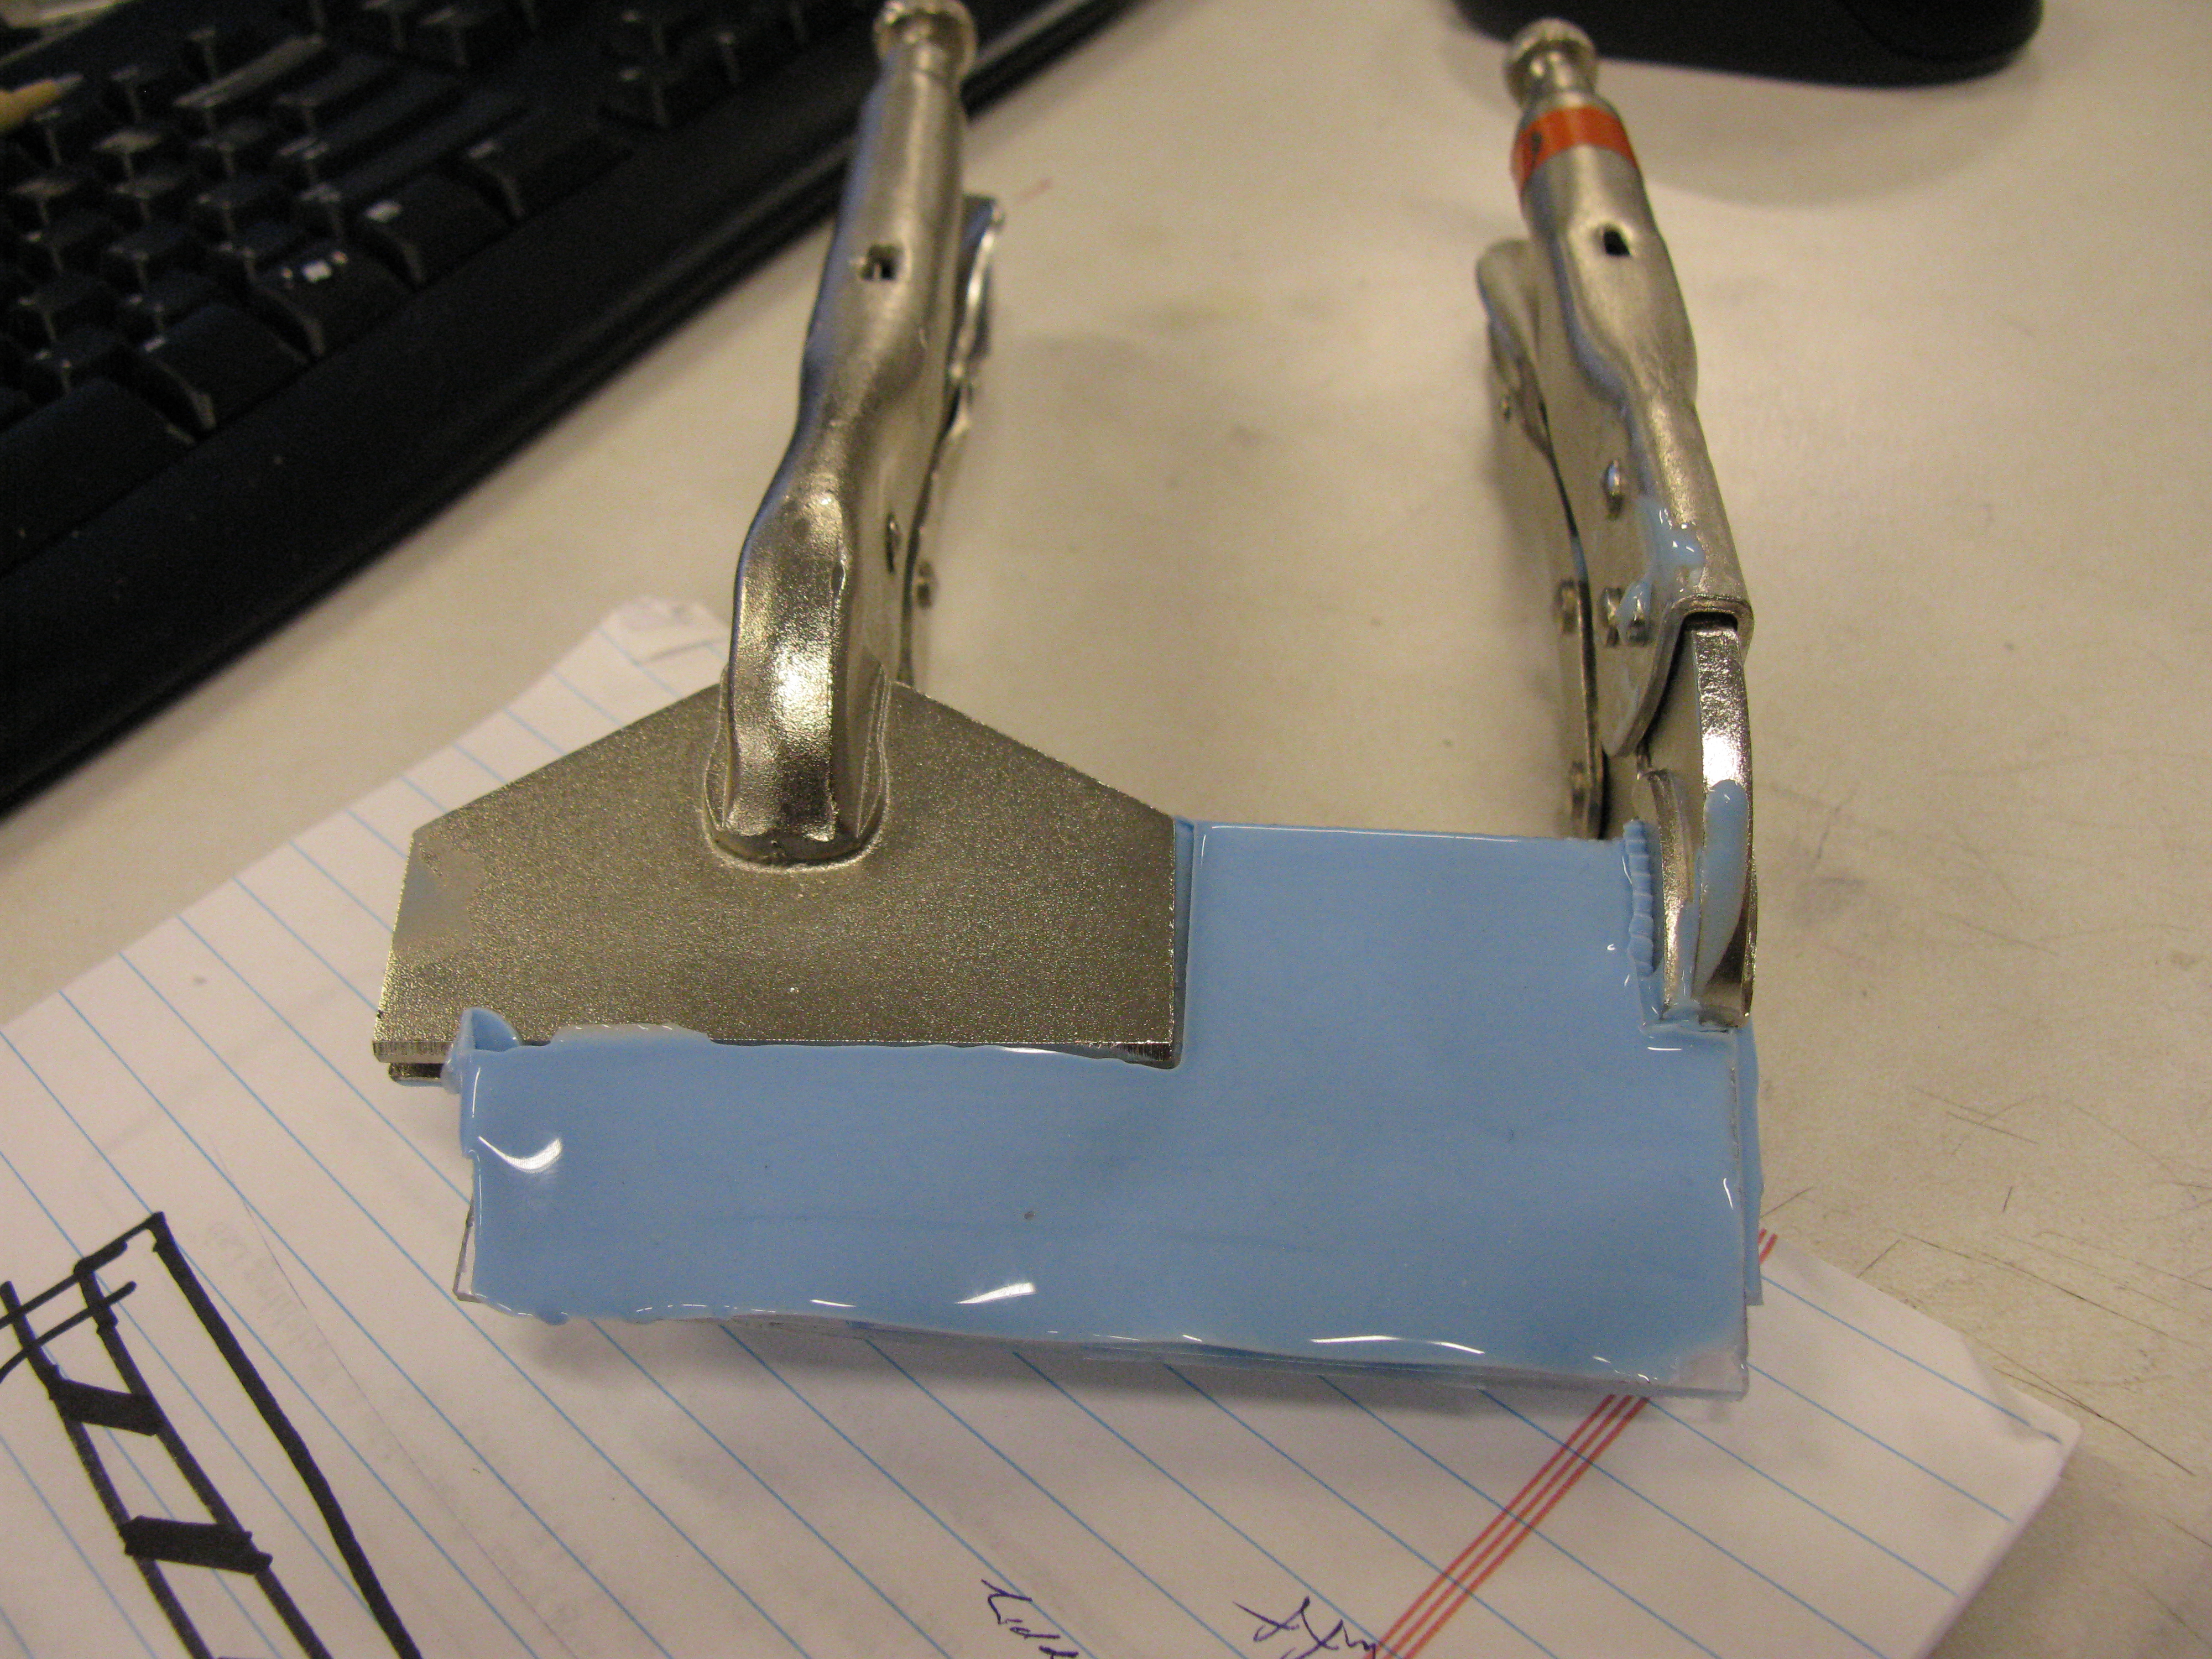
- clamps removed:
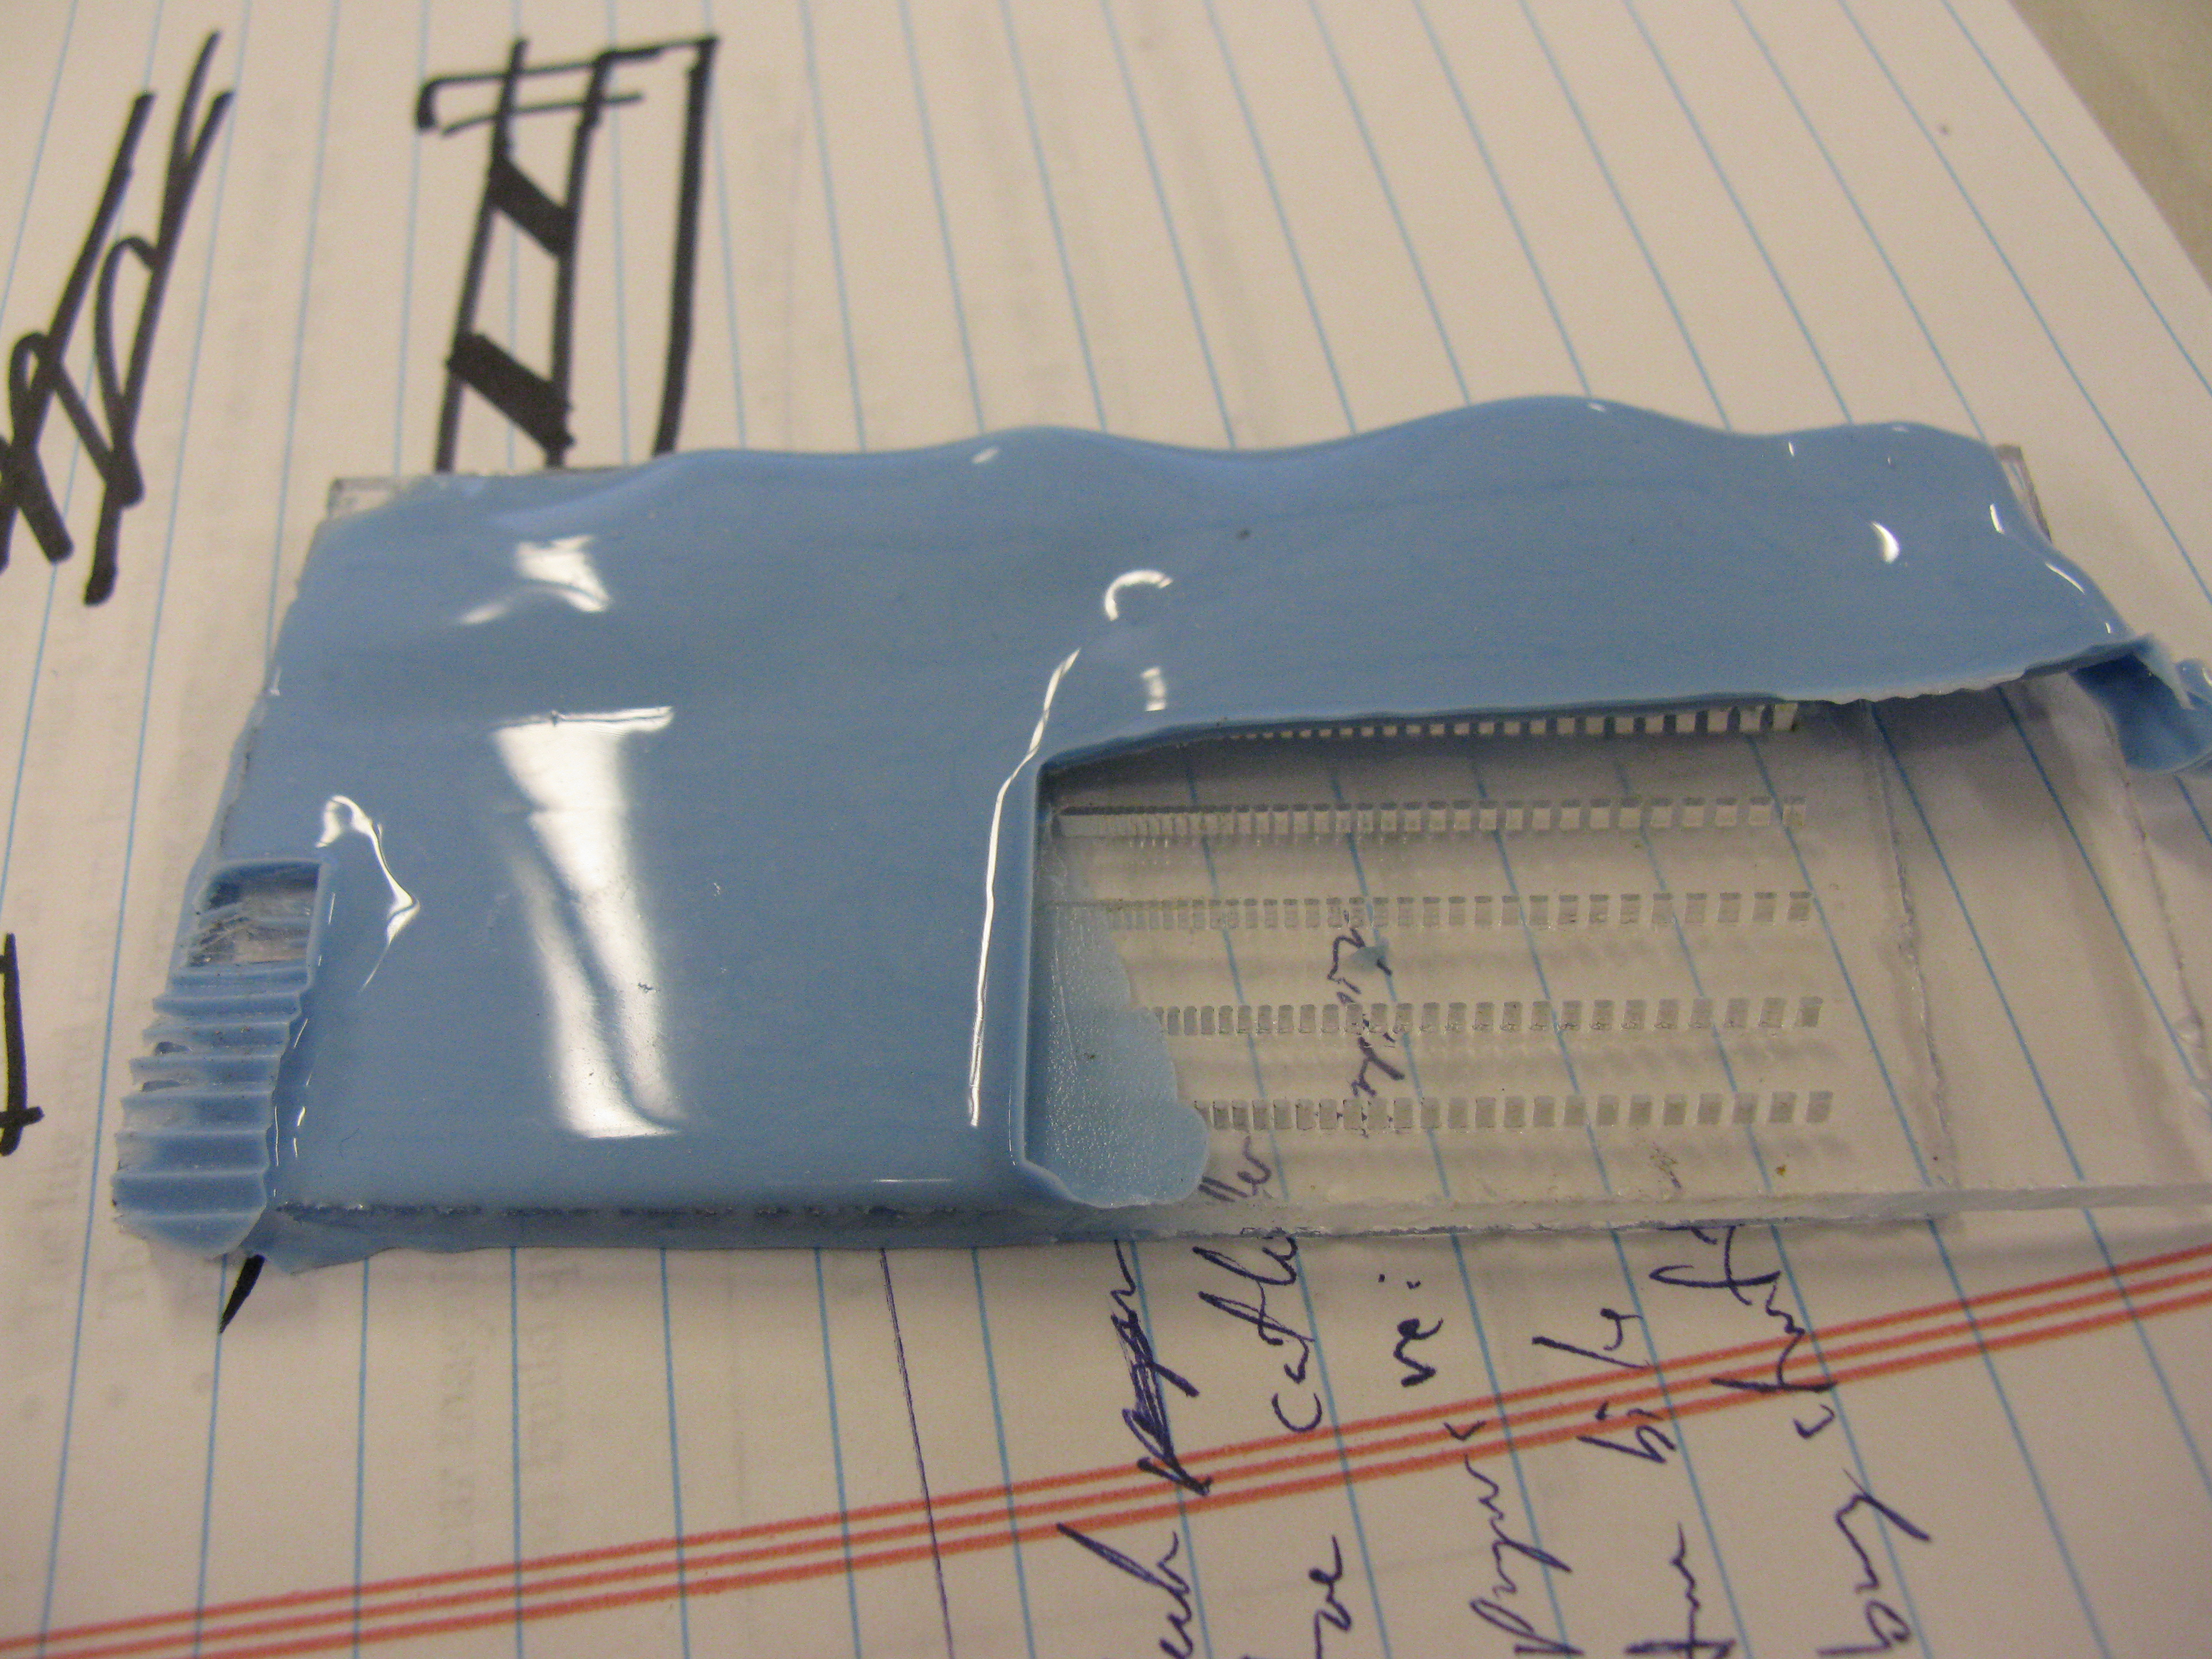
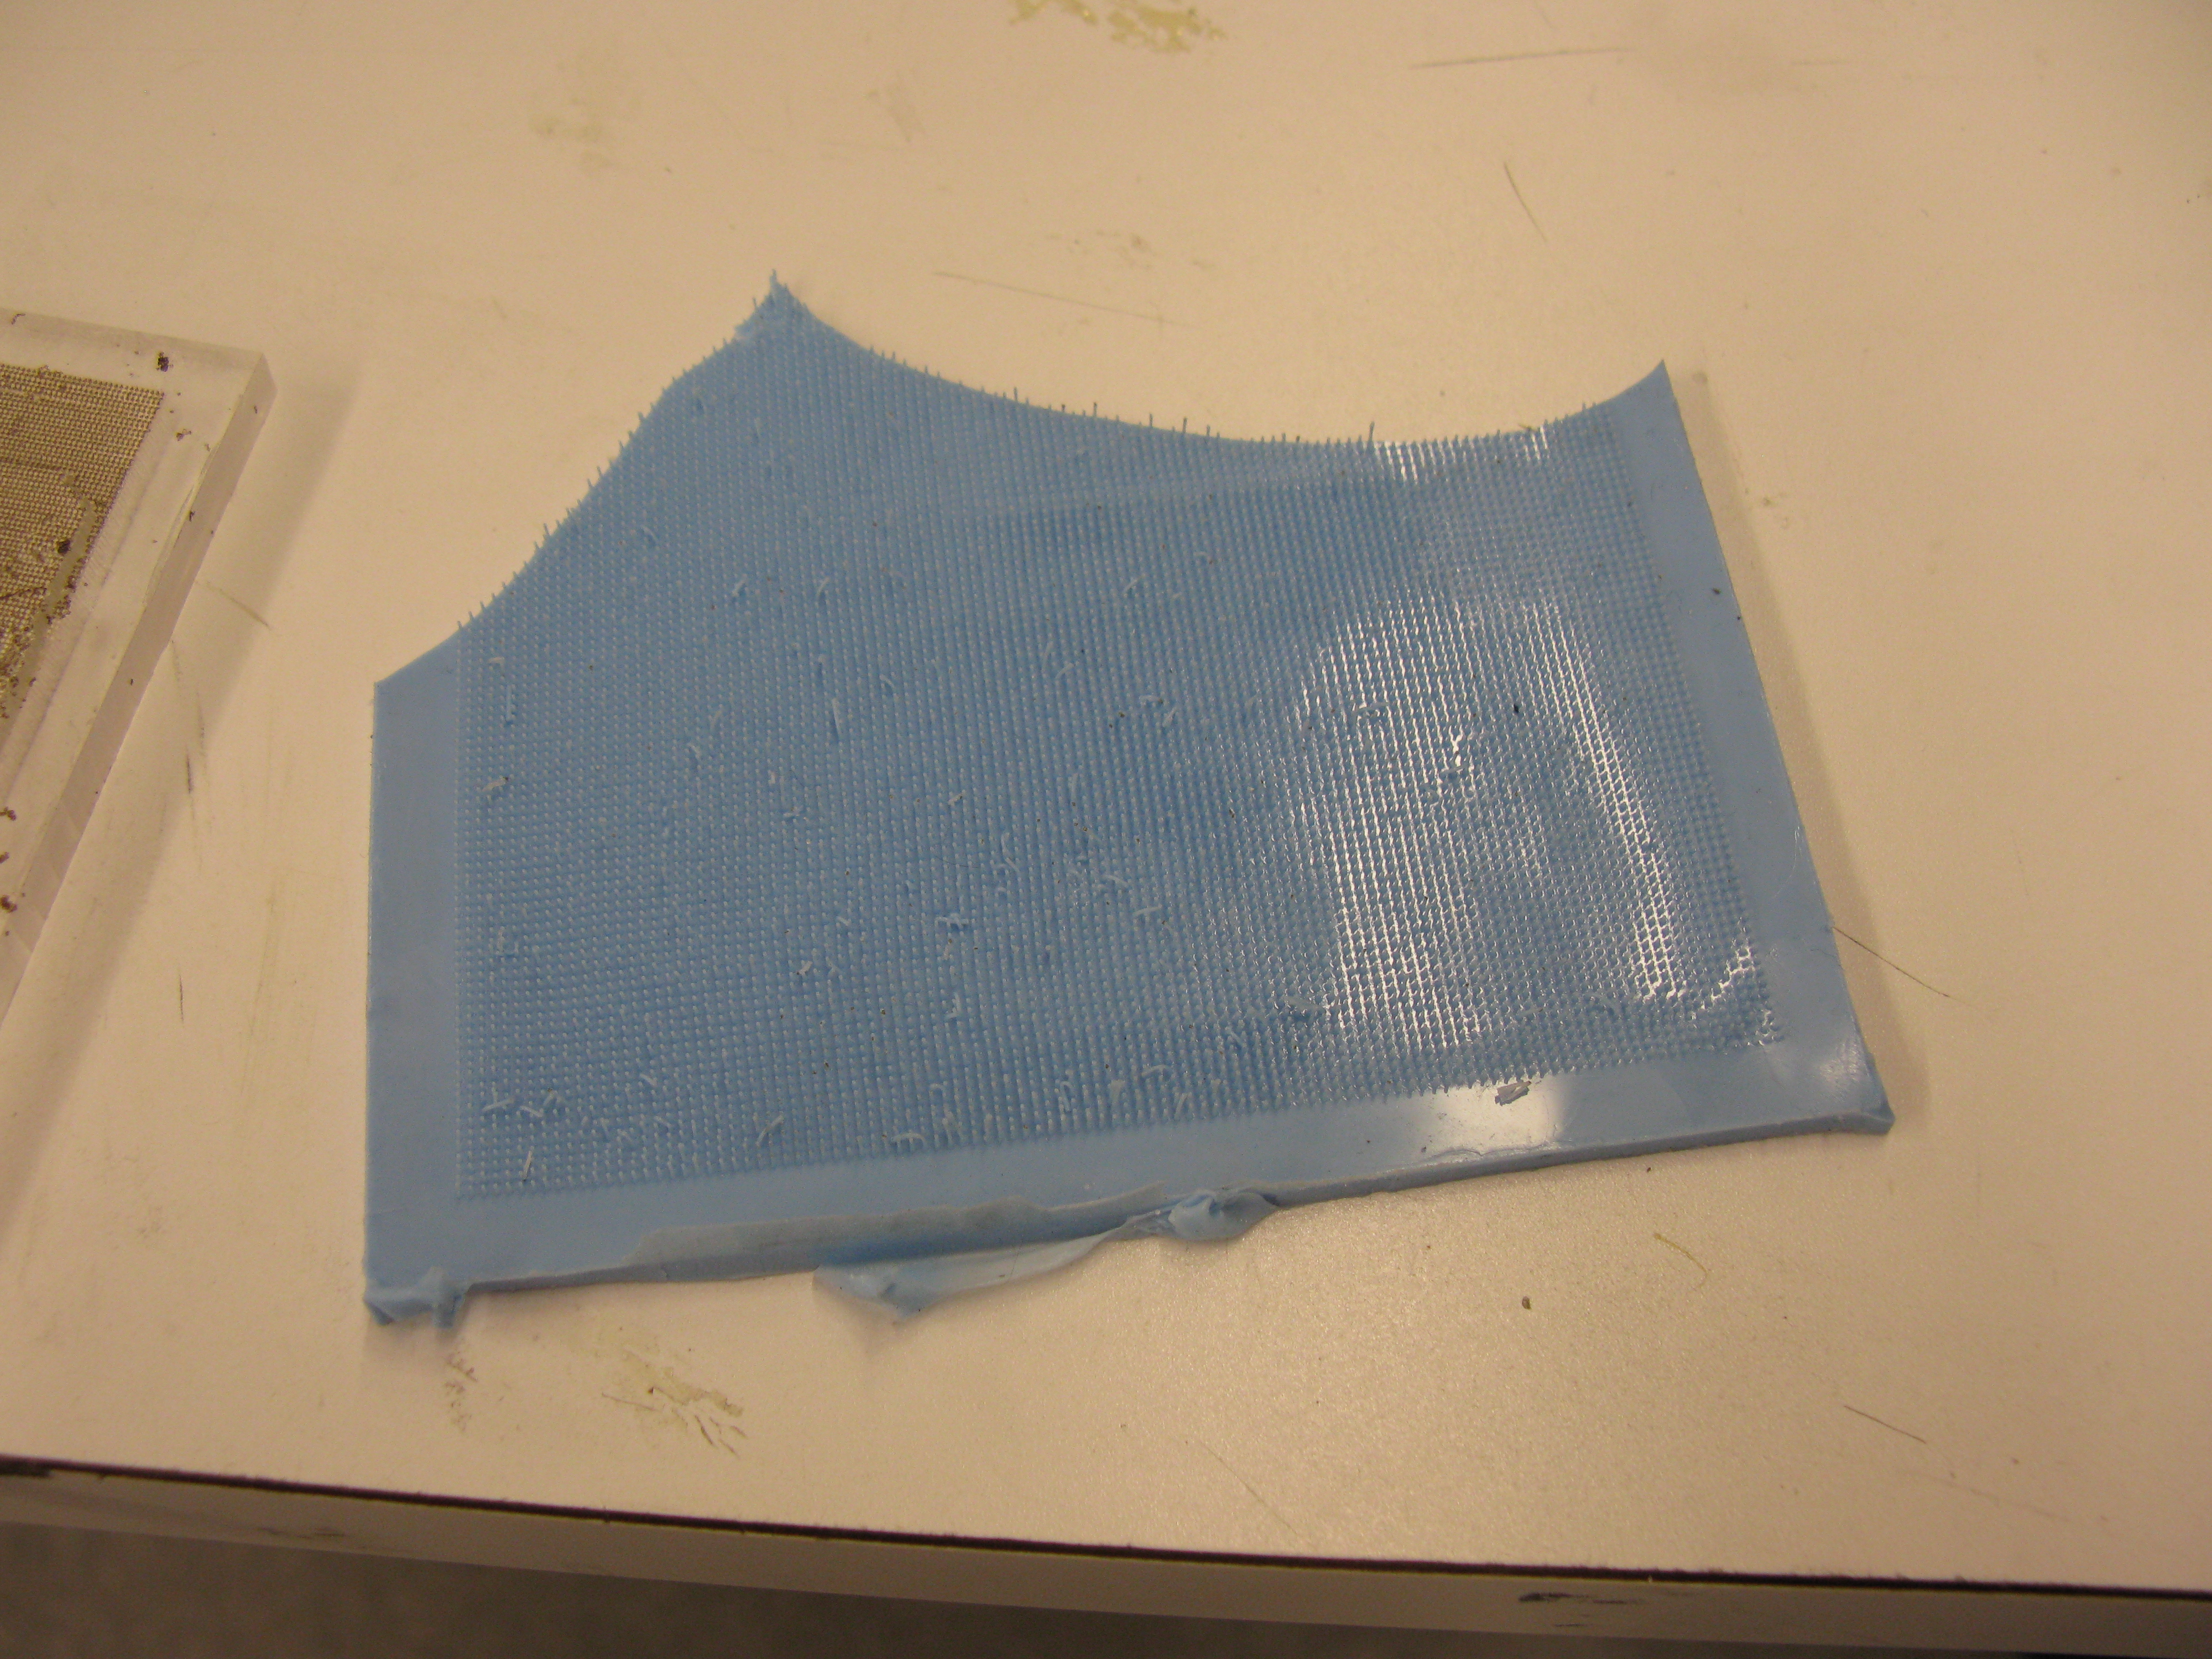
- peeling back:
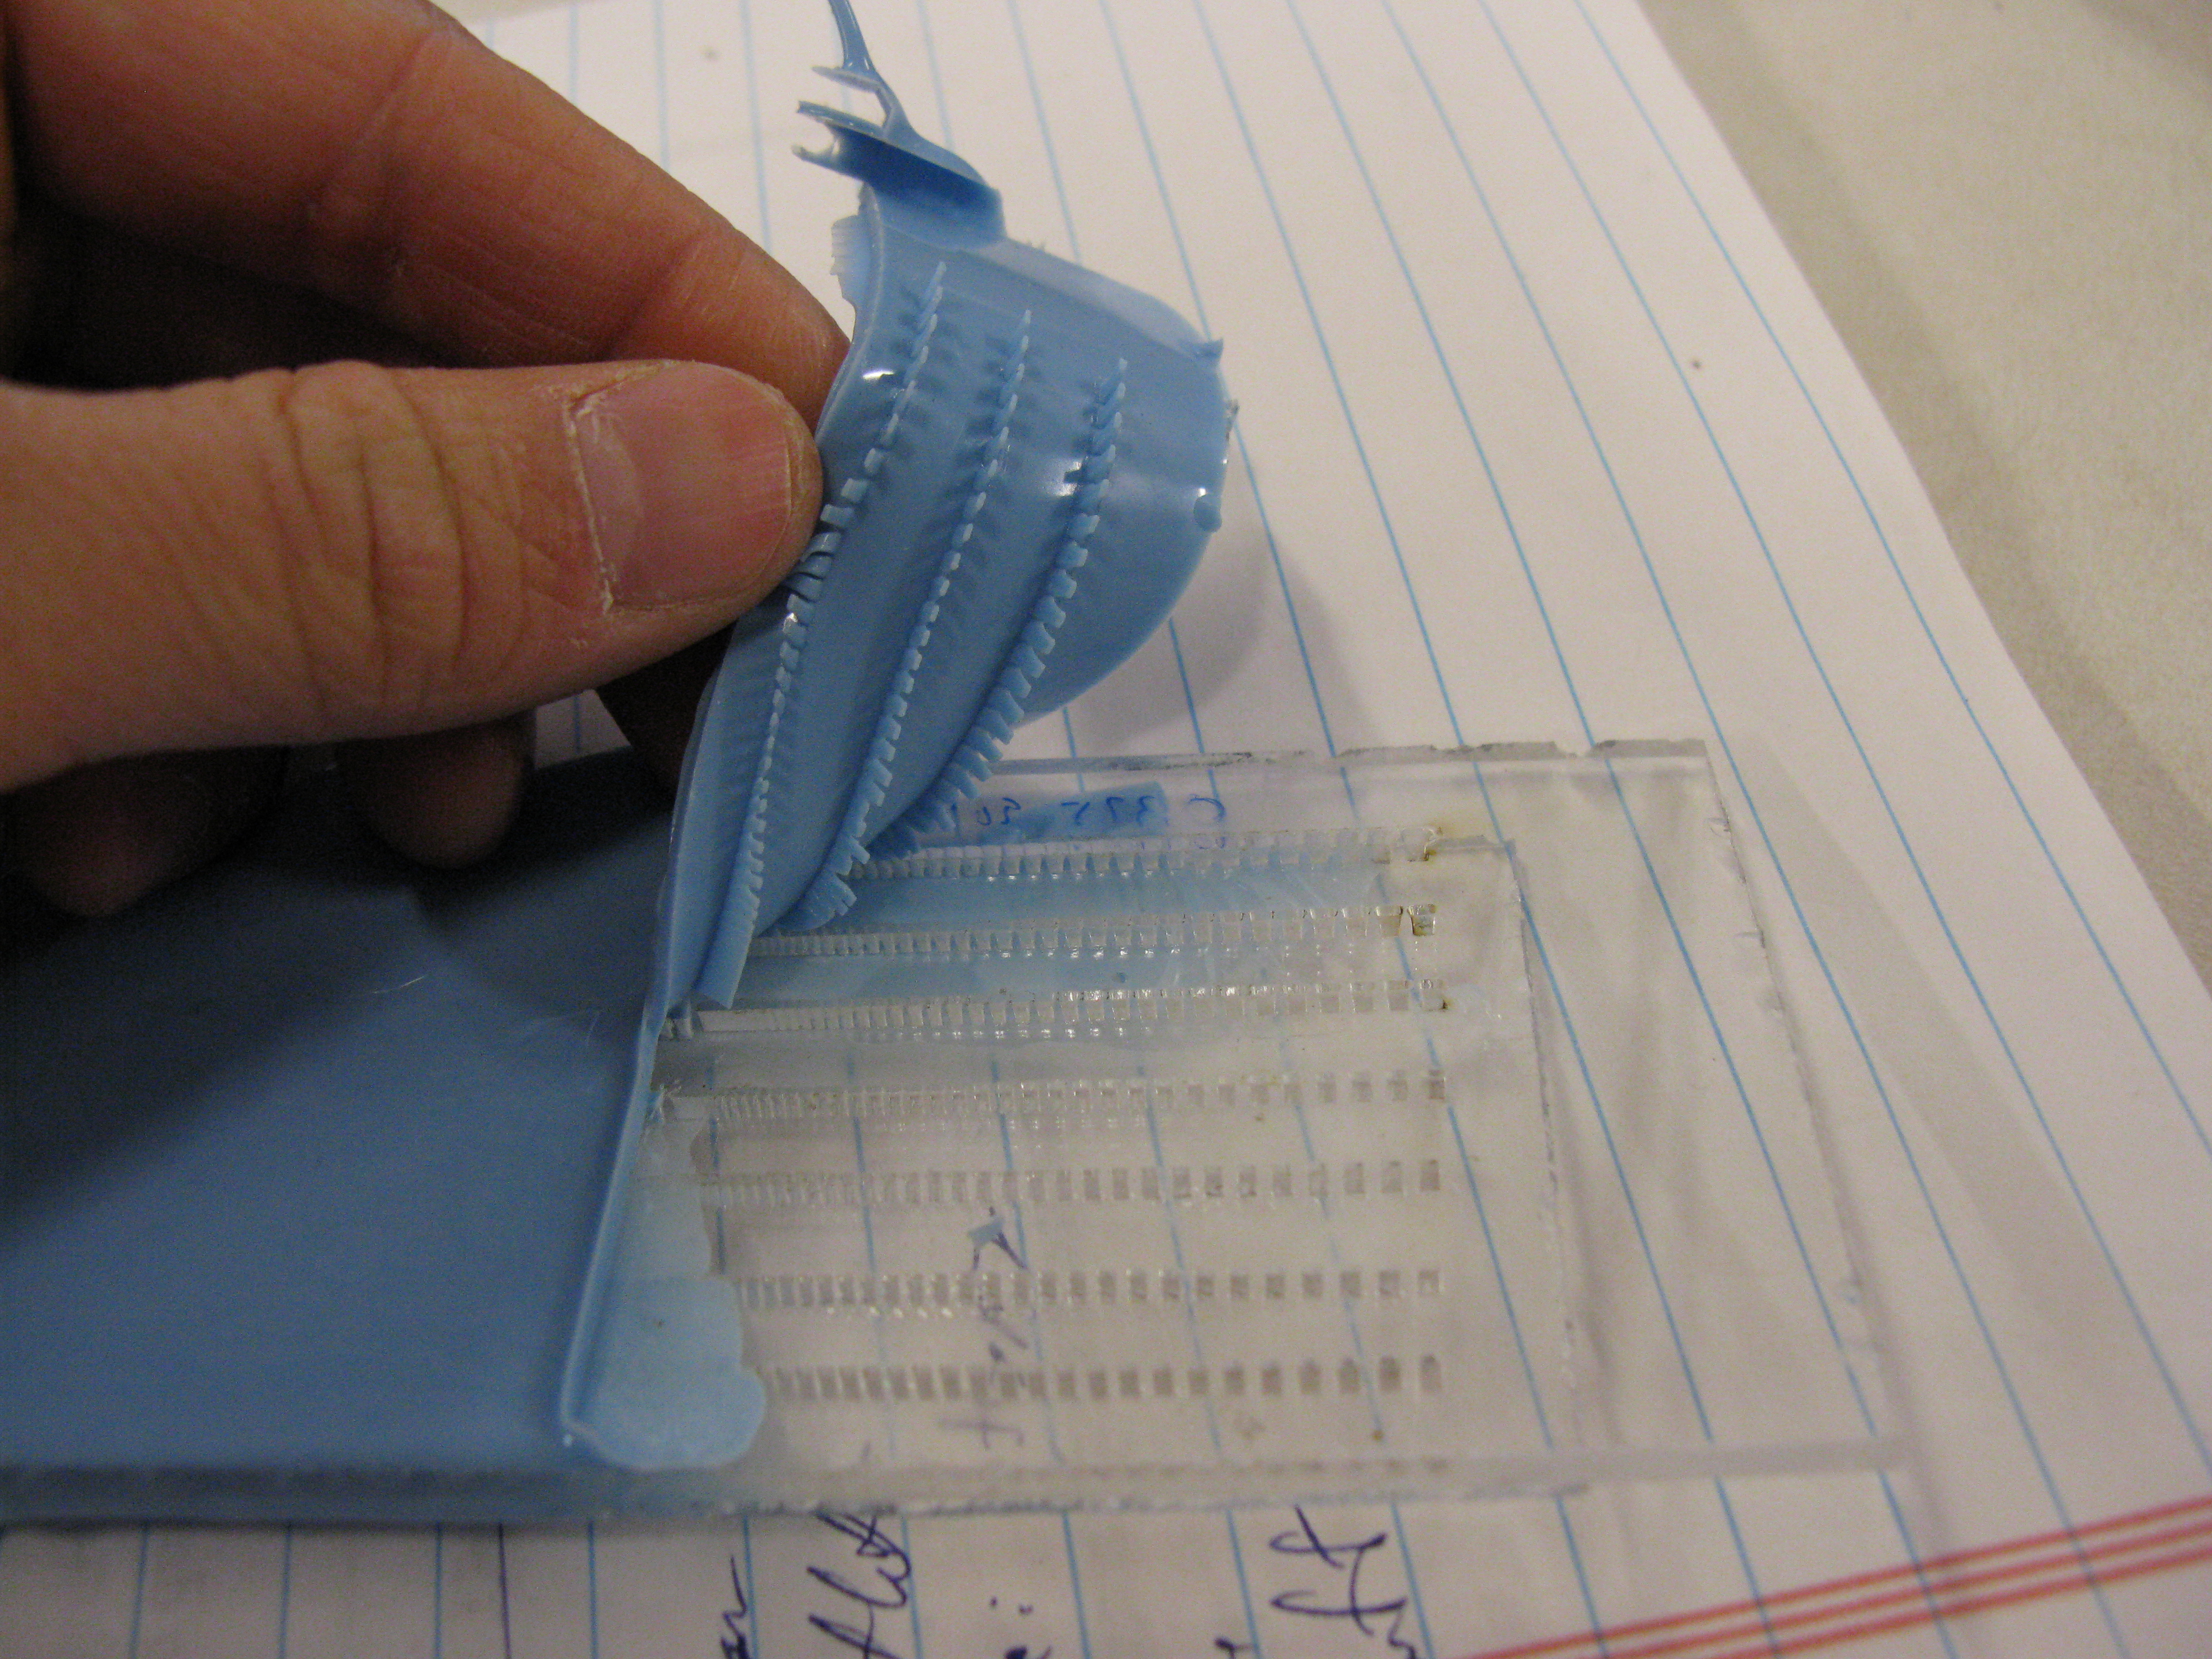
- squares are the most difficult to demold:
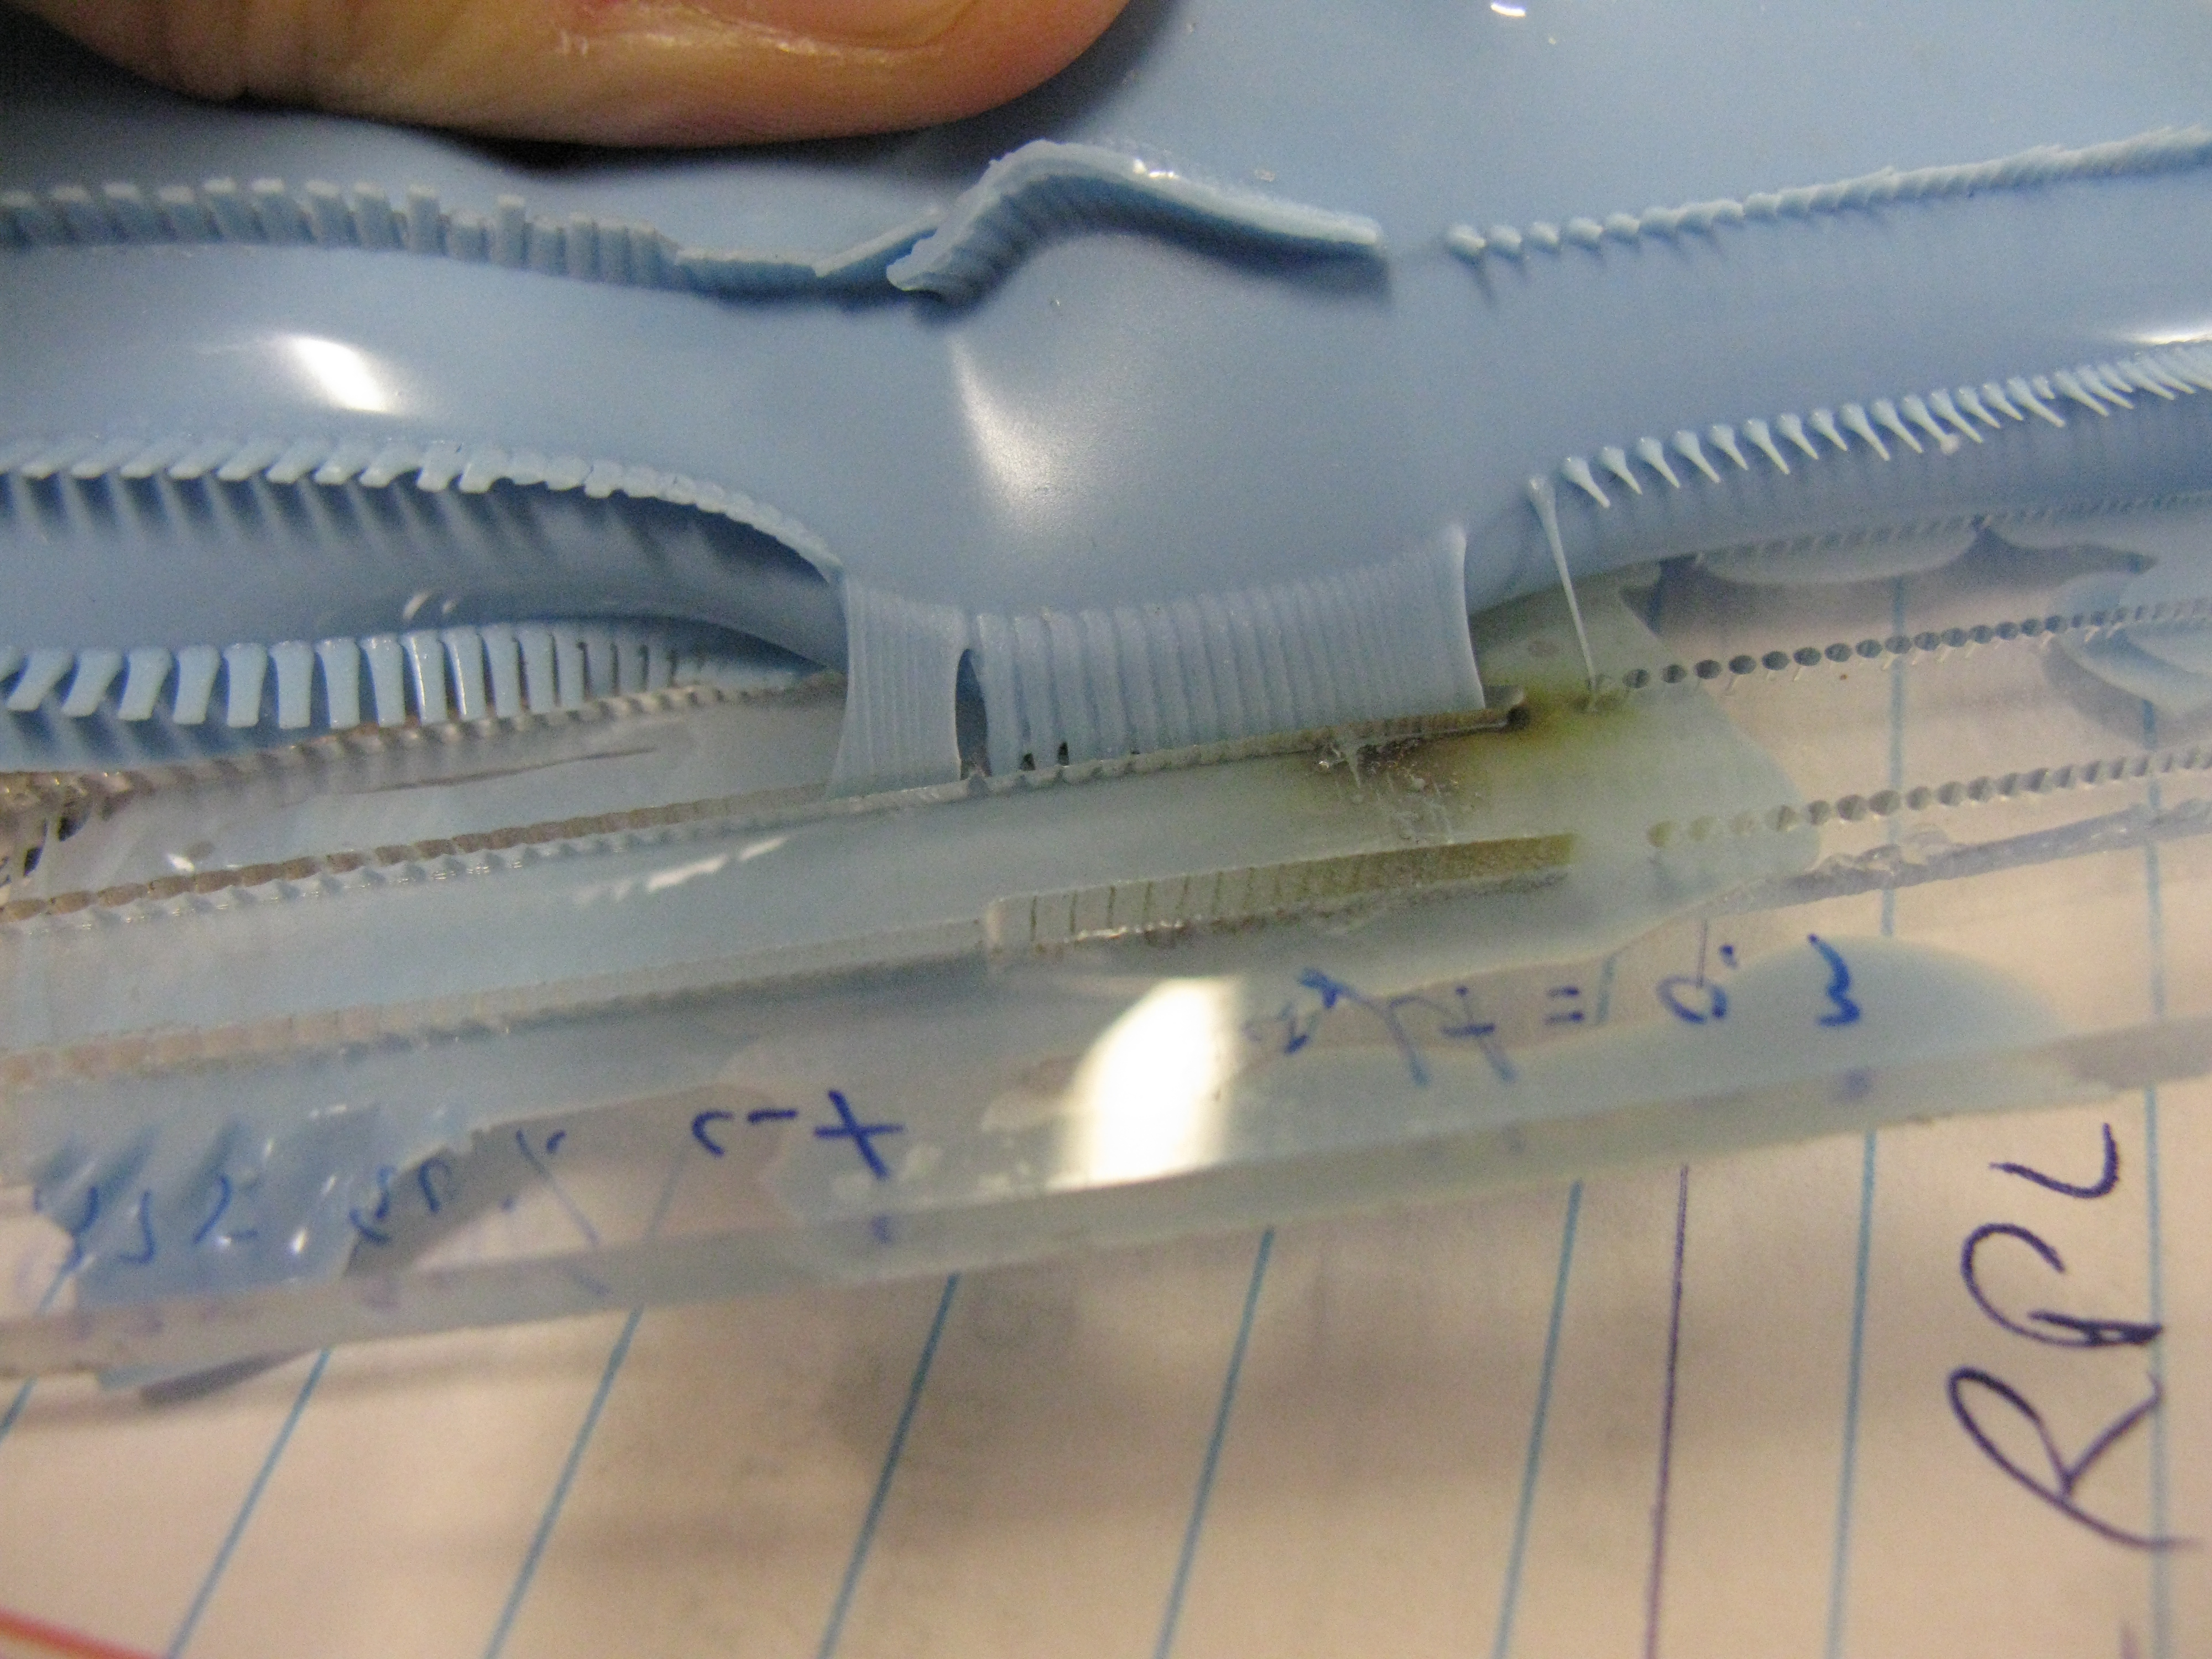
- holes much easier:
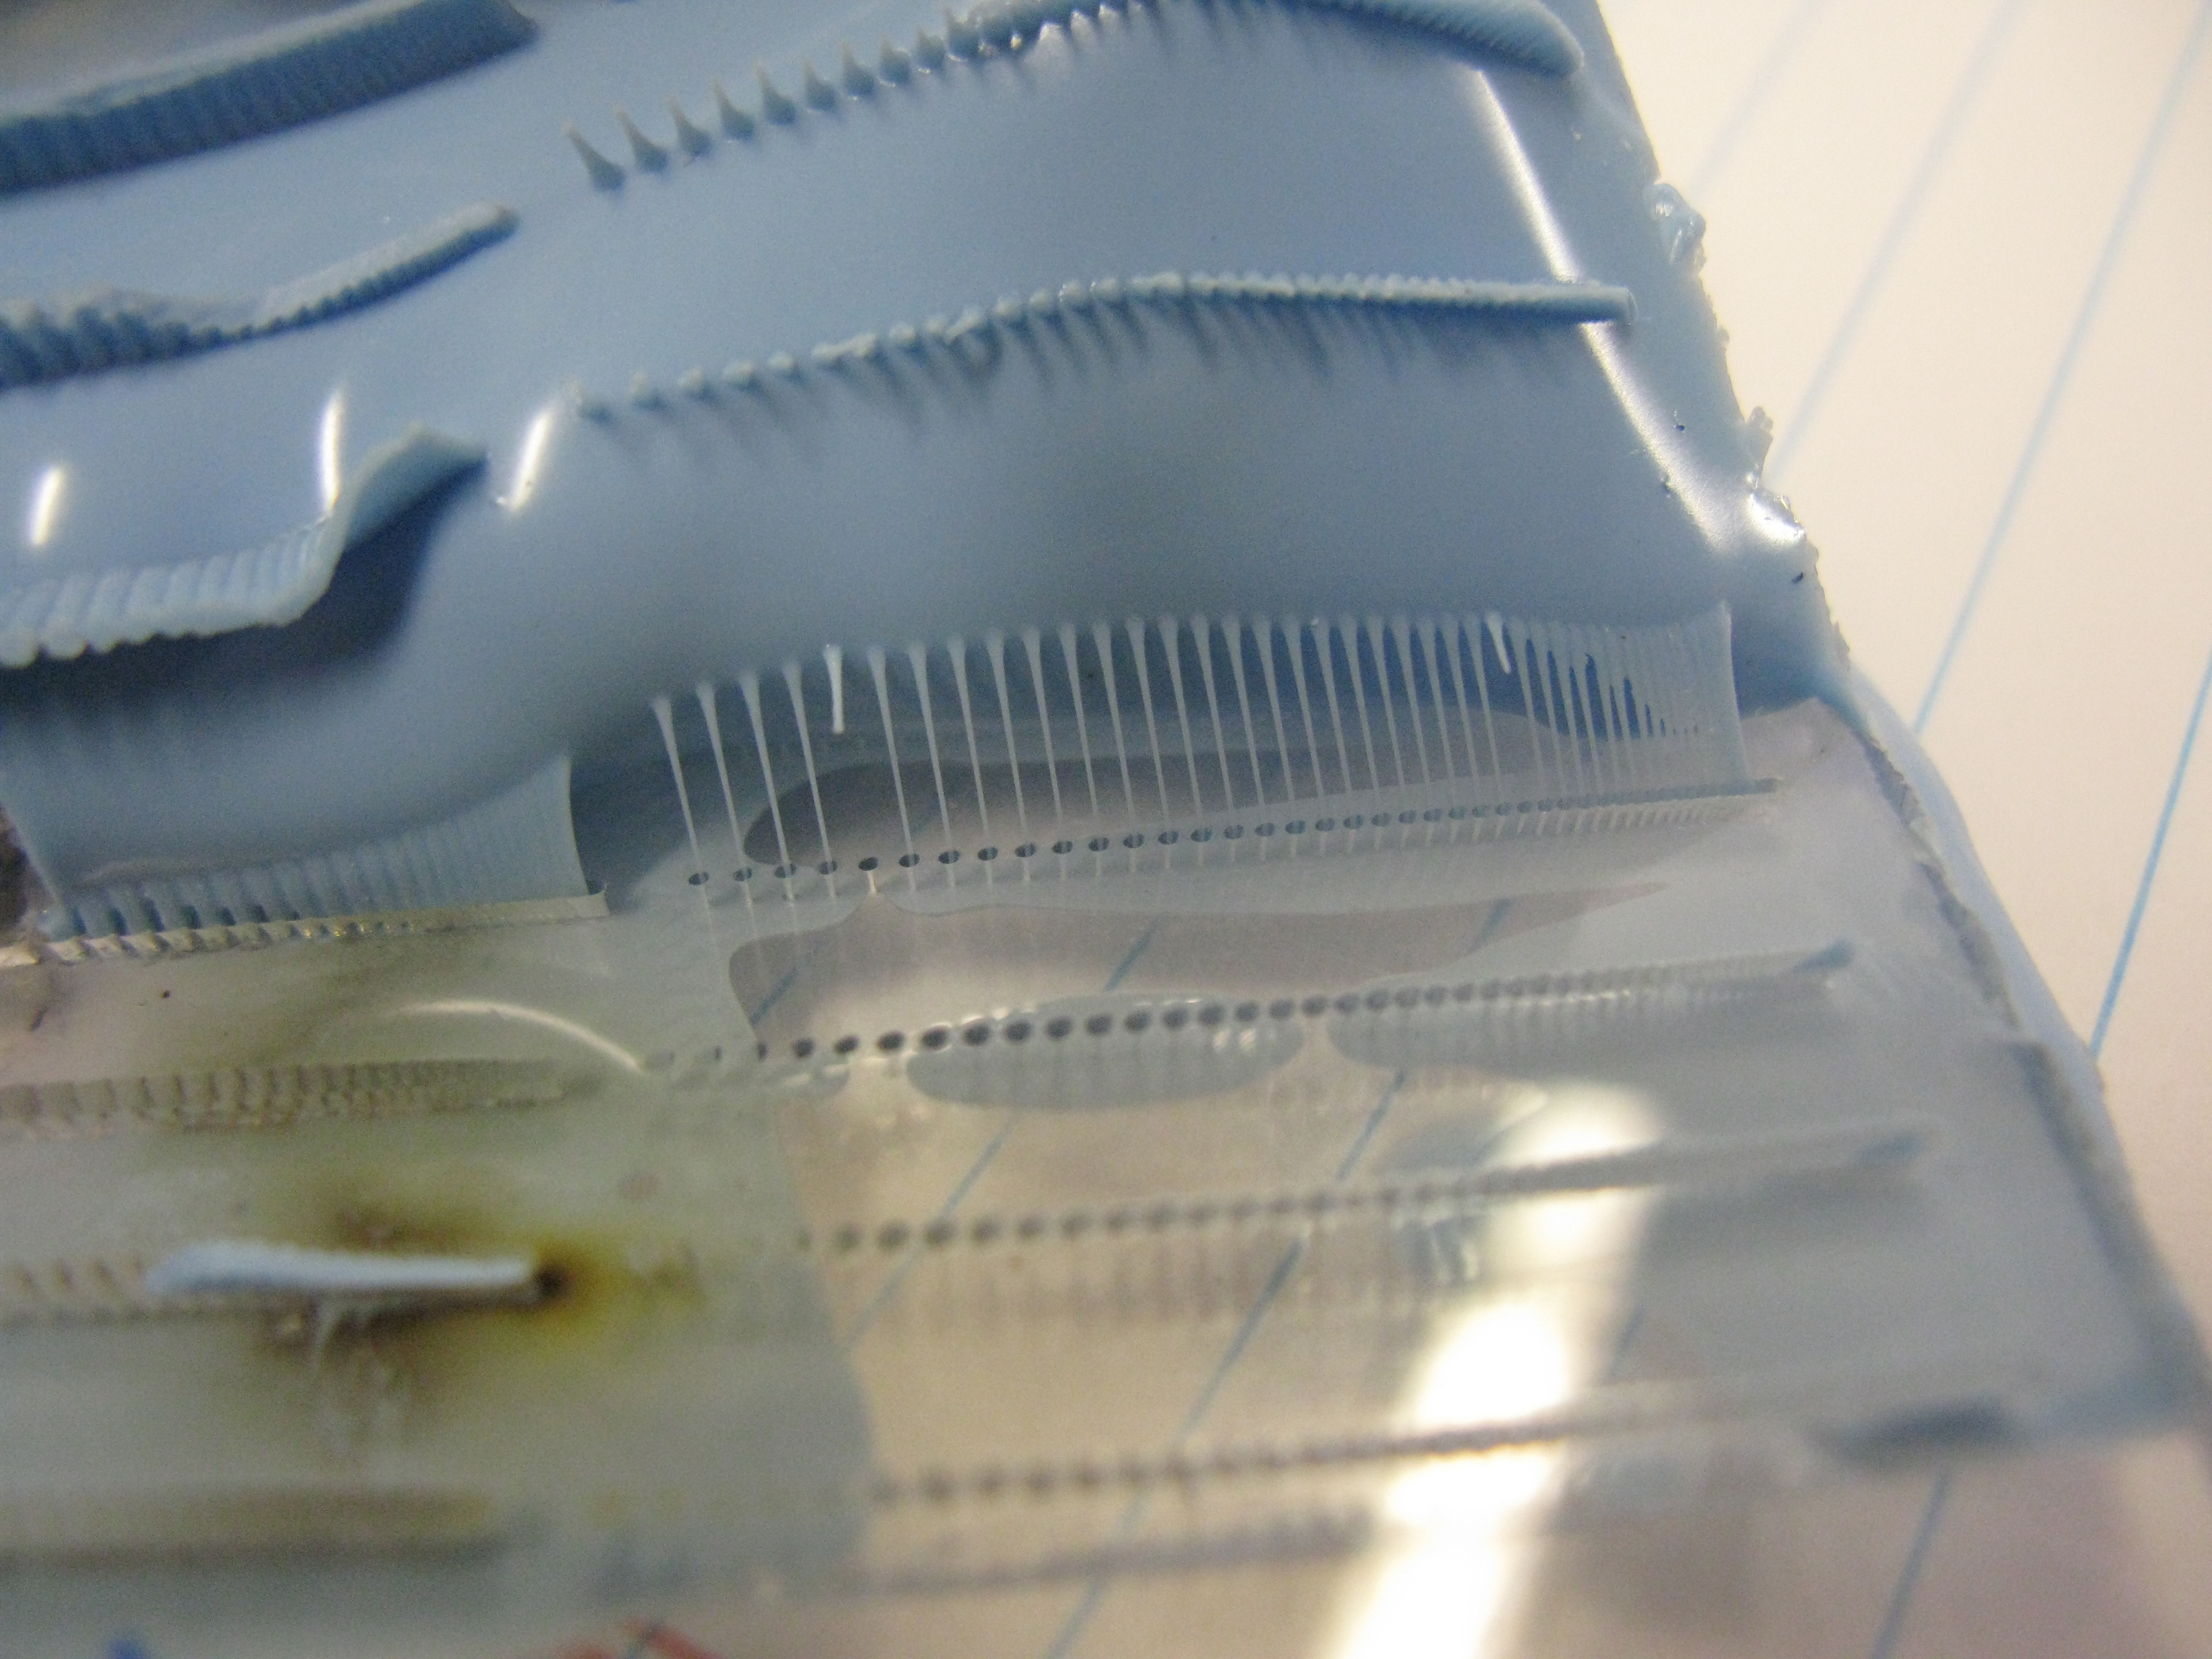
- closeup of holes. the background ones were the most "in focus" They are near vertical:
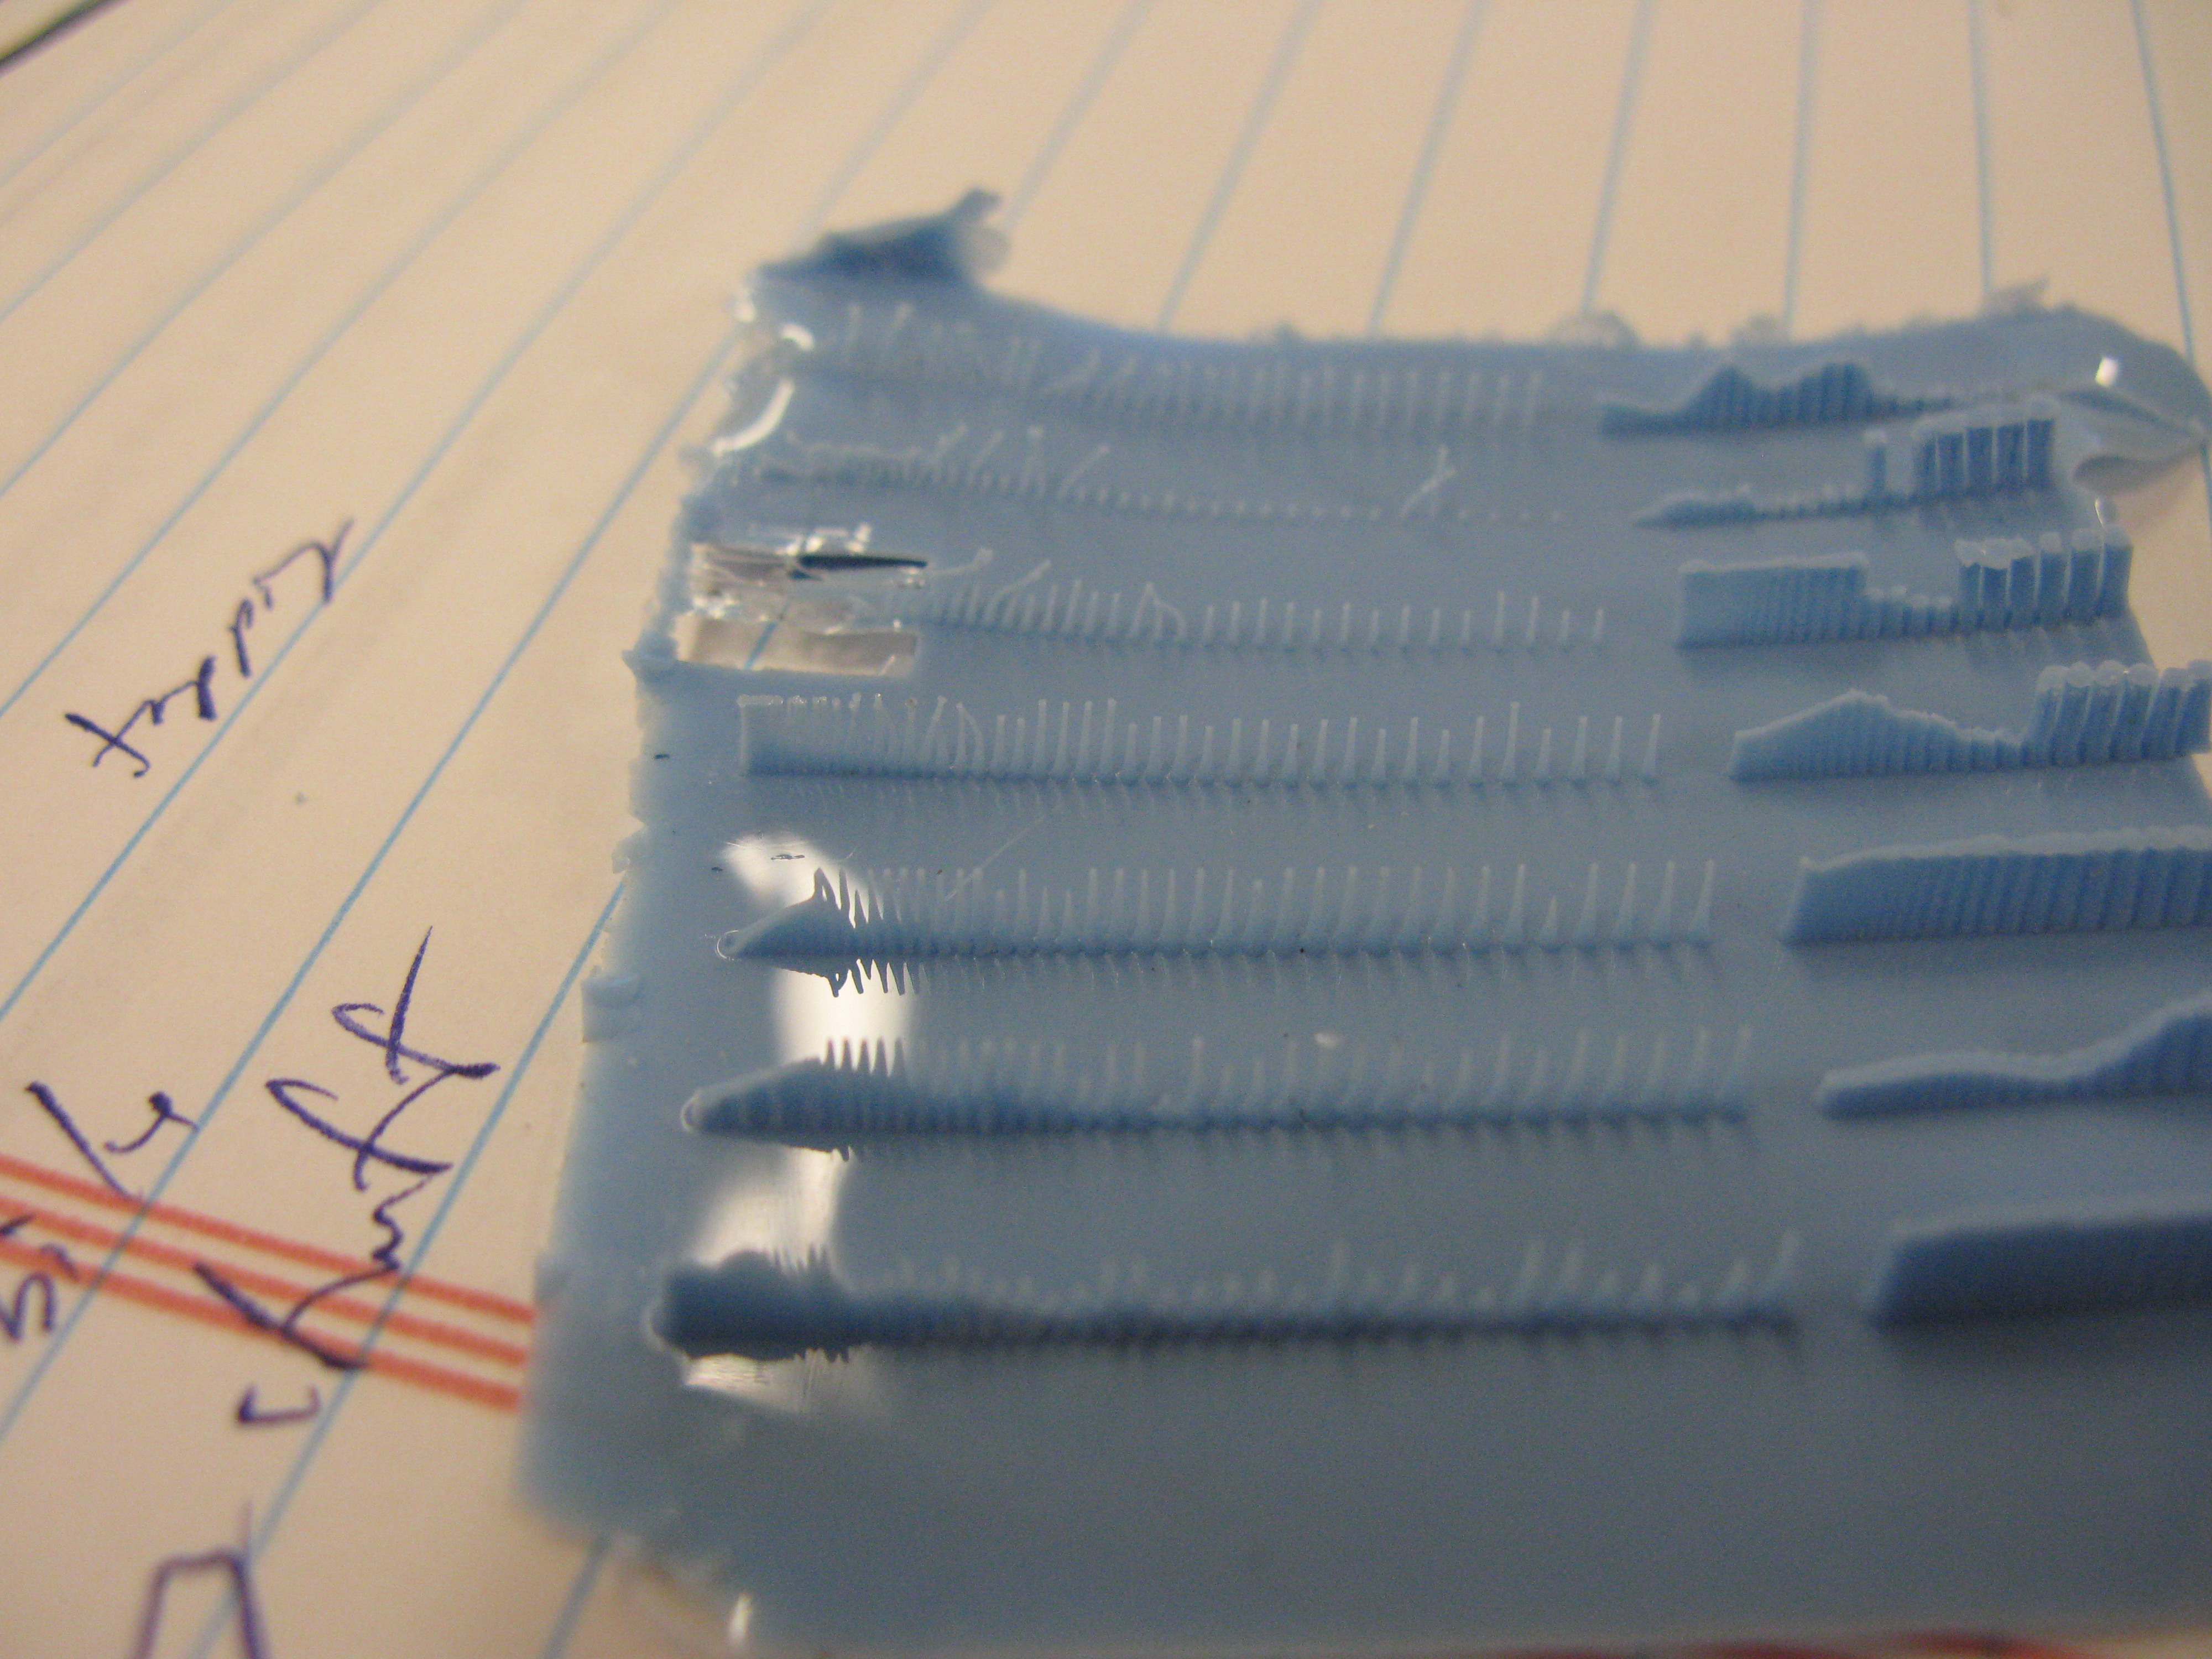
- group photo: Shadows help show height variation
-
- Holes suffer from the least amount of variation for given distance from focal plane.
- blind holes taper to a point and vary in depth.
- Optimal hole setting 0.25" at 110% or 0.375 at 90%
- Tape prevents redeposition of acrylic vapor and subsequent crazing
- Ensure adequate ventilation under part
- Try and see if can use as molds
- Find minimum spacing necessary with good clean through holes
Ideas, requests, problems regarding TWiki? Send feedback